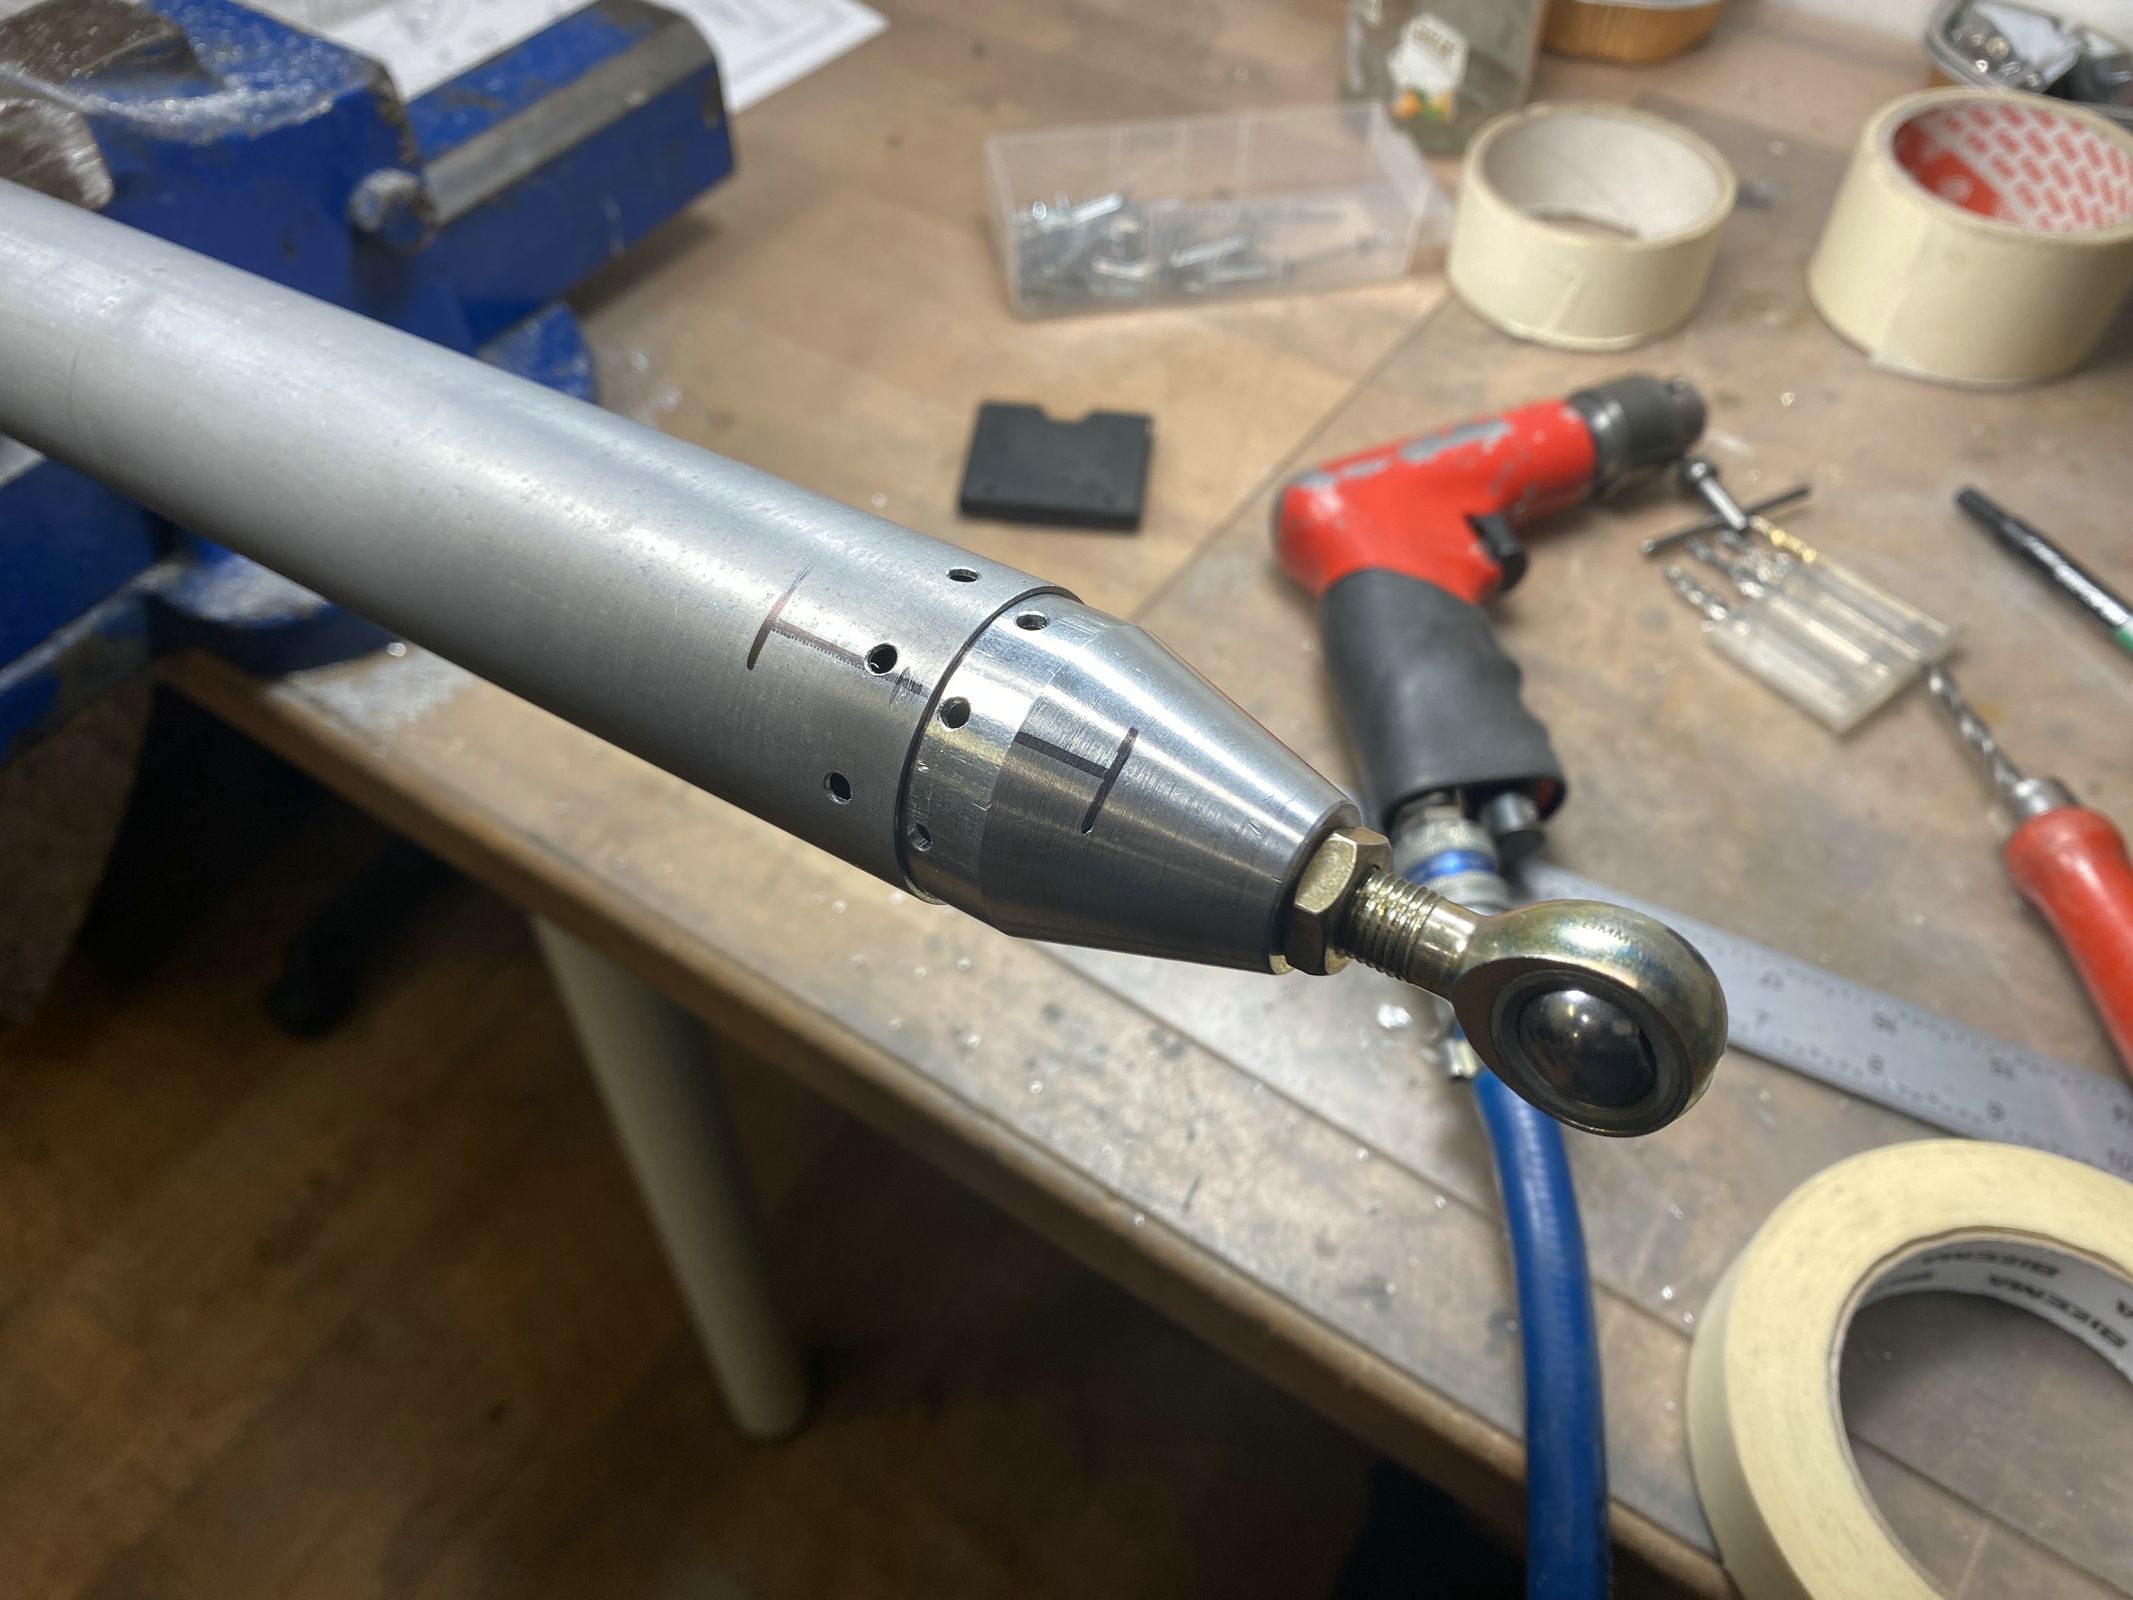
One of the next steps was to drill the holes in the elevator horns where the control rod connects. To properly align these holes, I needed to make the pushrods.
It was a simple matter of cutting the tubes to length, then matchdrilling the ends to the tubes.
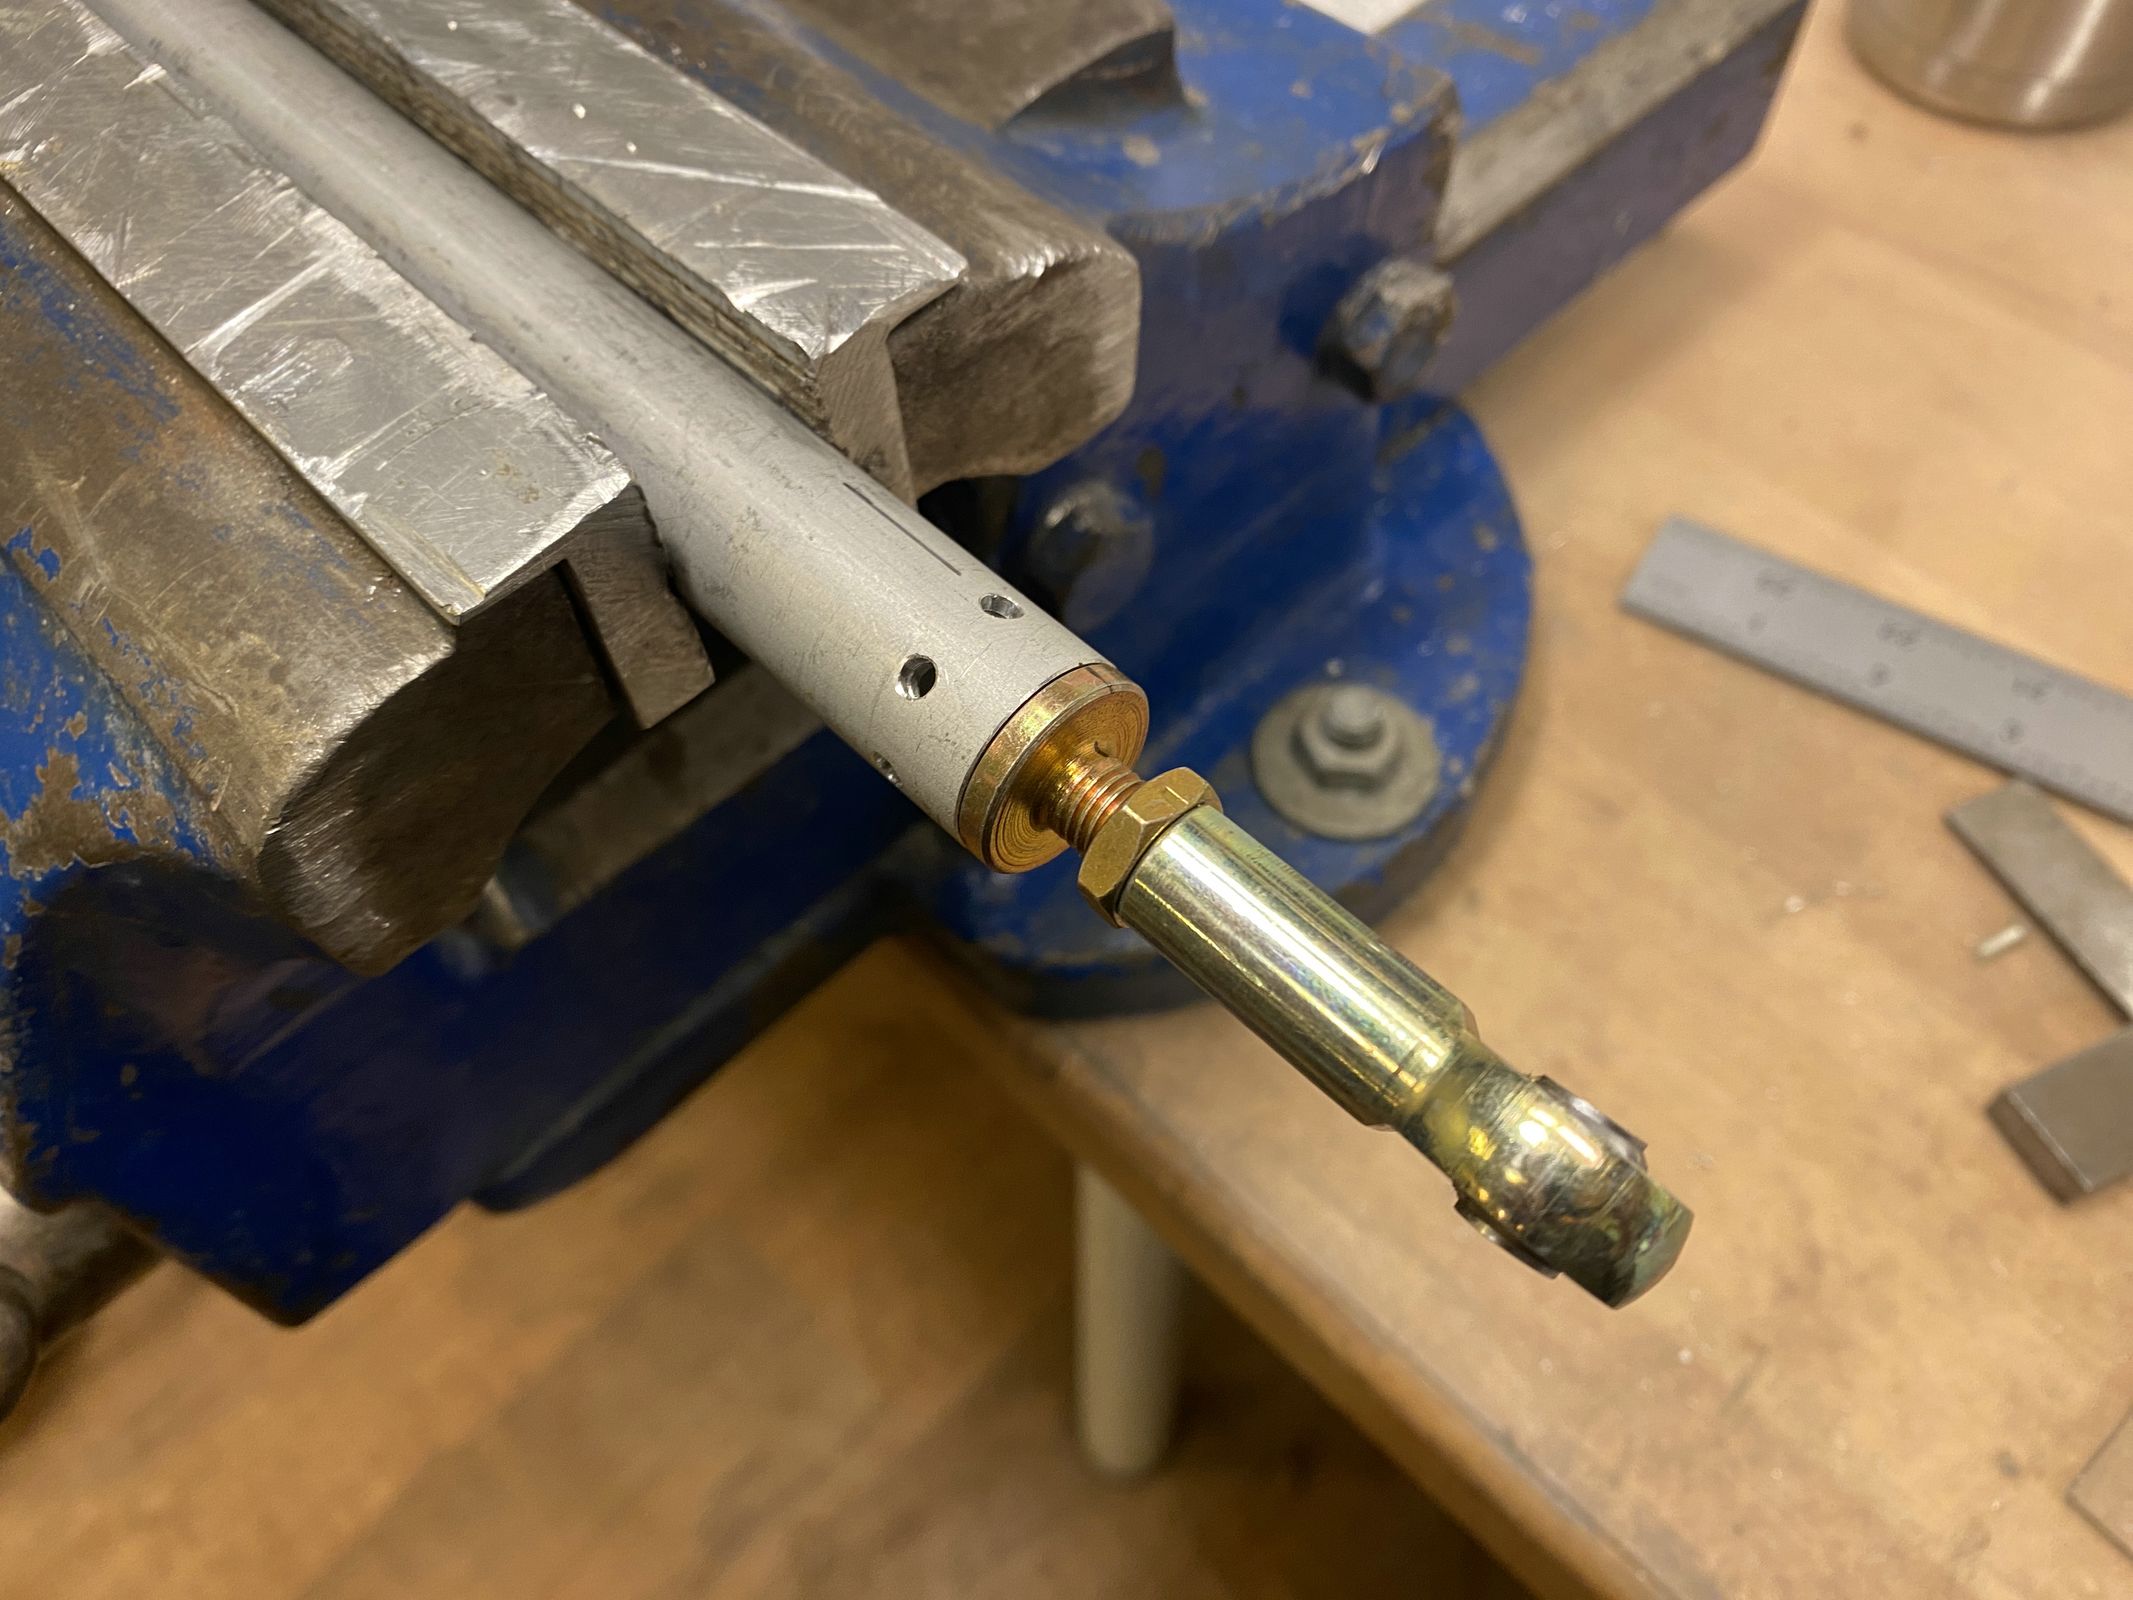
Before riveting them in position, I poured some epoxy primer into the tubes, swirled it around and let the excess drain.
After the primer had cured, I pressed the ends into position and riveted them. They still need primer on the exterior, but that I will do later.

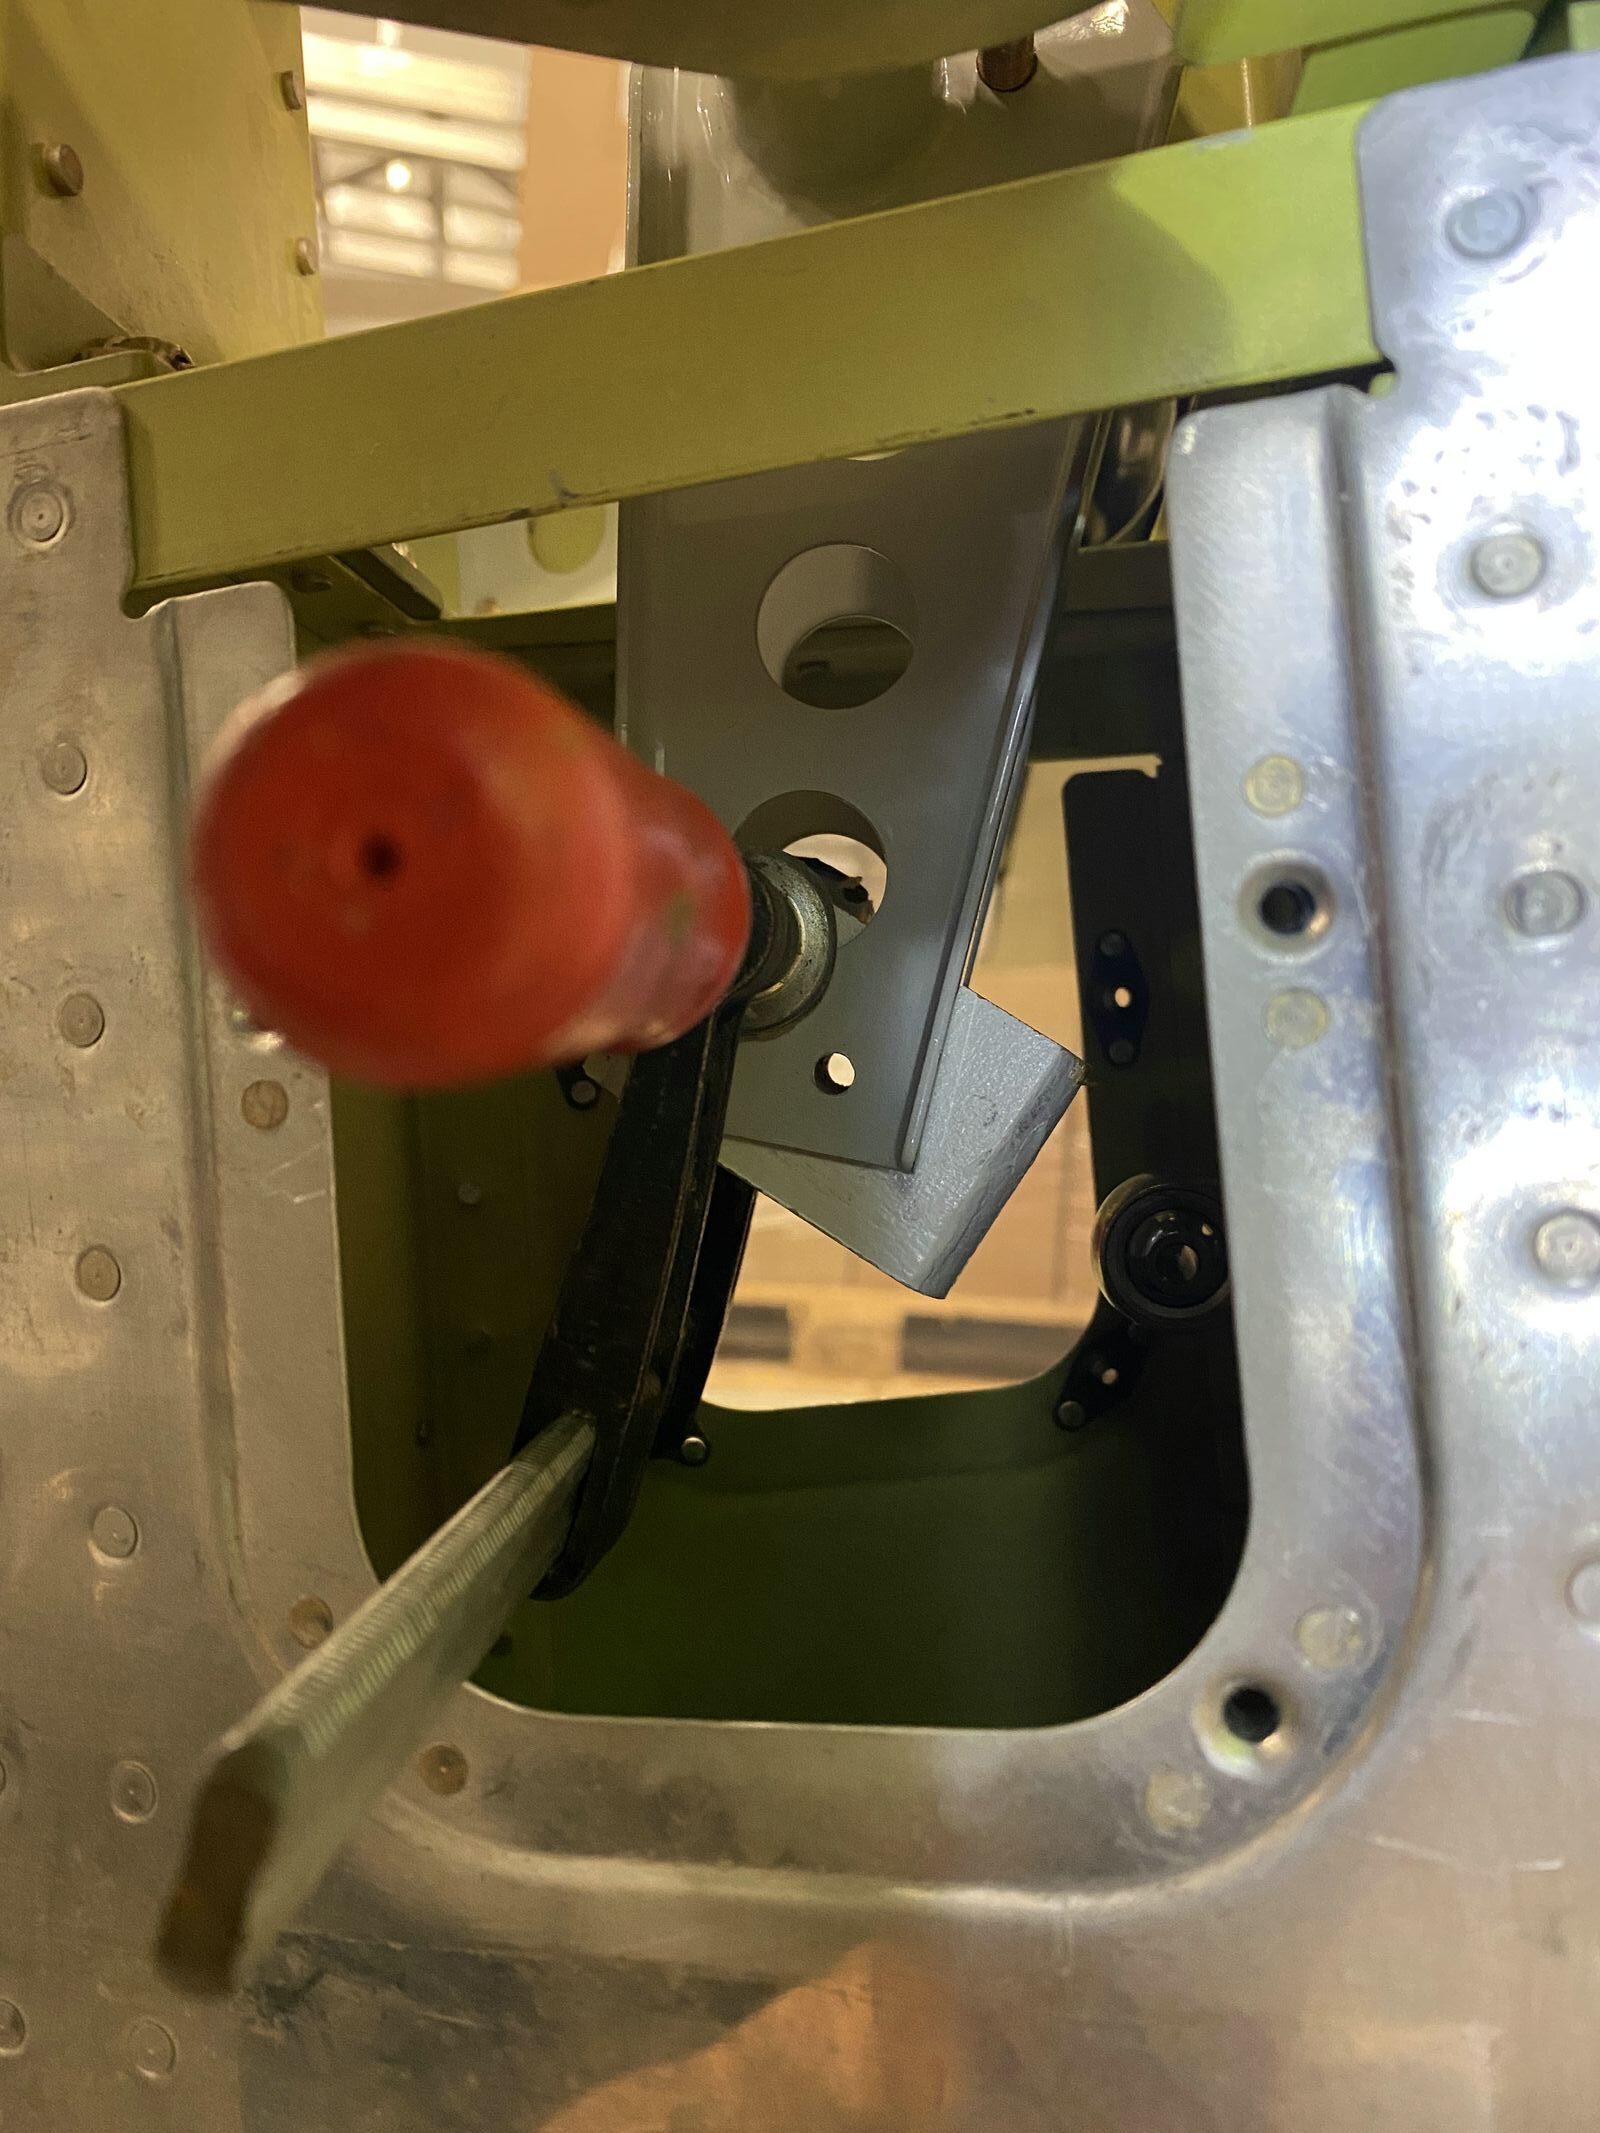
With the aft control rod in place and aligned in neutral position, the elevators locked in neutral position, I marked and drilled the first elevator horn, then added a wooden block as drill guide to drill the other elevator horn.
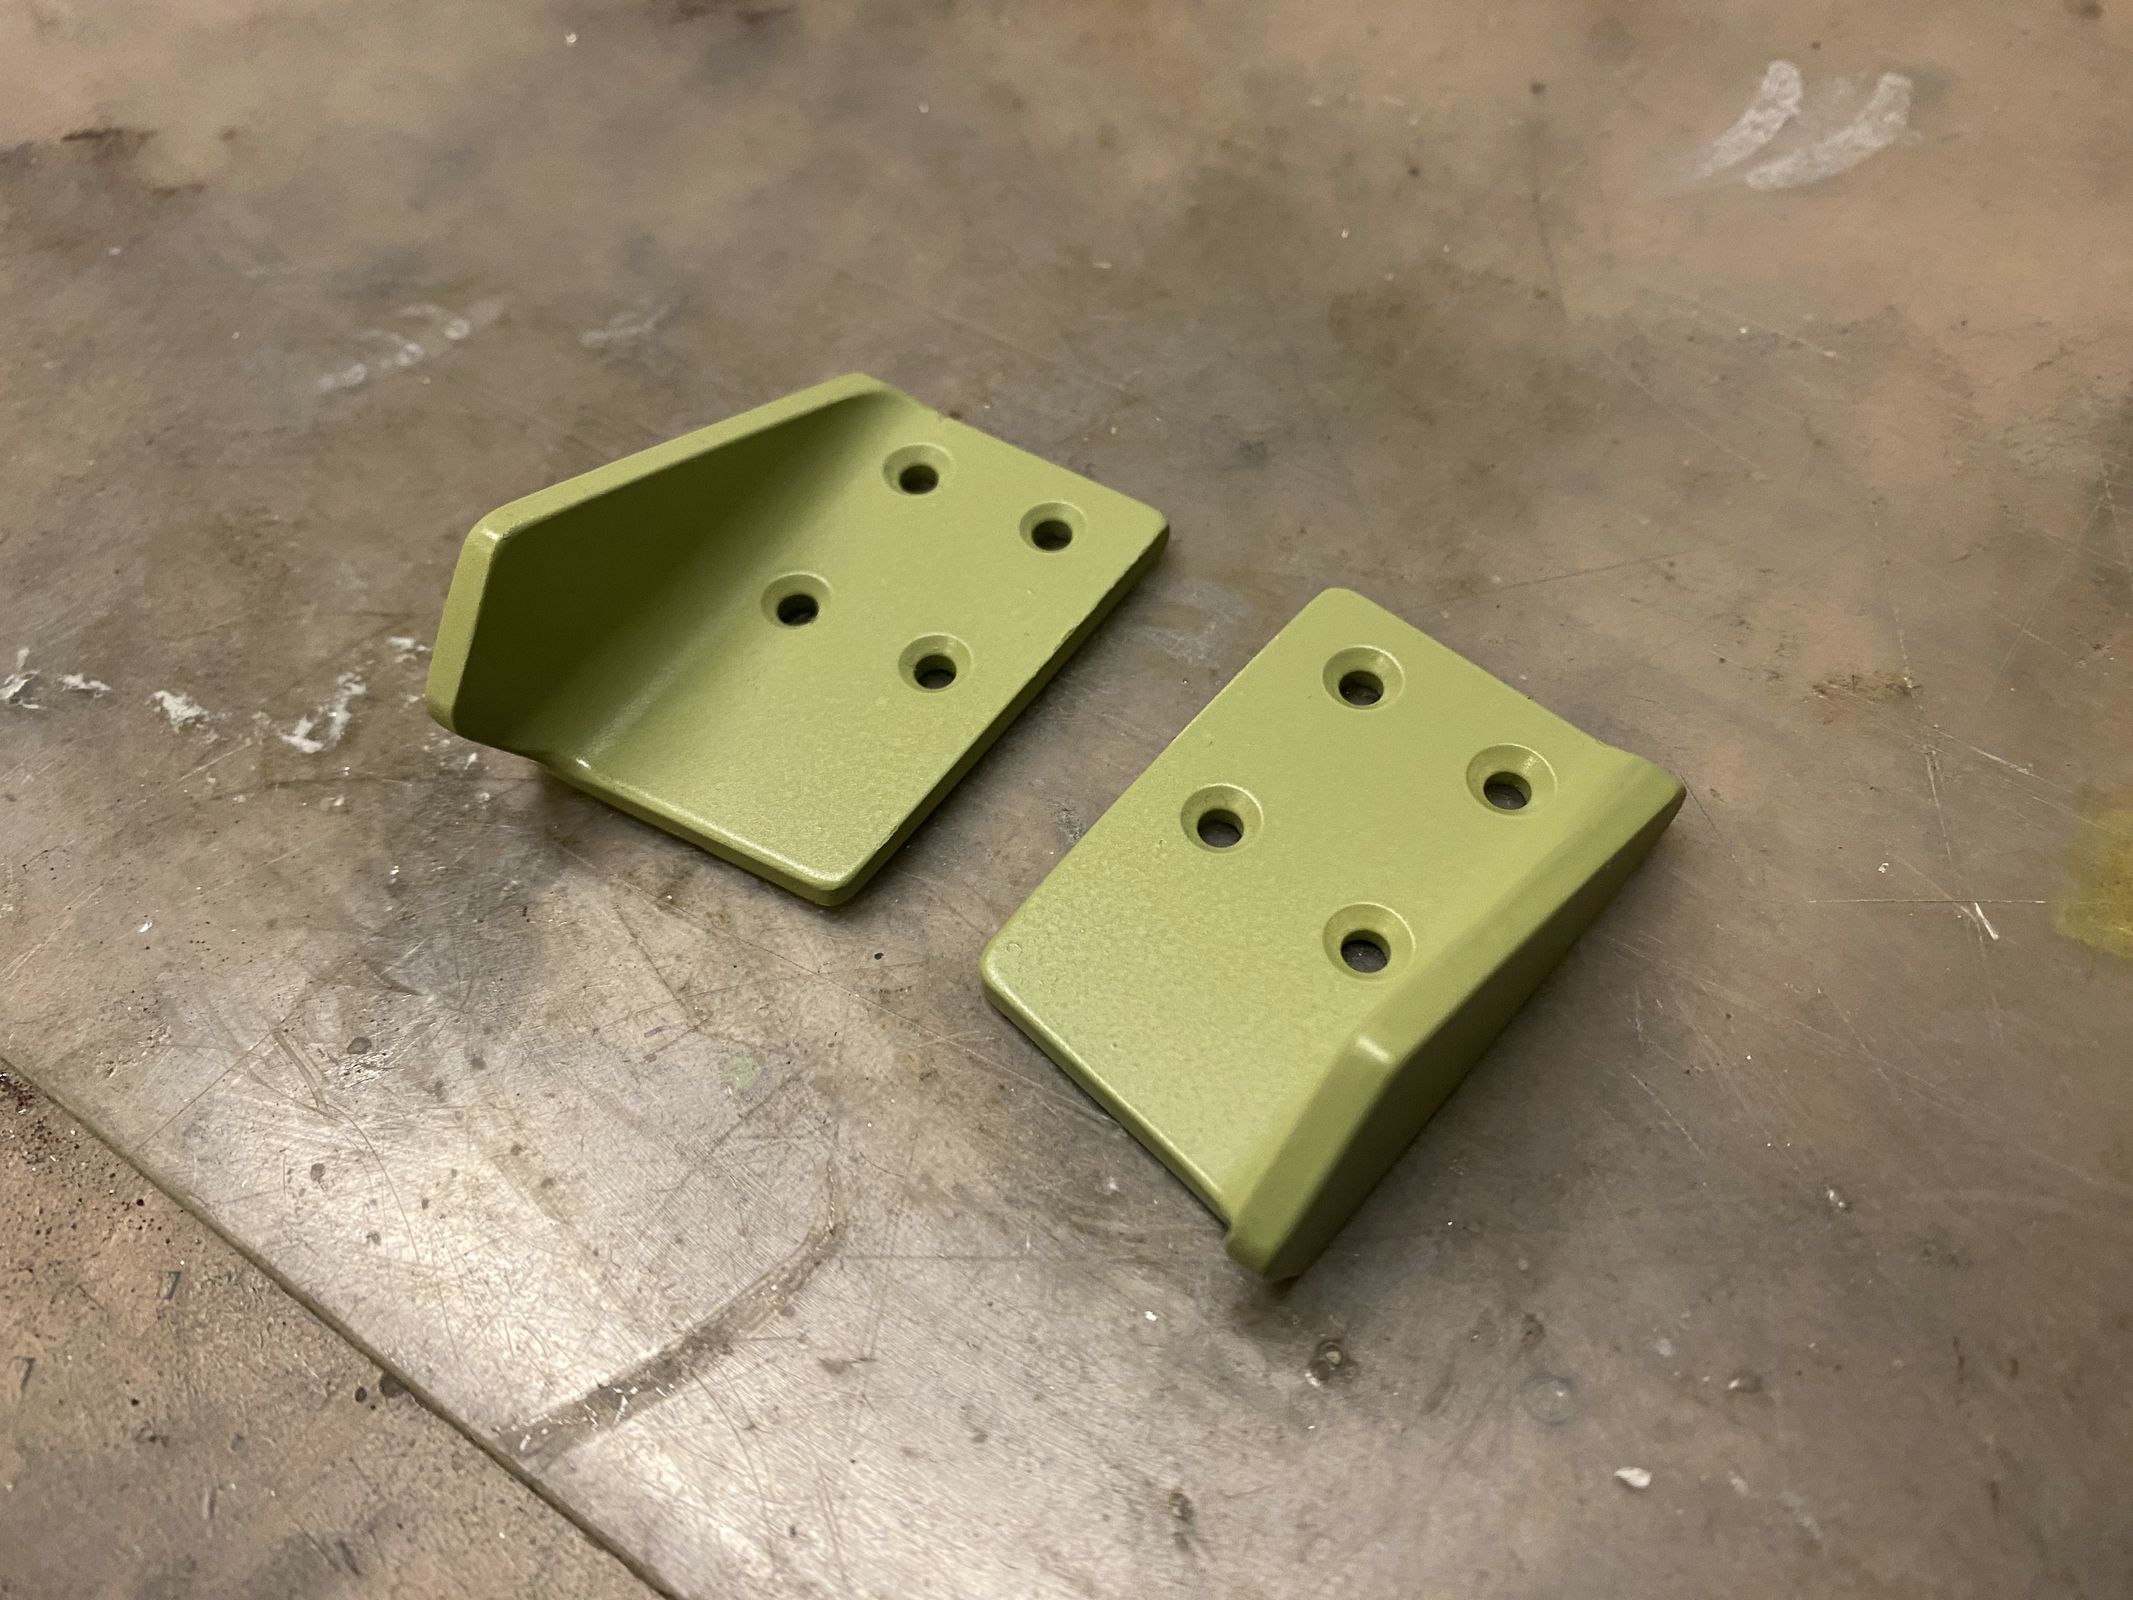
My first rudder stops weren’t quite big enough, so I had to make some new ones.
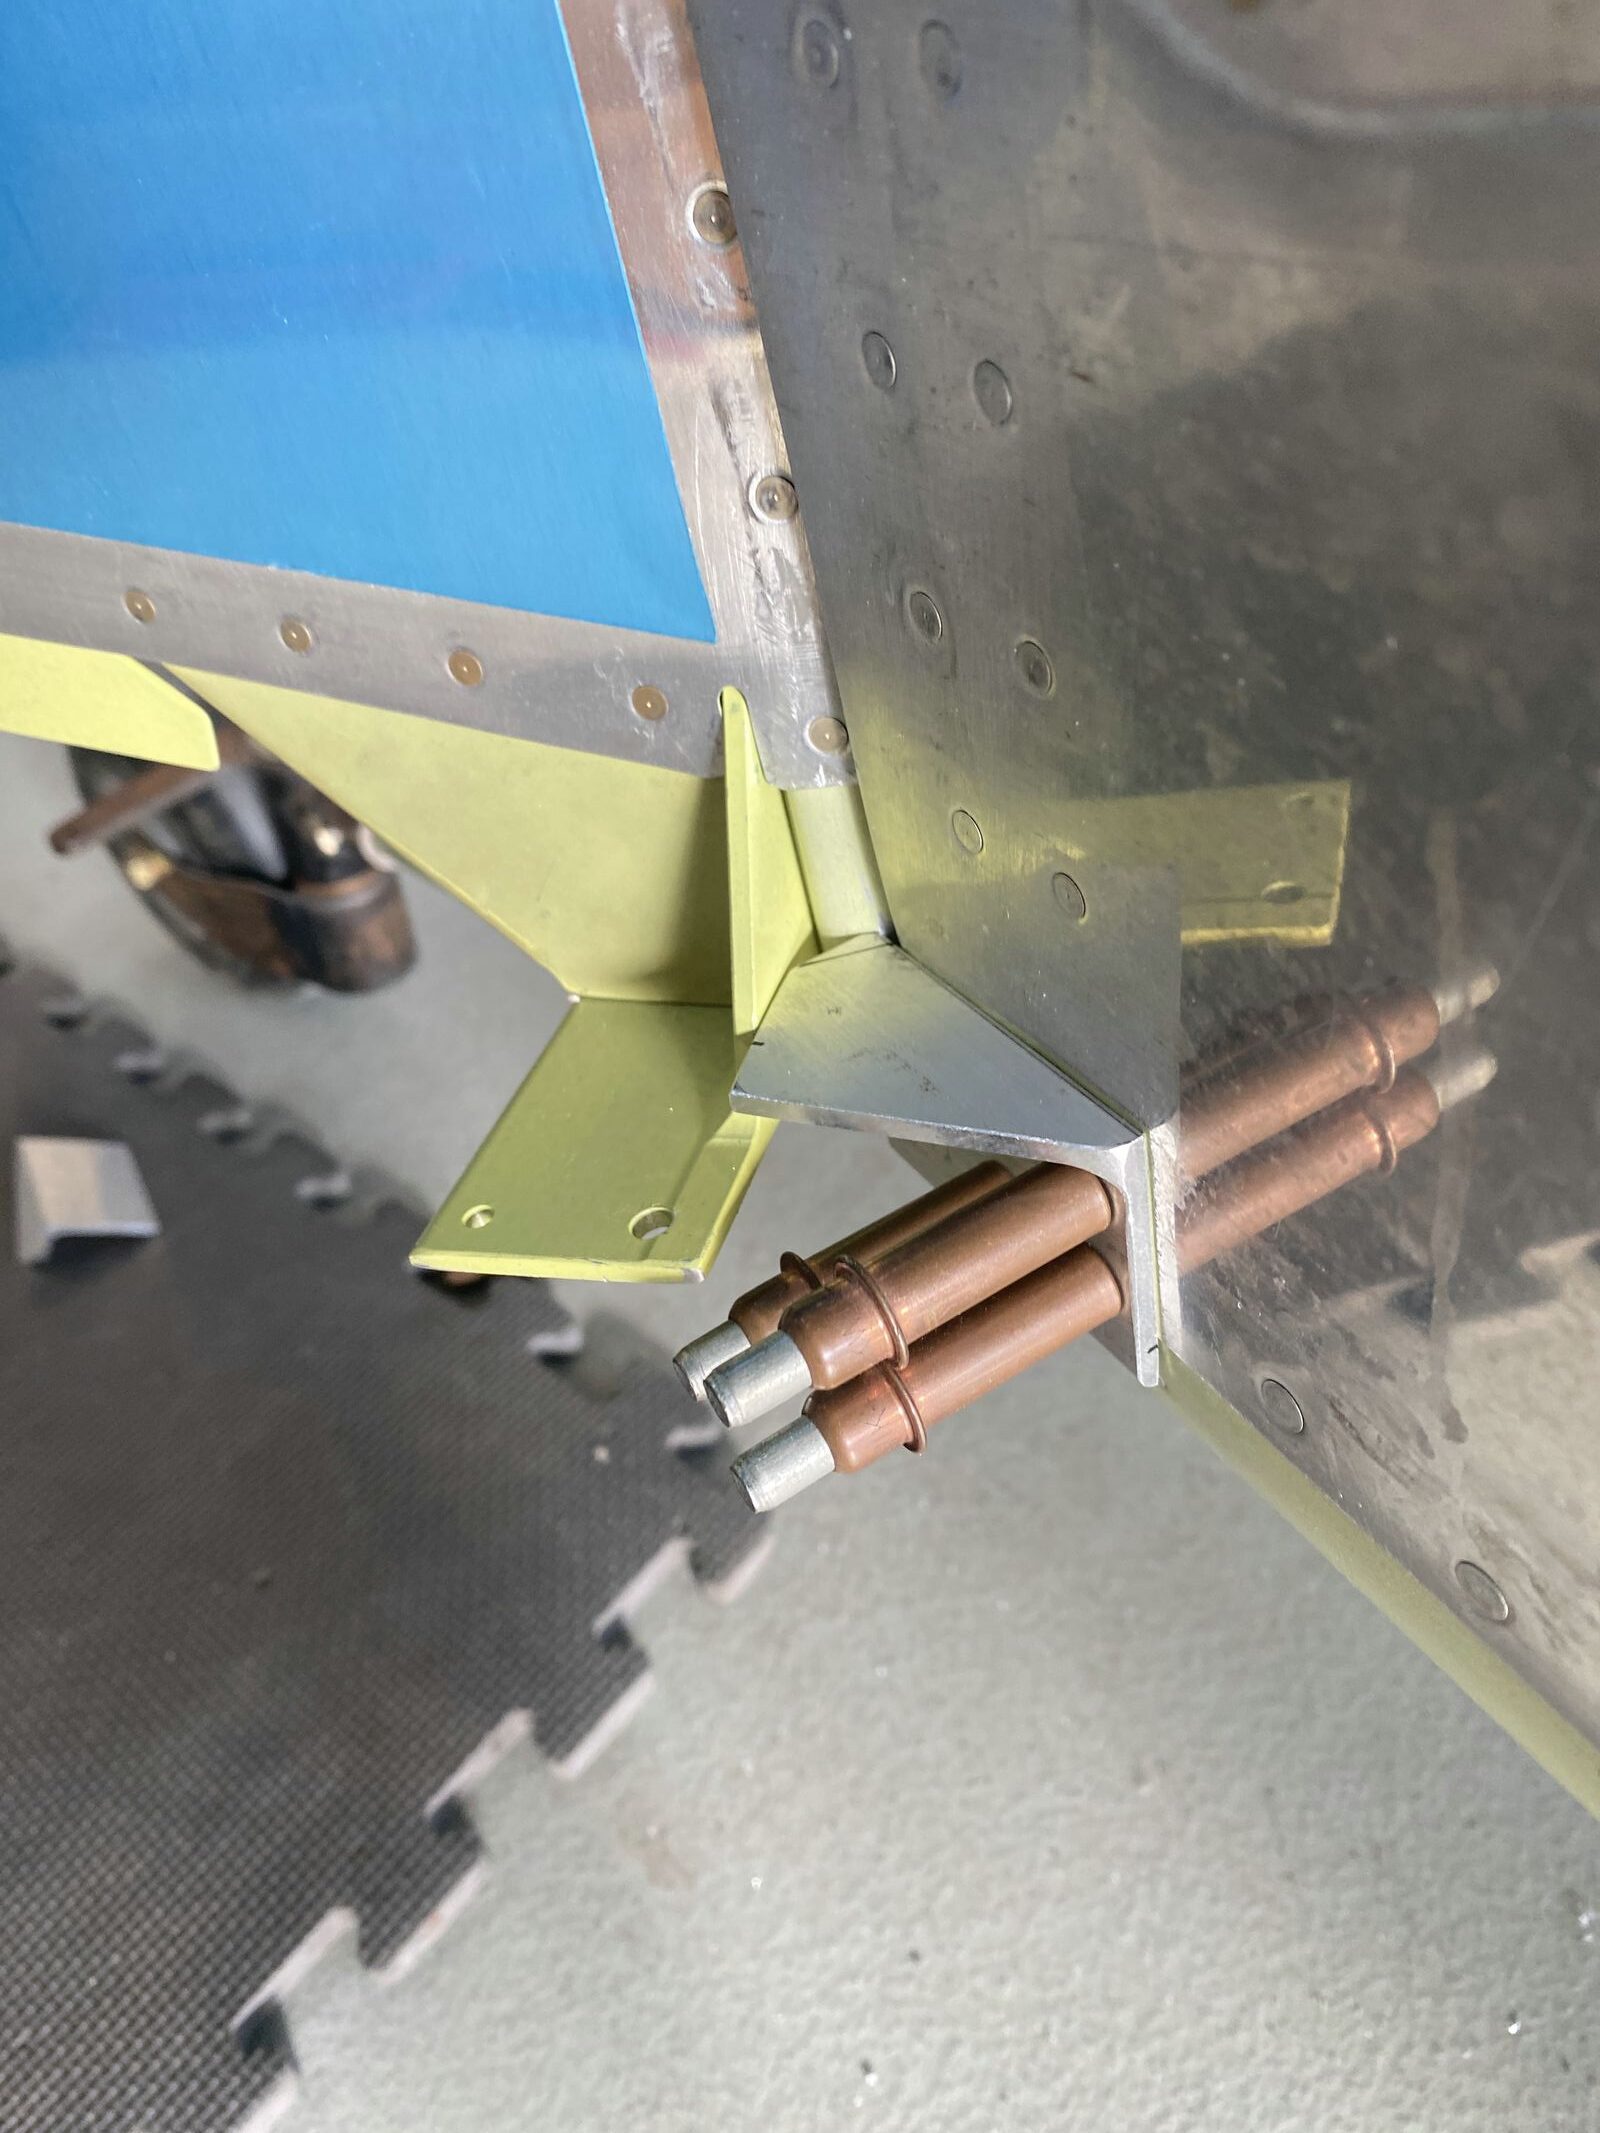
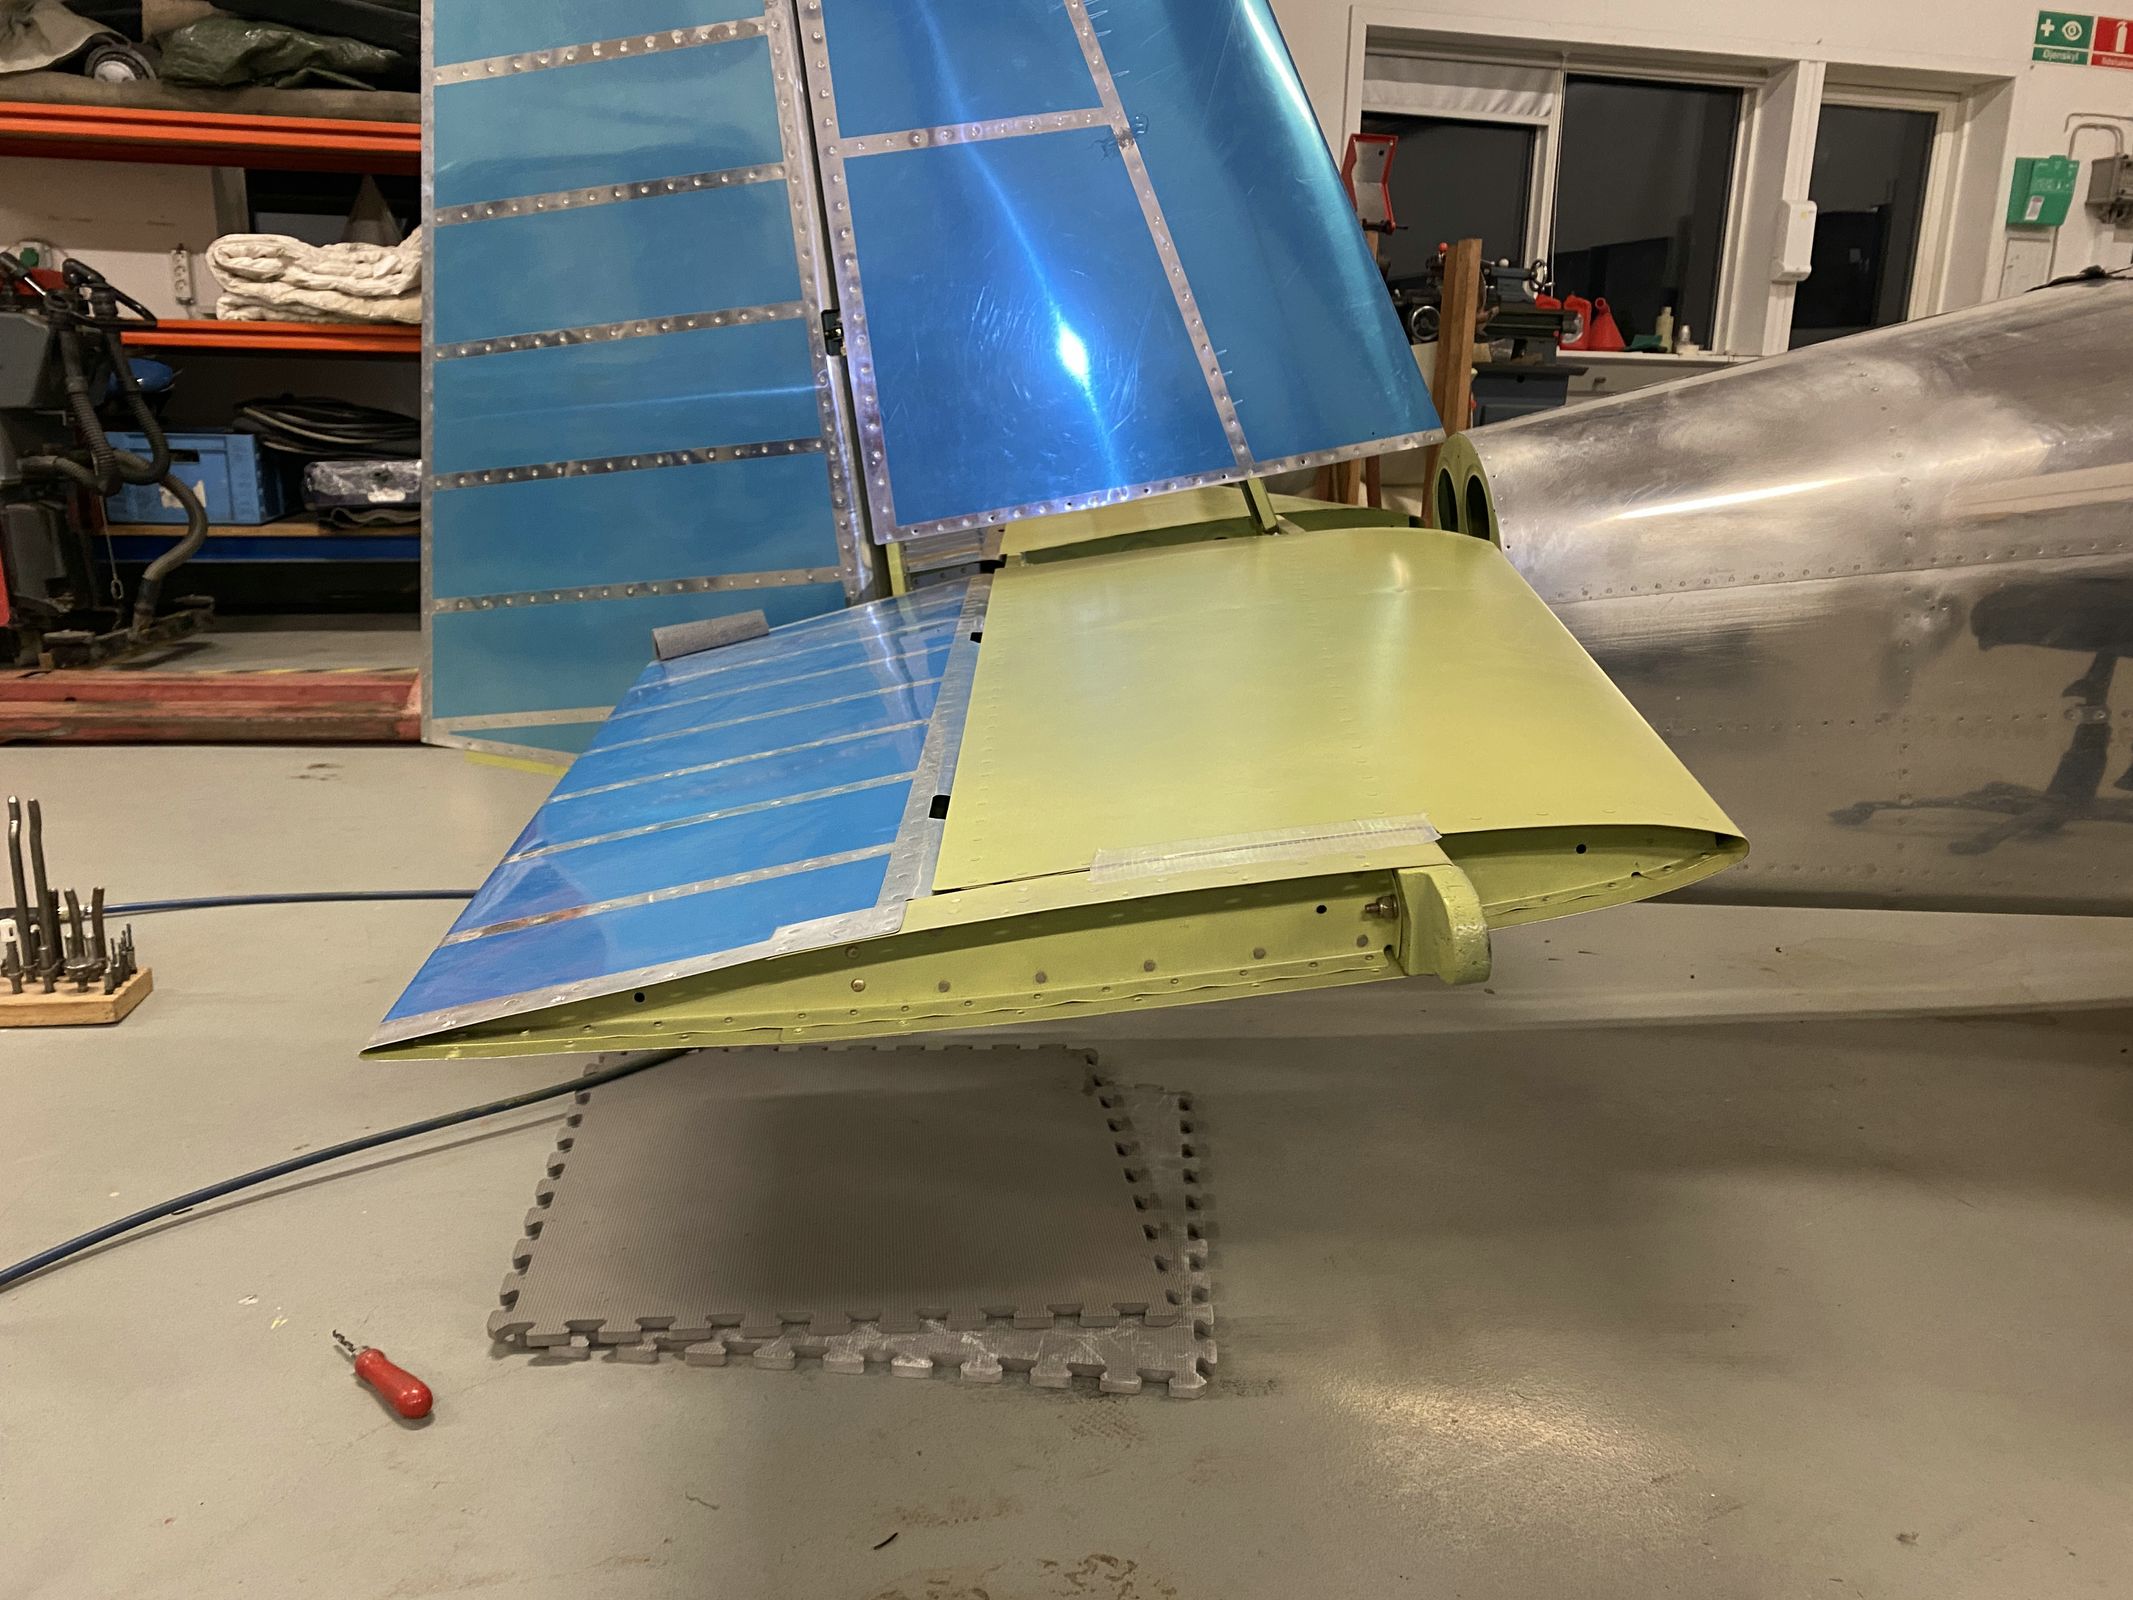
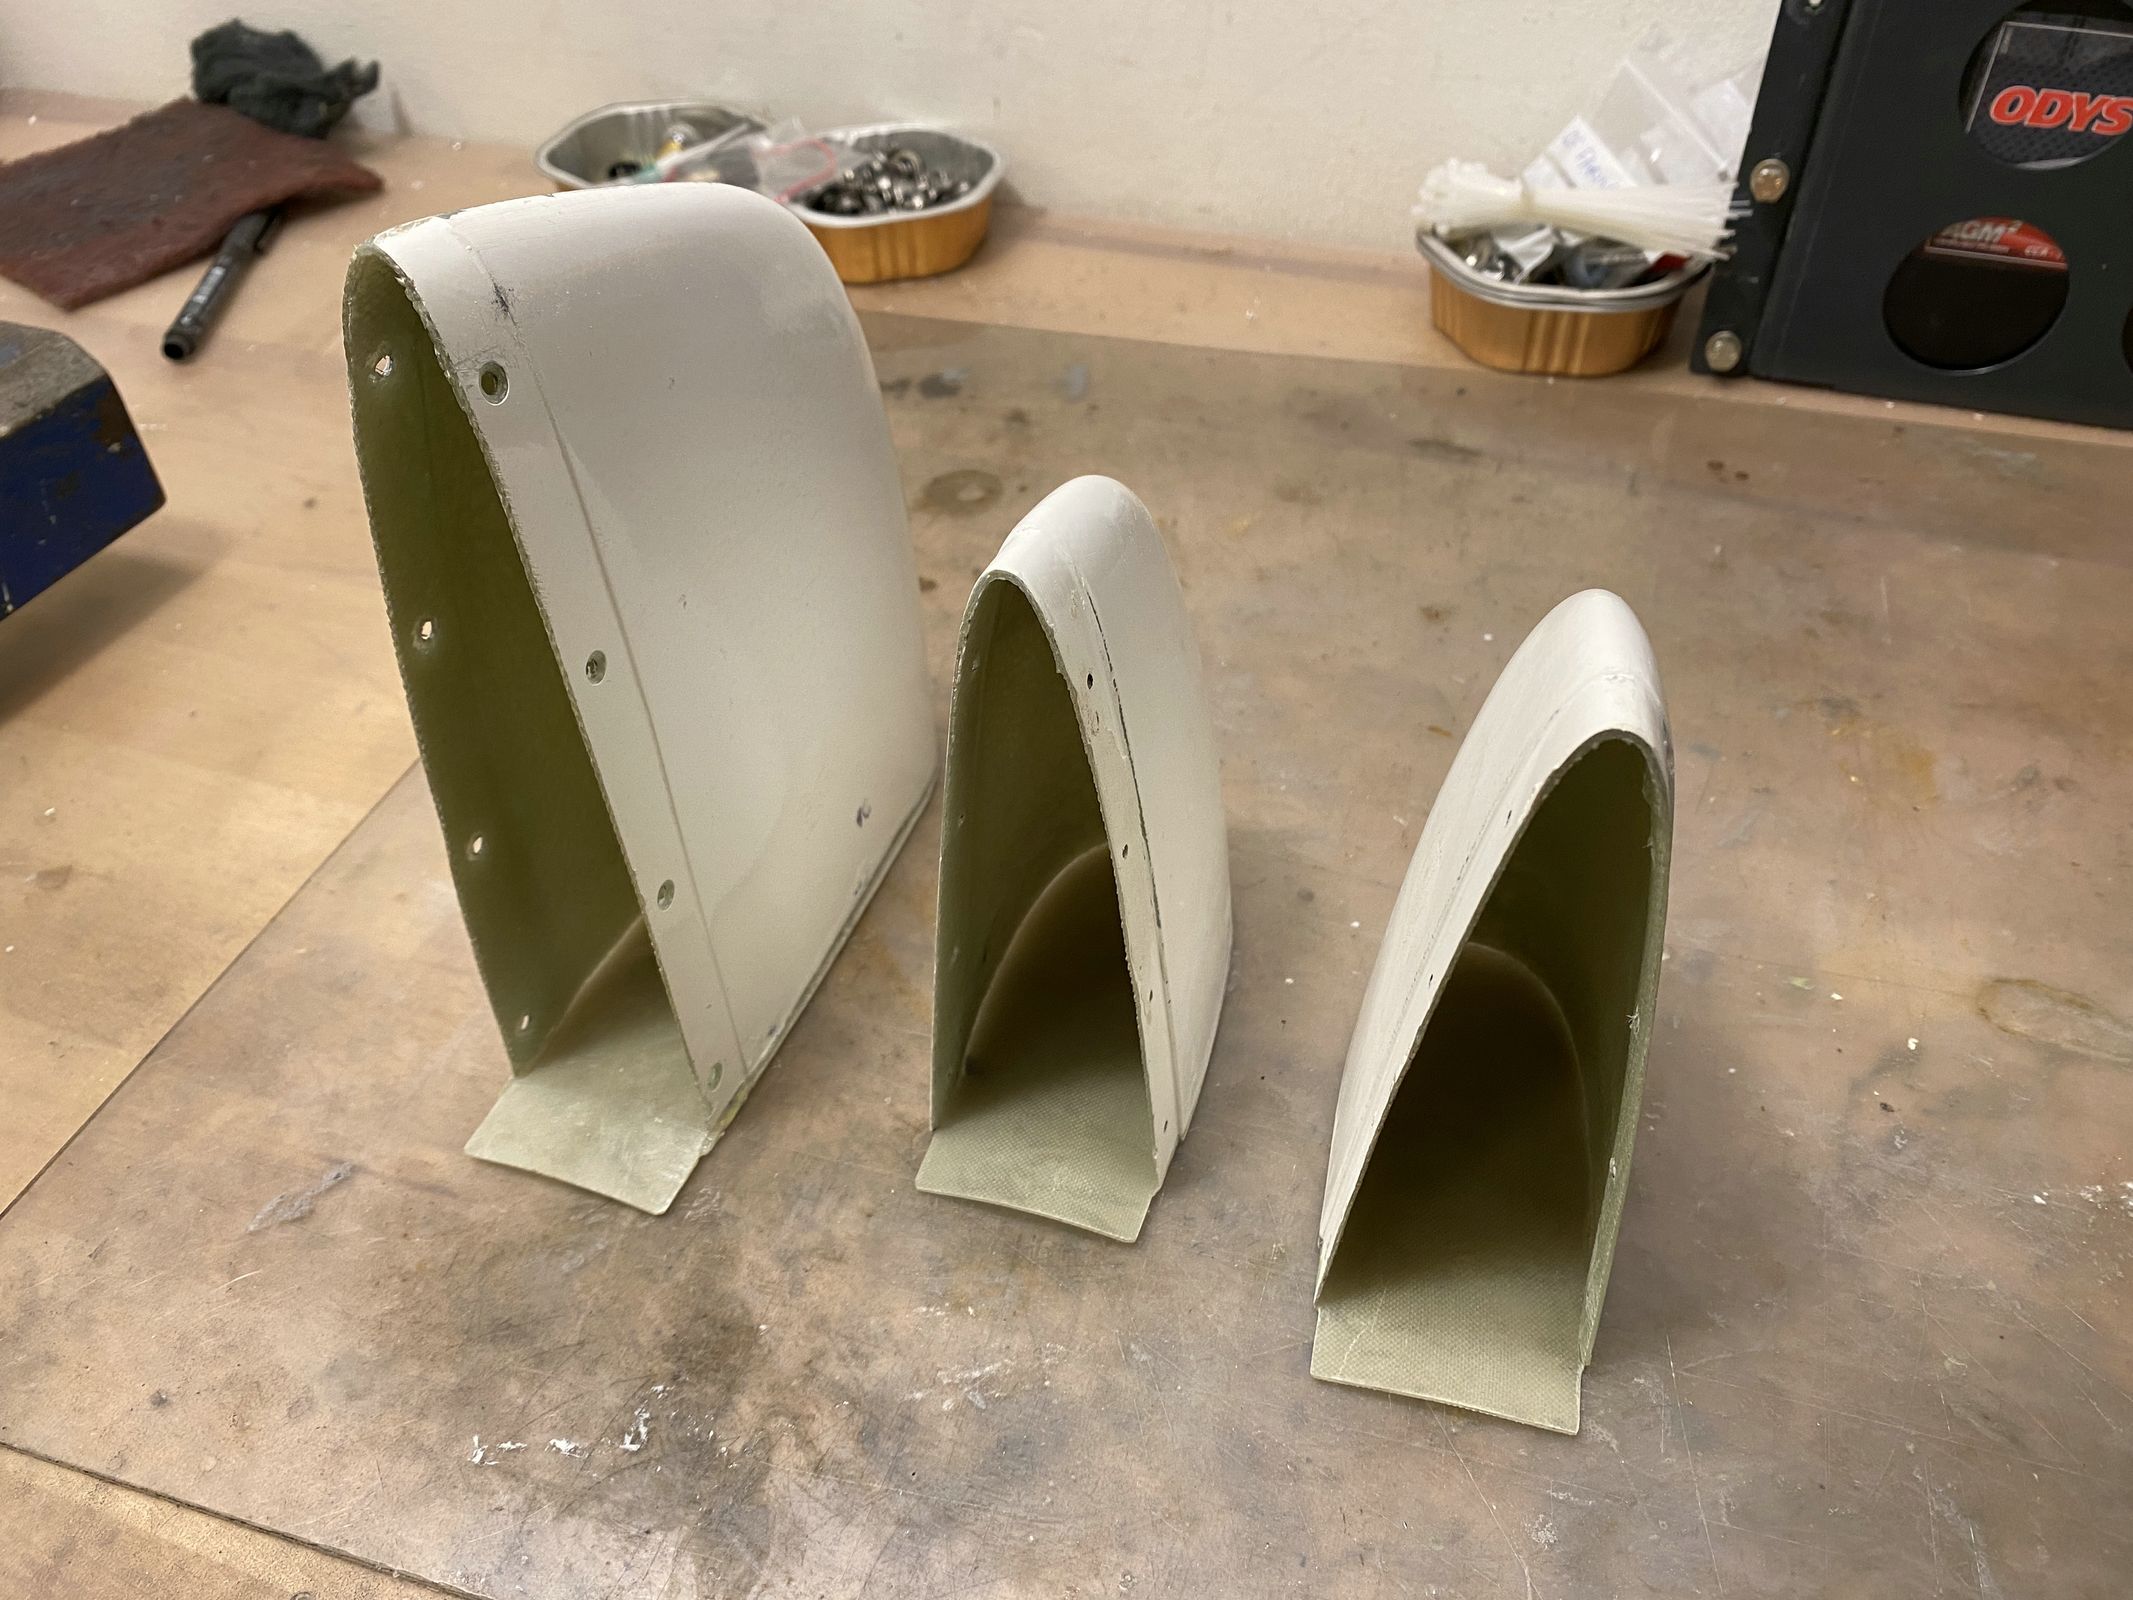
The horizontal and vertical stabilizer tips had to be closed at the rear ends, so I made templates for making covers.
I made the covers 3 plies, with peel ply on the backs.
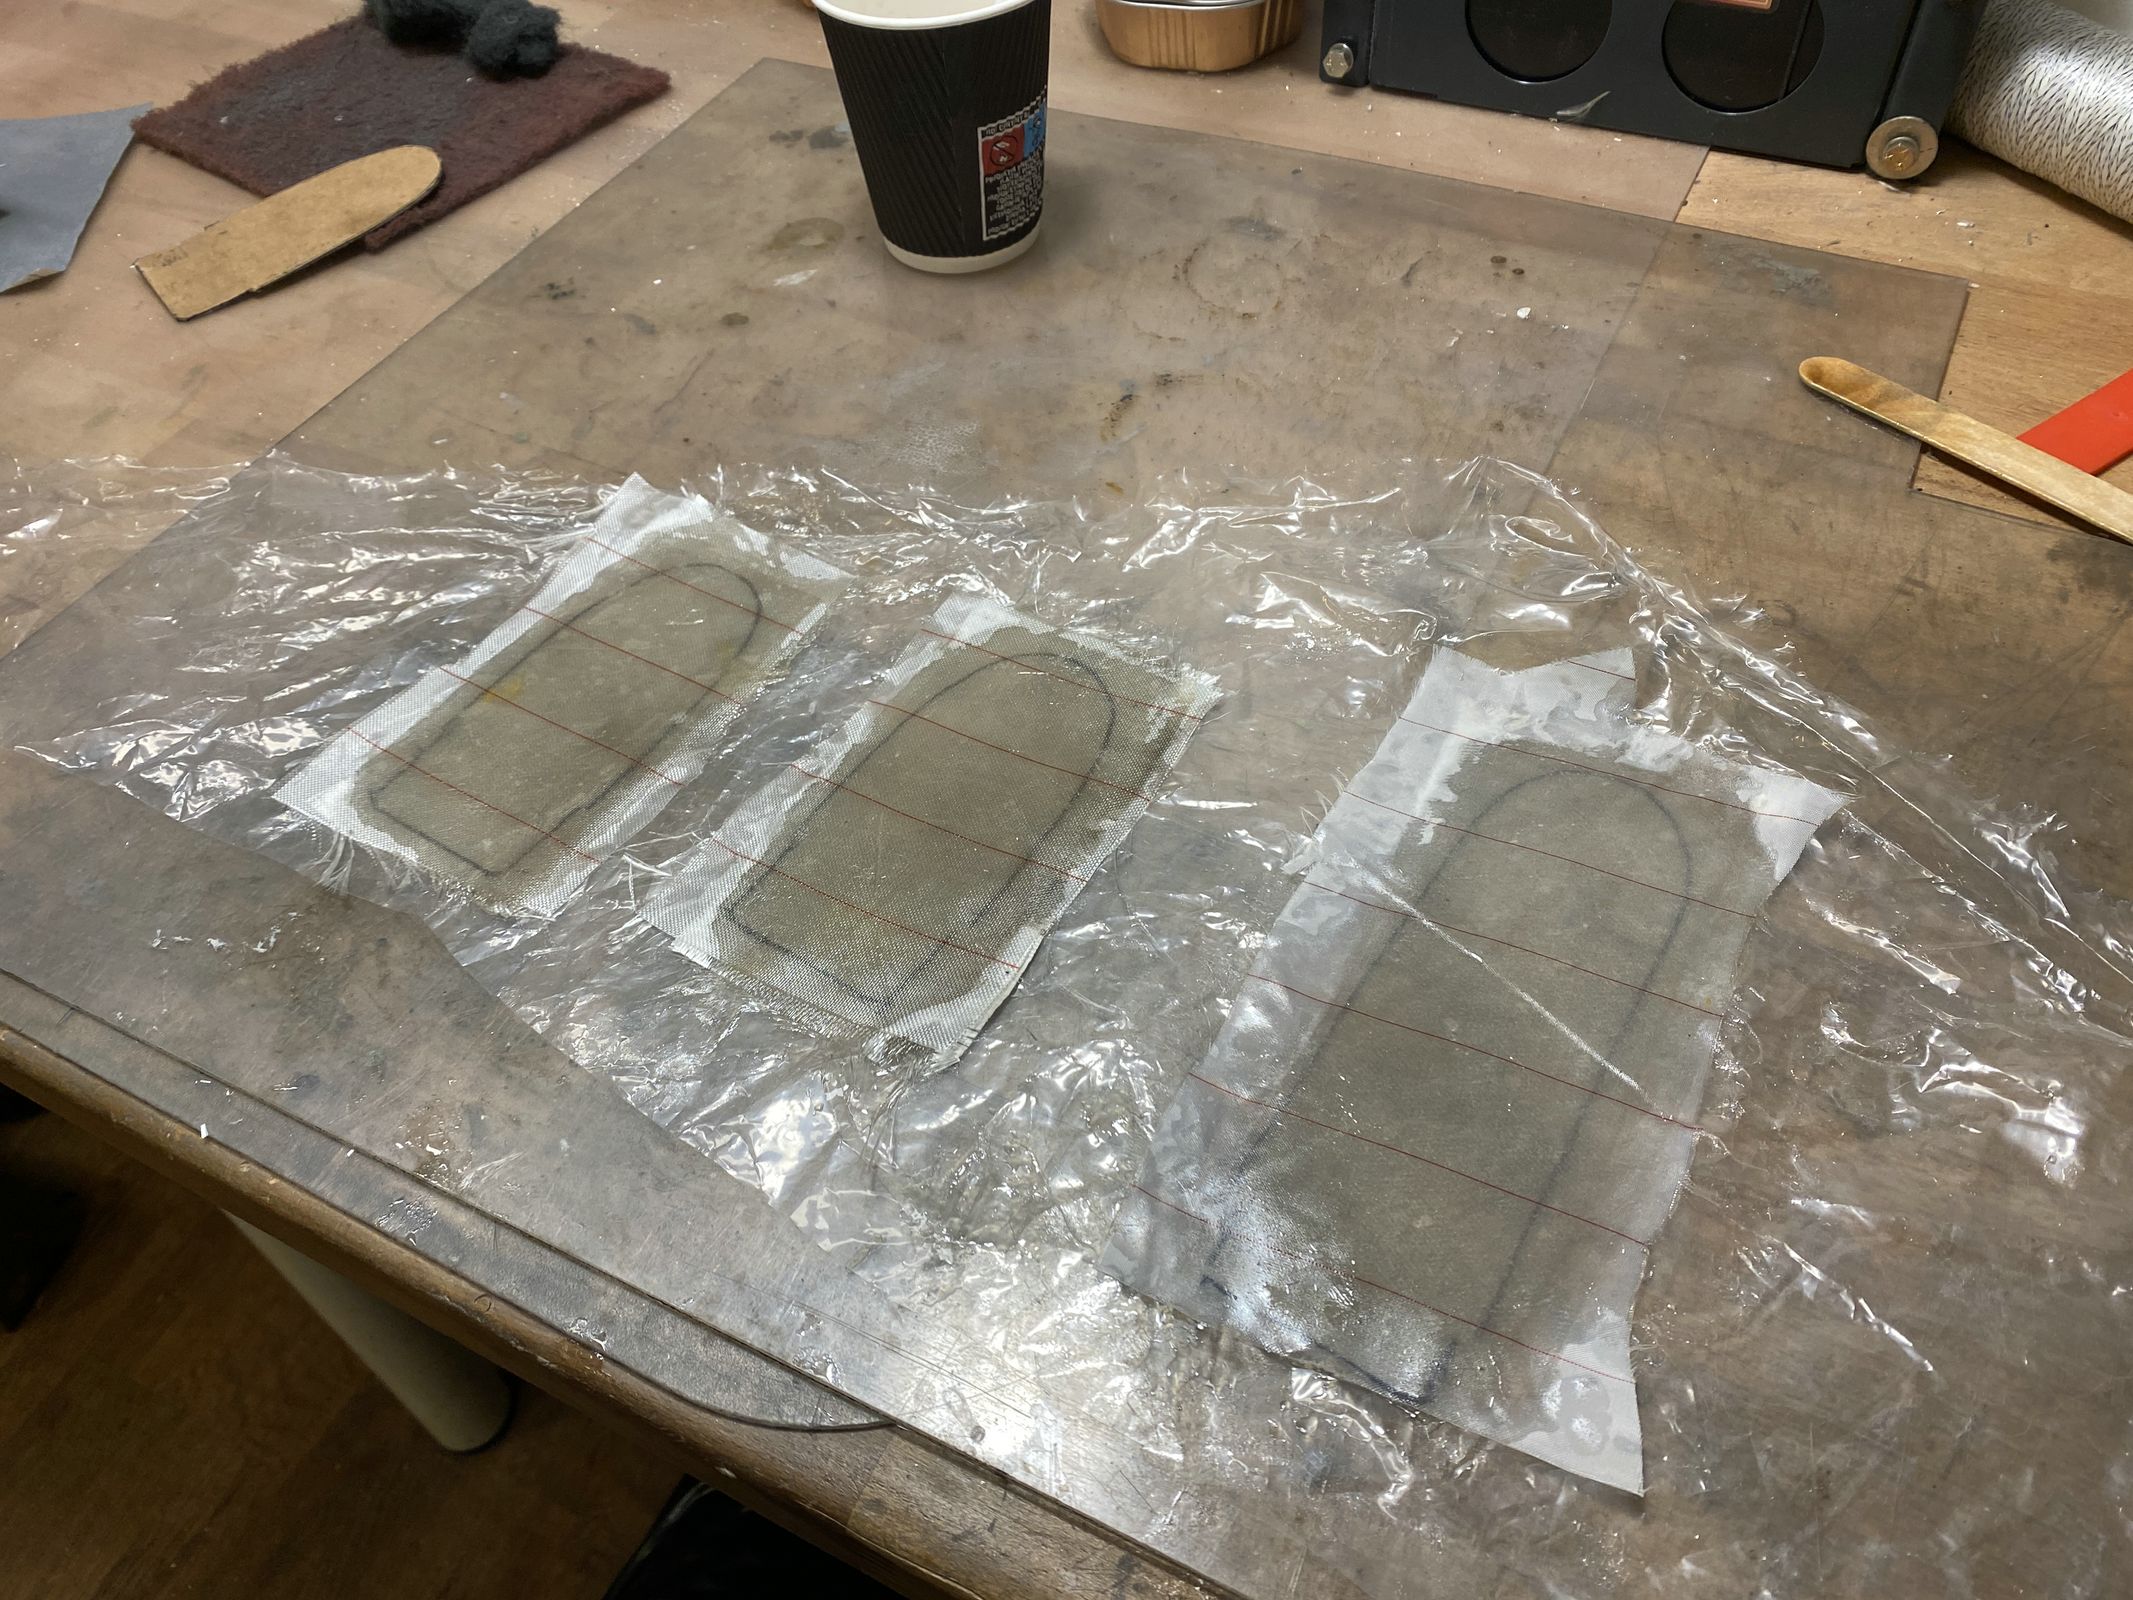
I let the them cure over a bucket, to give them curves.

Back on the aircraft, I superglued them in place…
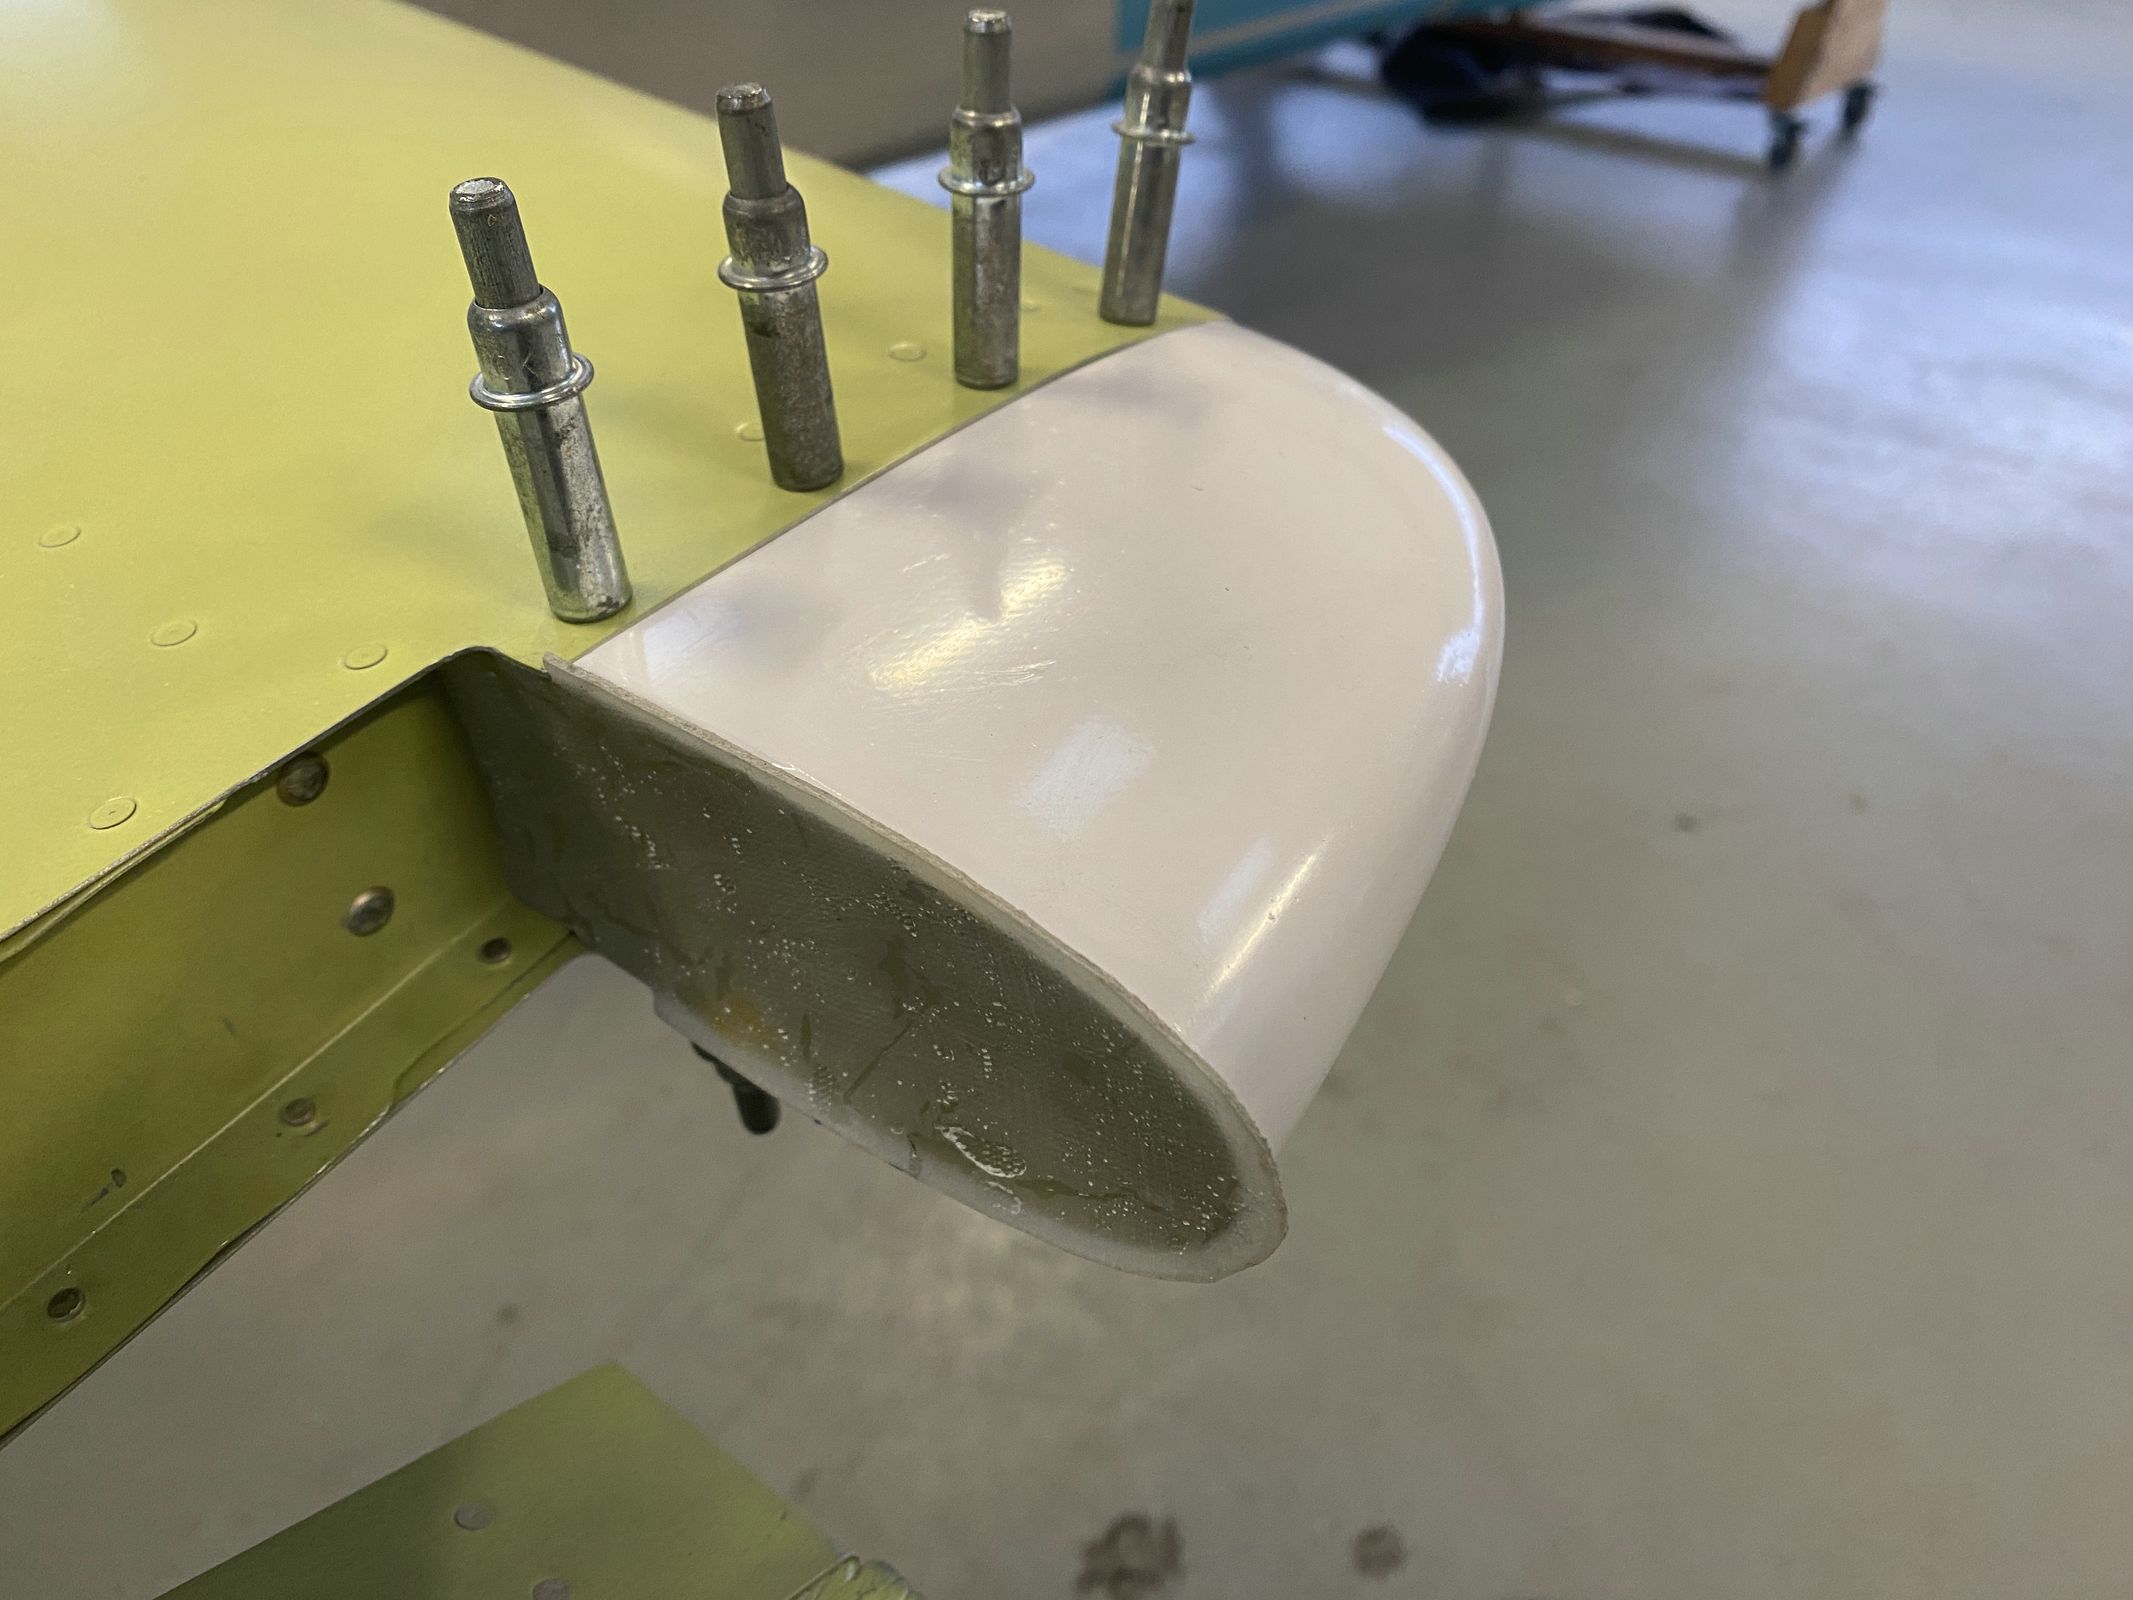
…then I removed them and added epoxy reinforcement on the inside. They still need a bit of filler and sanding, but I think they turned out great.
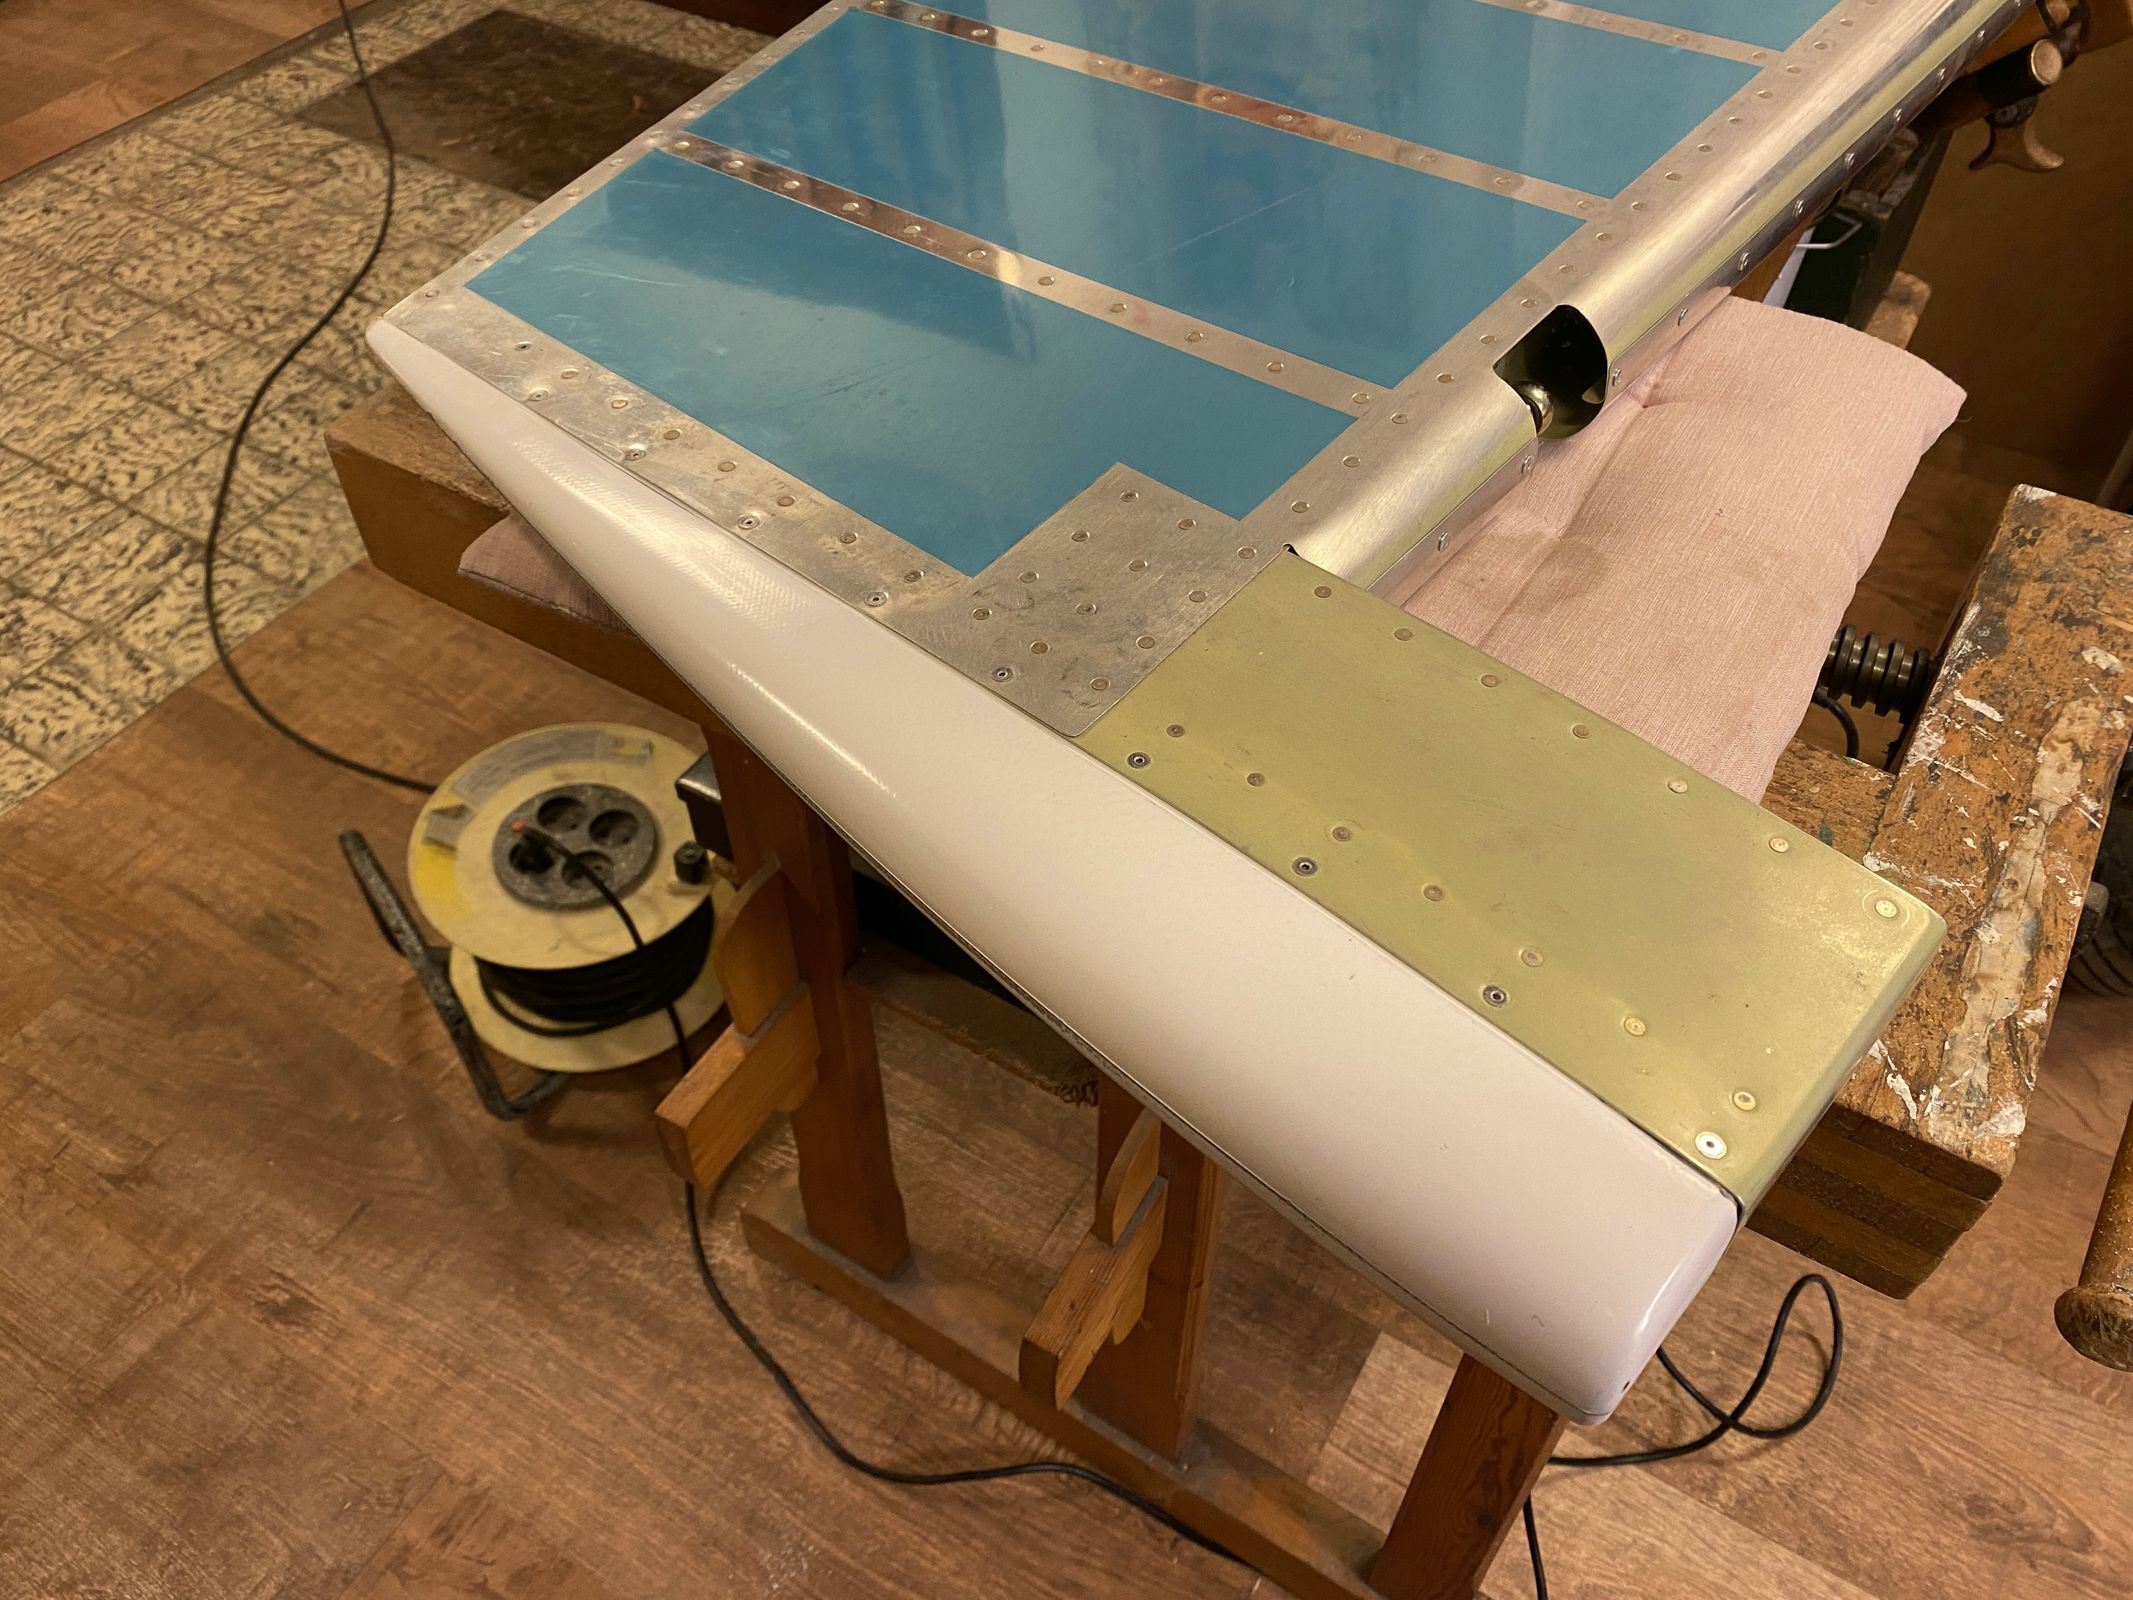
I worked a bit on the rudder tip and bottom fairing too.
The tip was pretty easy to do, it need a bit of trimming to fit, and the trailing end had to be extended with some epoxy filler, but here it is riveted in place.
The lower fairing also needed some trimming.
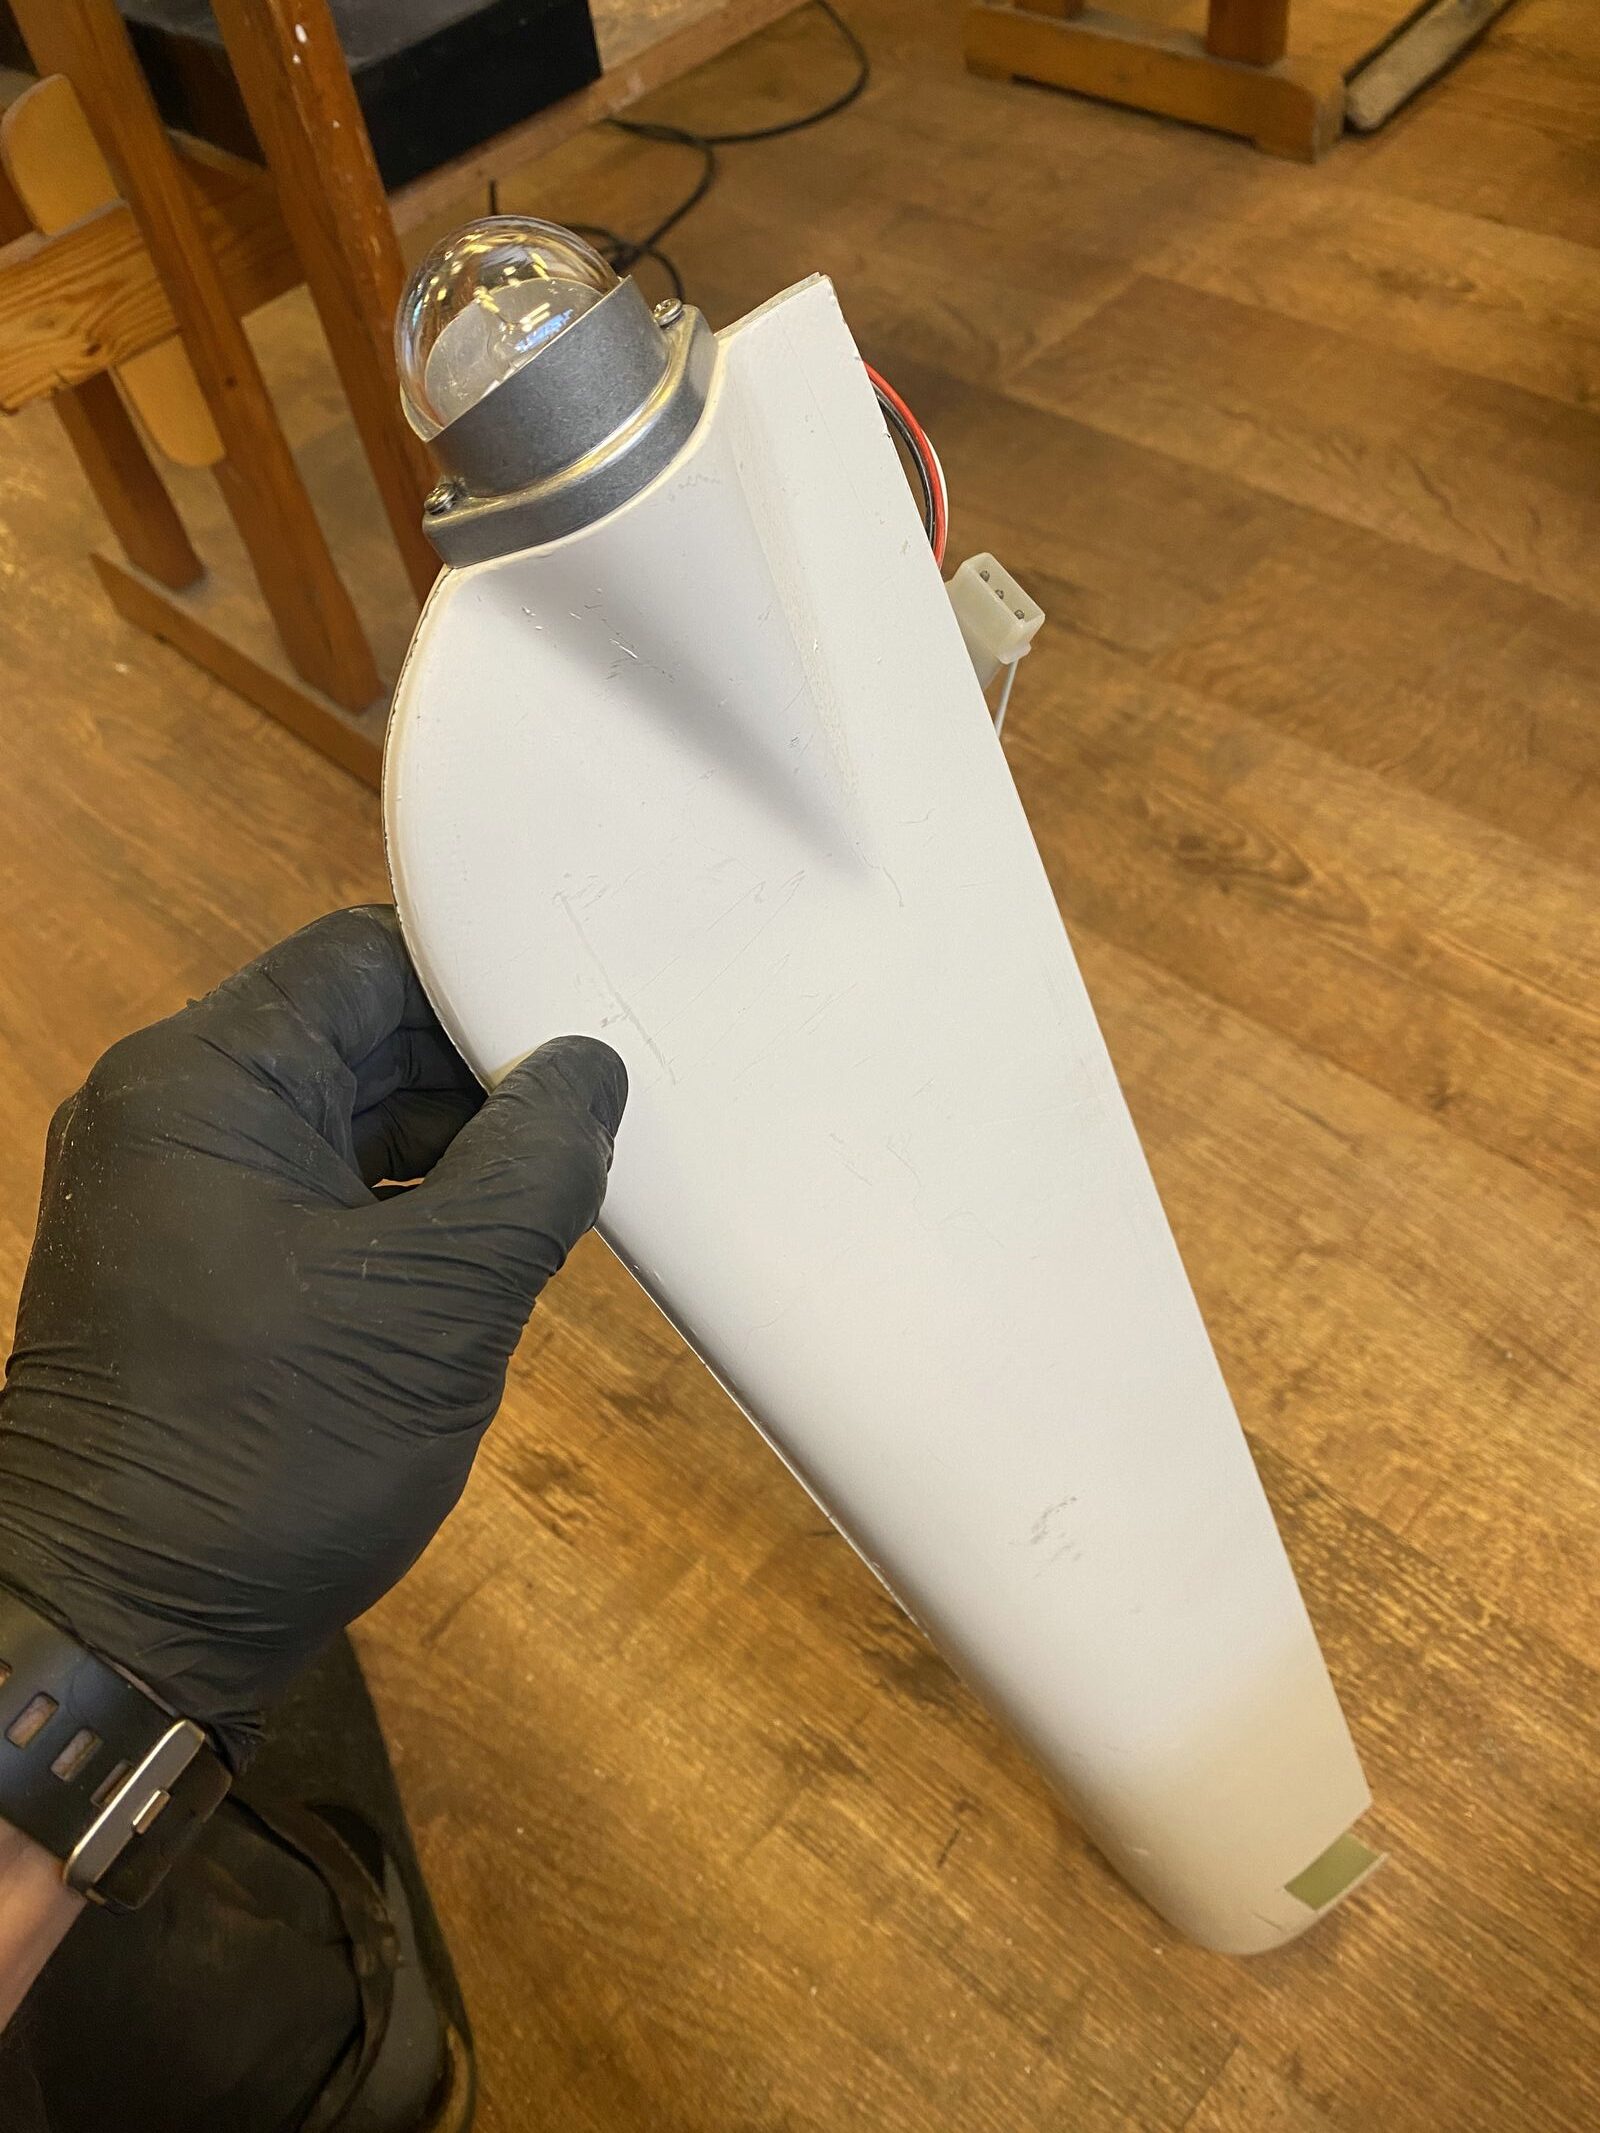
It needs a cutout for the rudder horn…
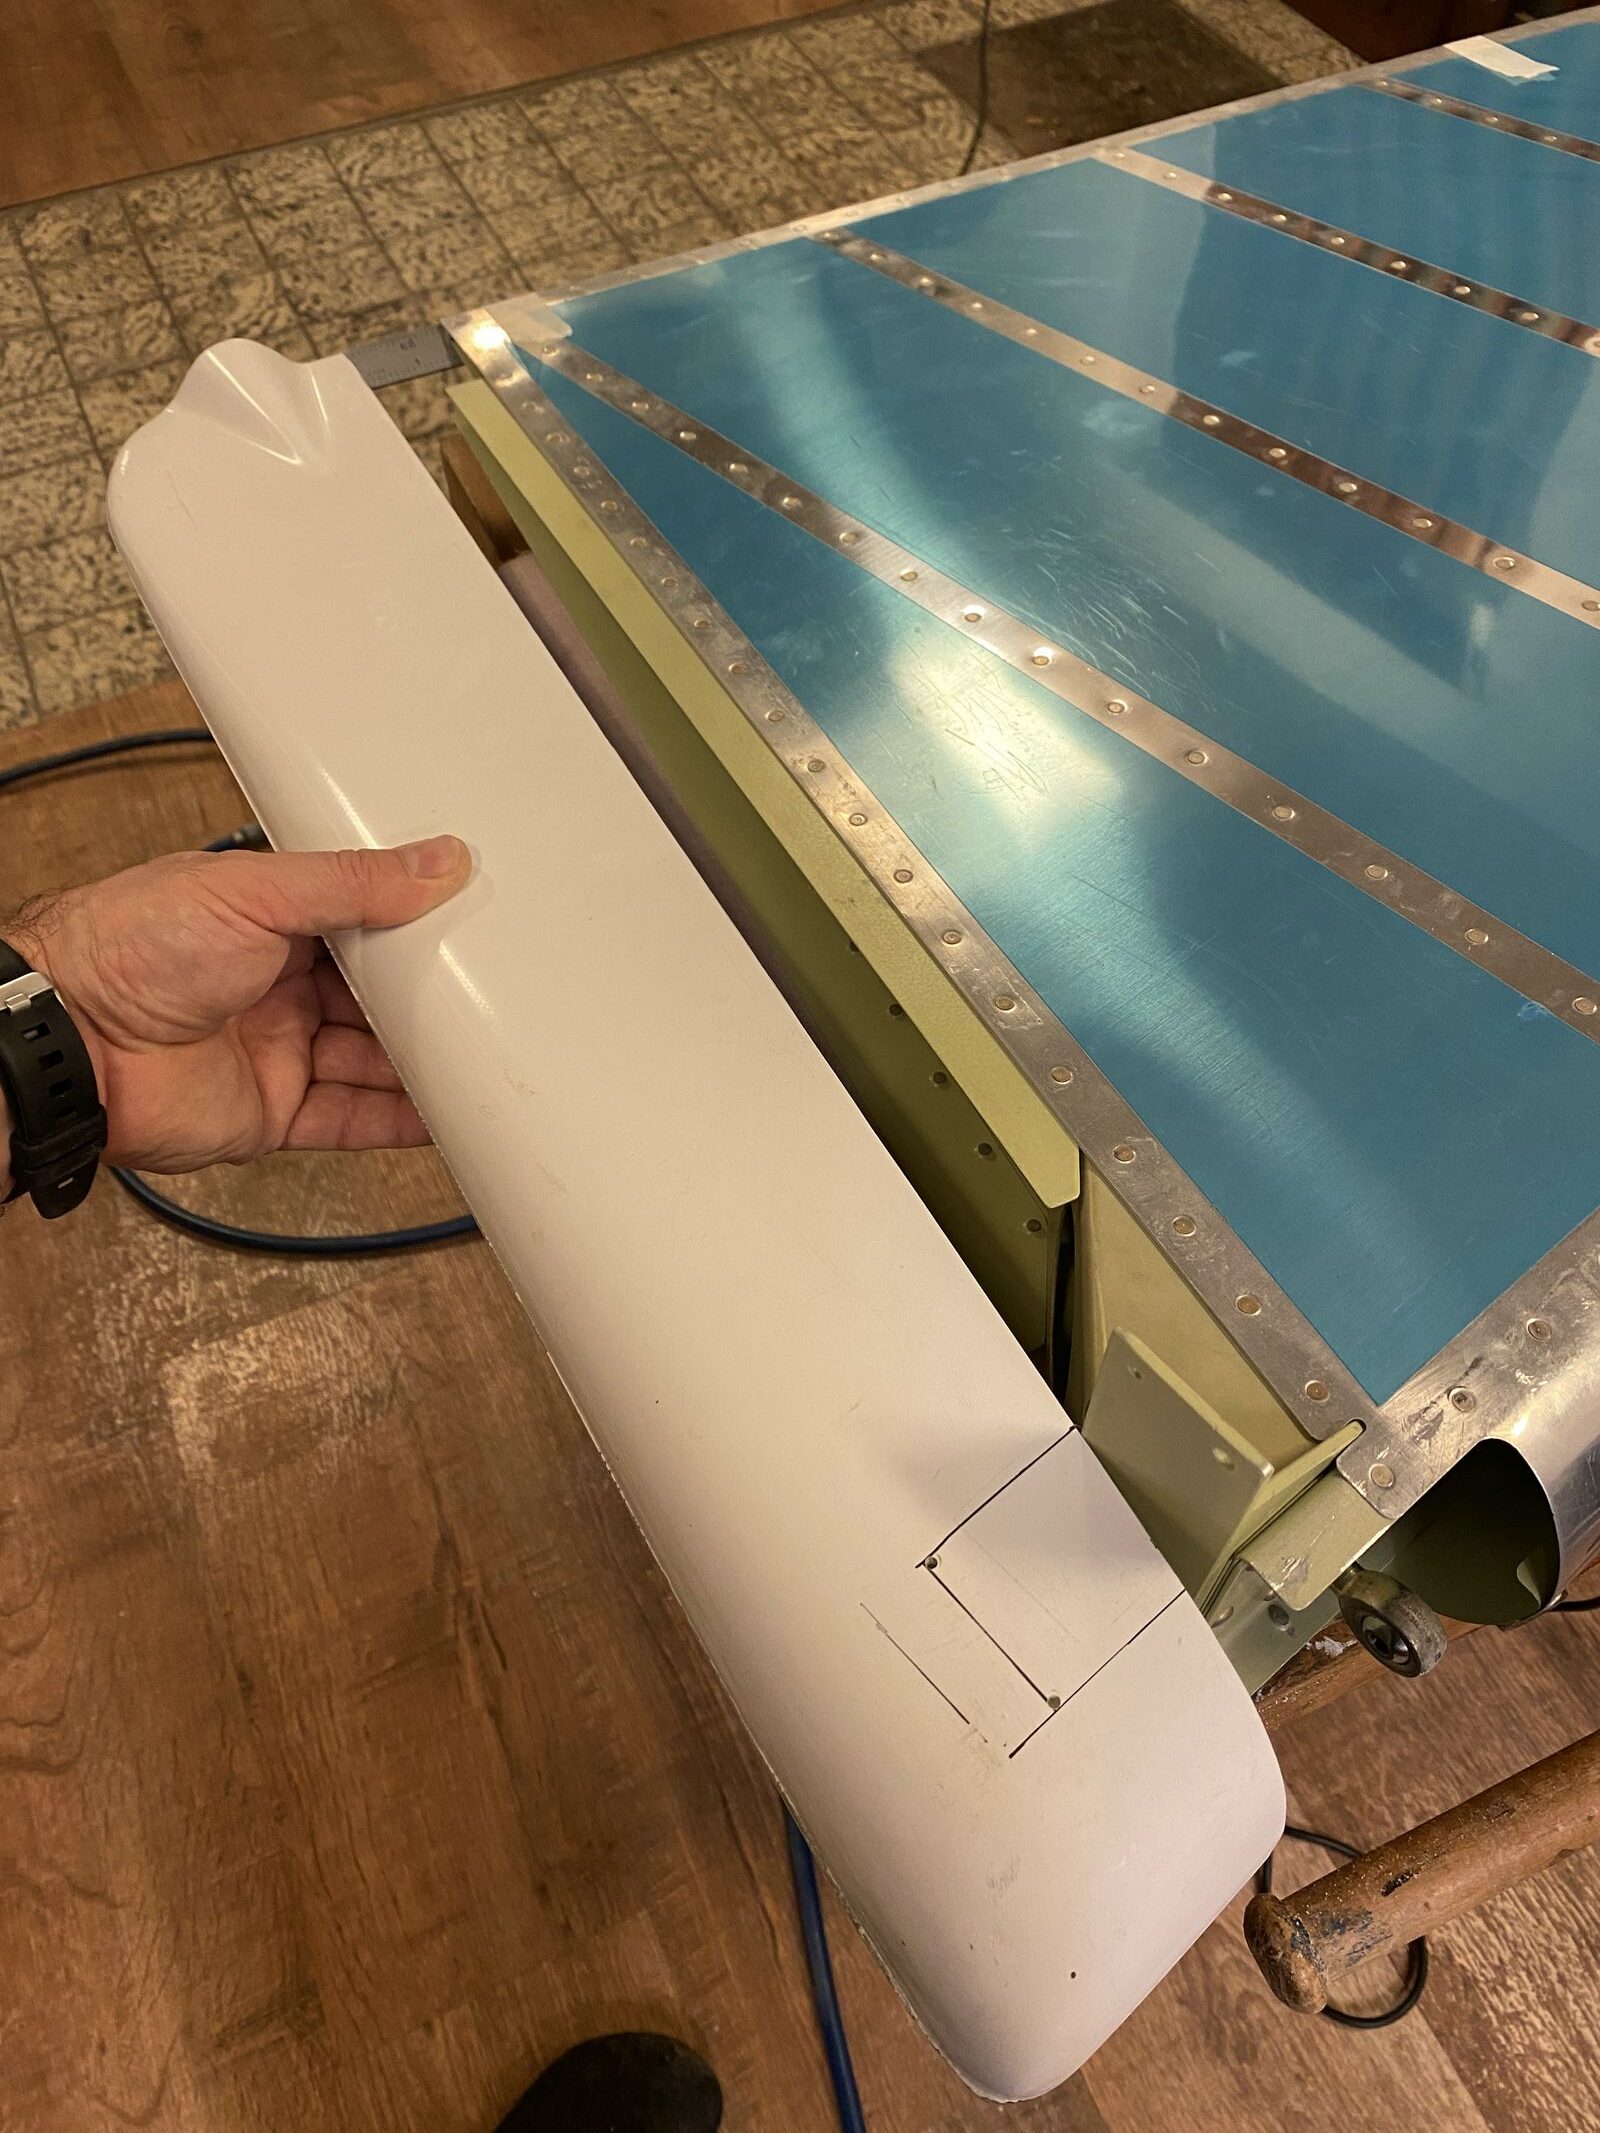
…and to have the rear nav/strobe light installed. This took a while, as the inside of the faring was very rough. I had to grind a lot of material out before the small brass nuts for the light assy would lay flat inside, then I glued them in place with epoxy filler.
After a lot of trimming and finetuning, the bottom fairing is riveted in place also.