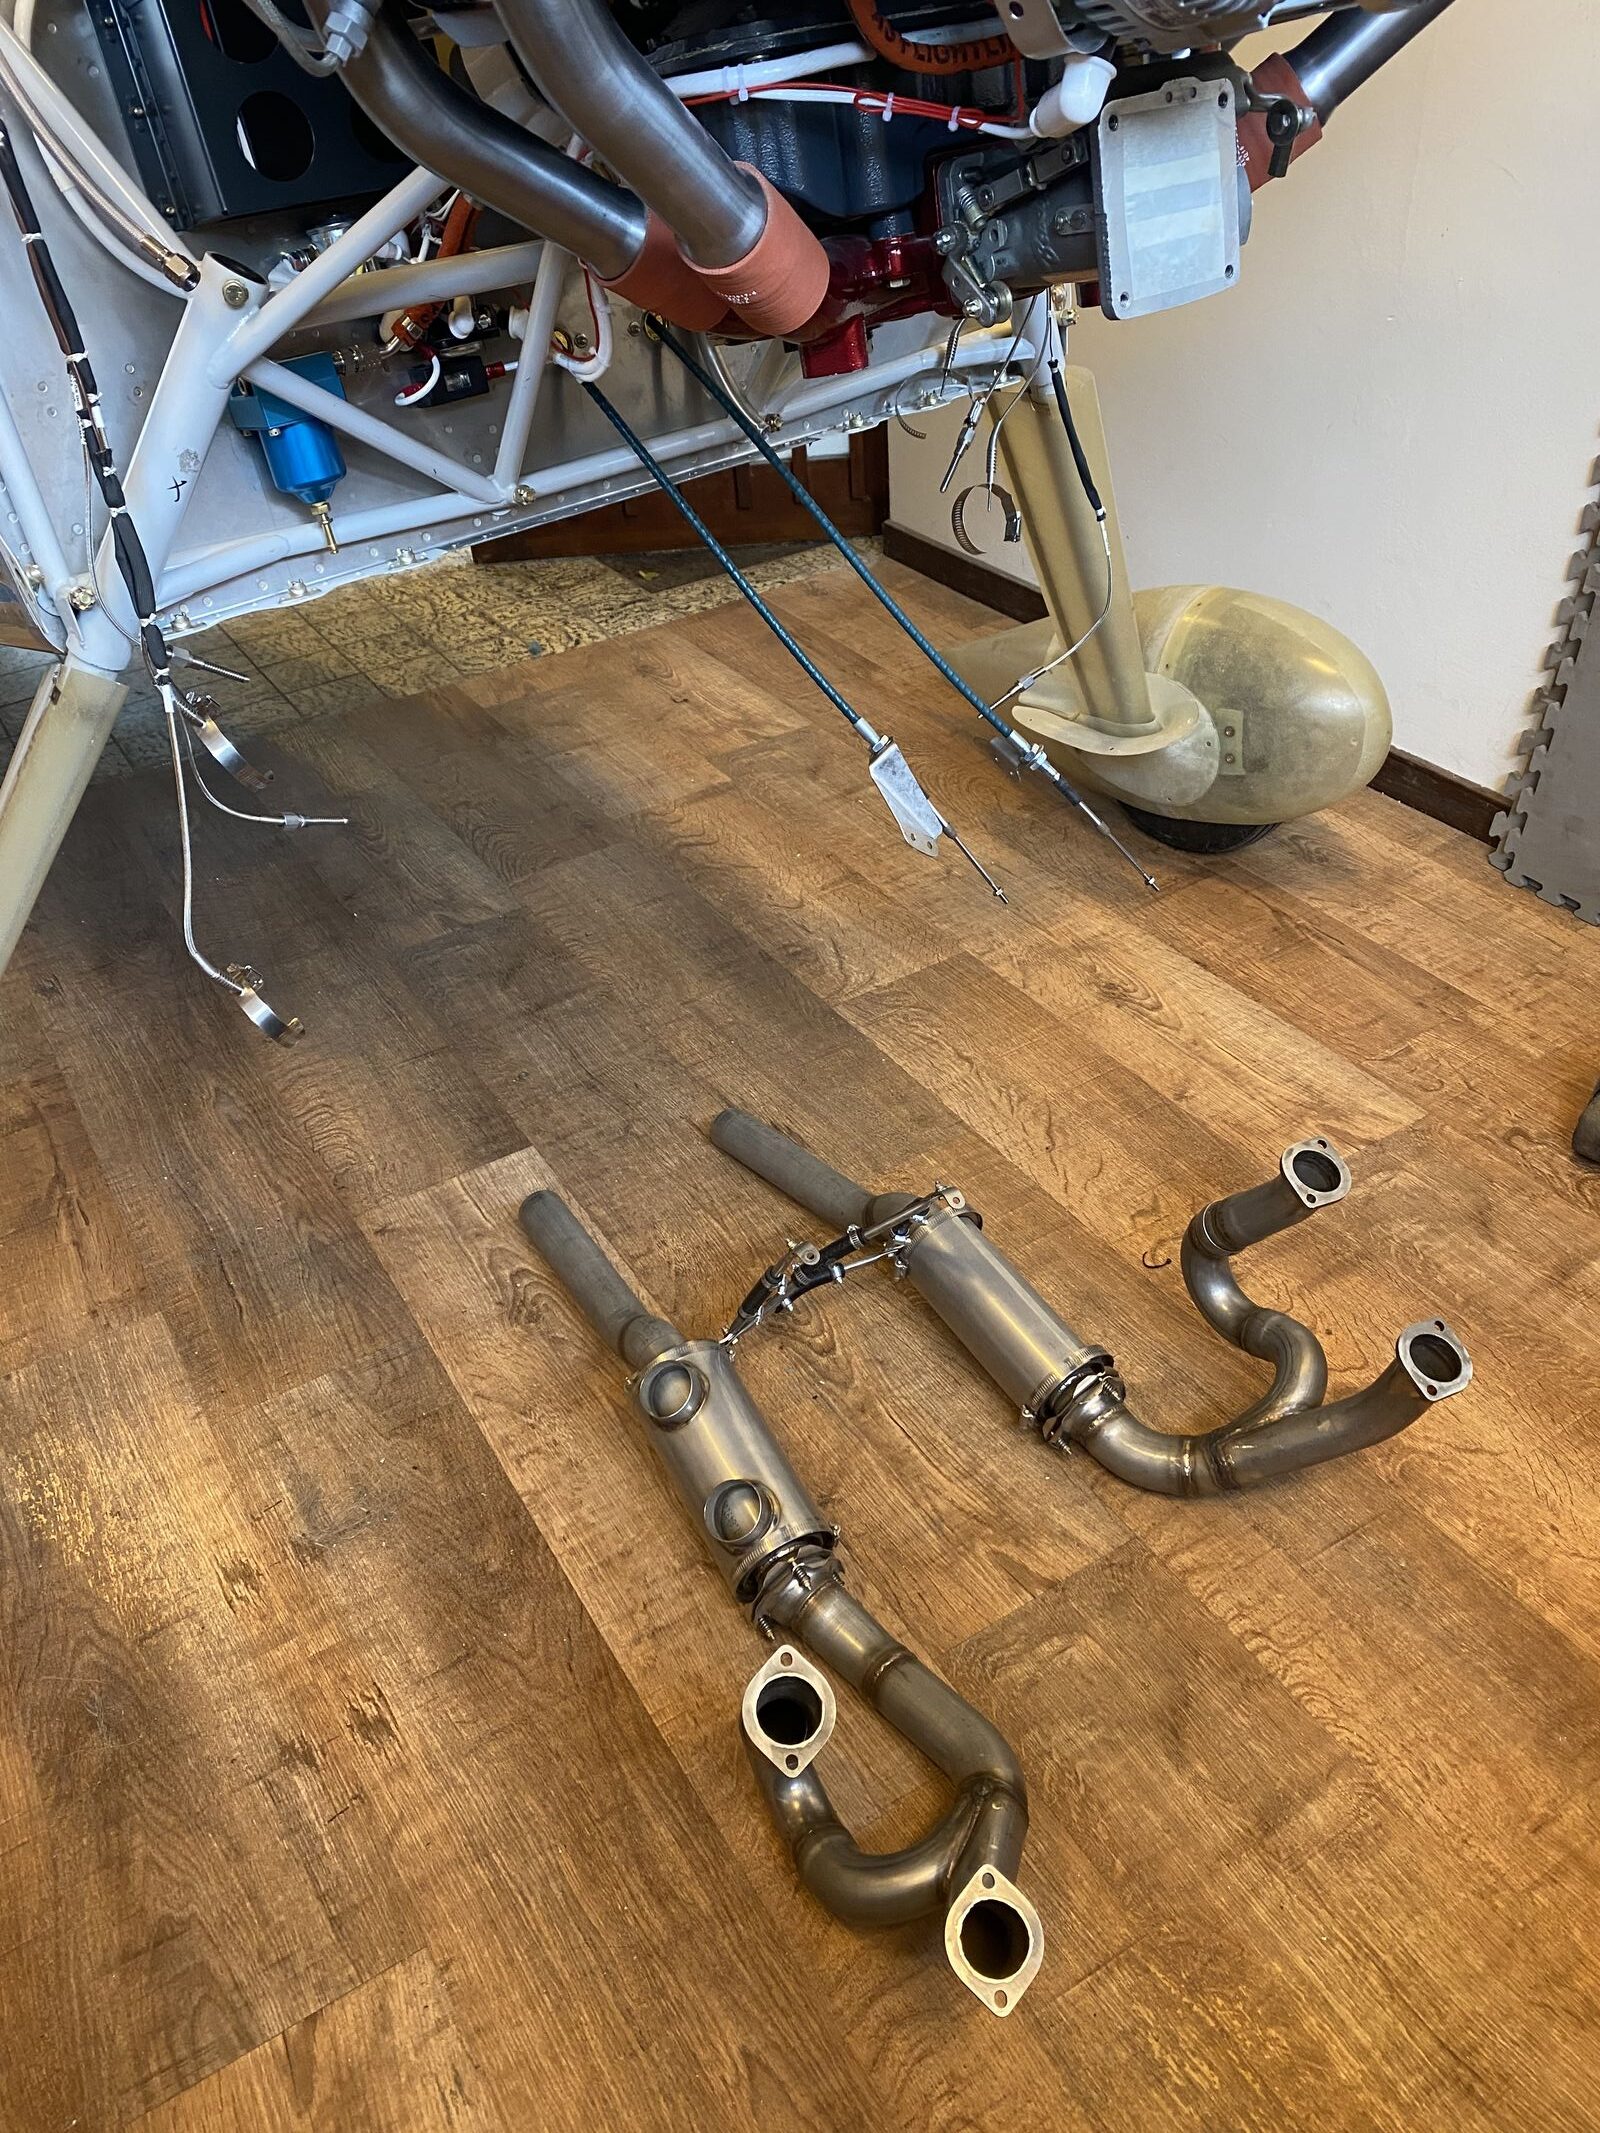
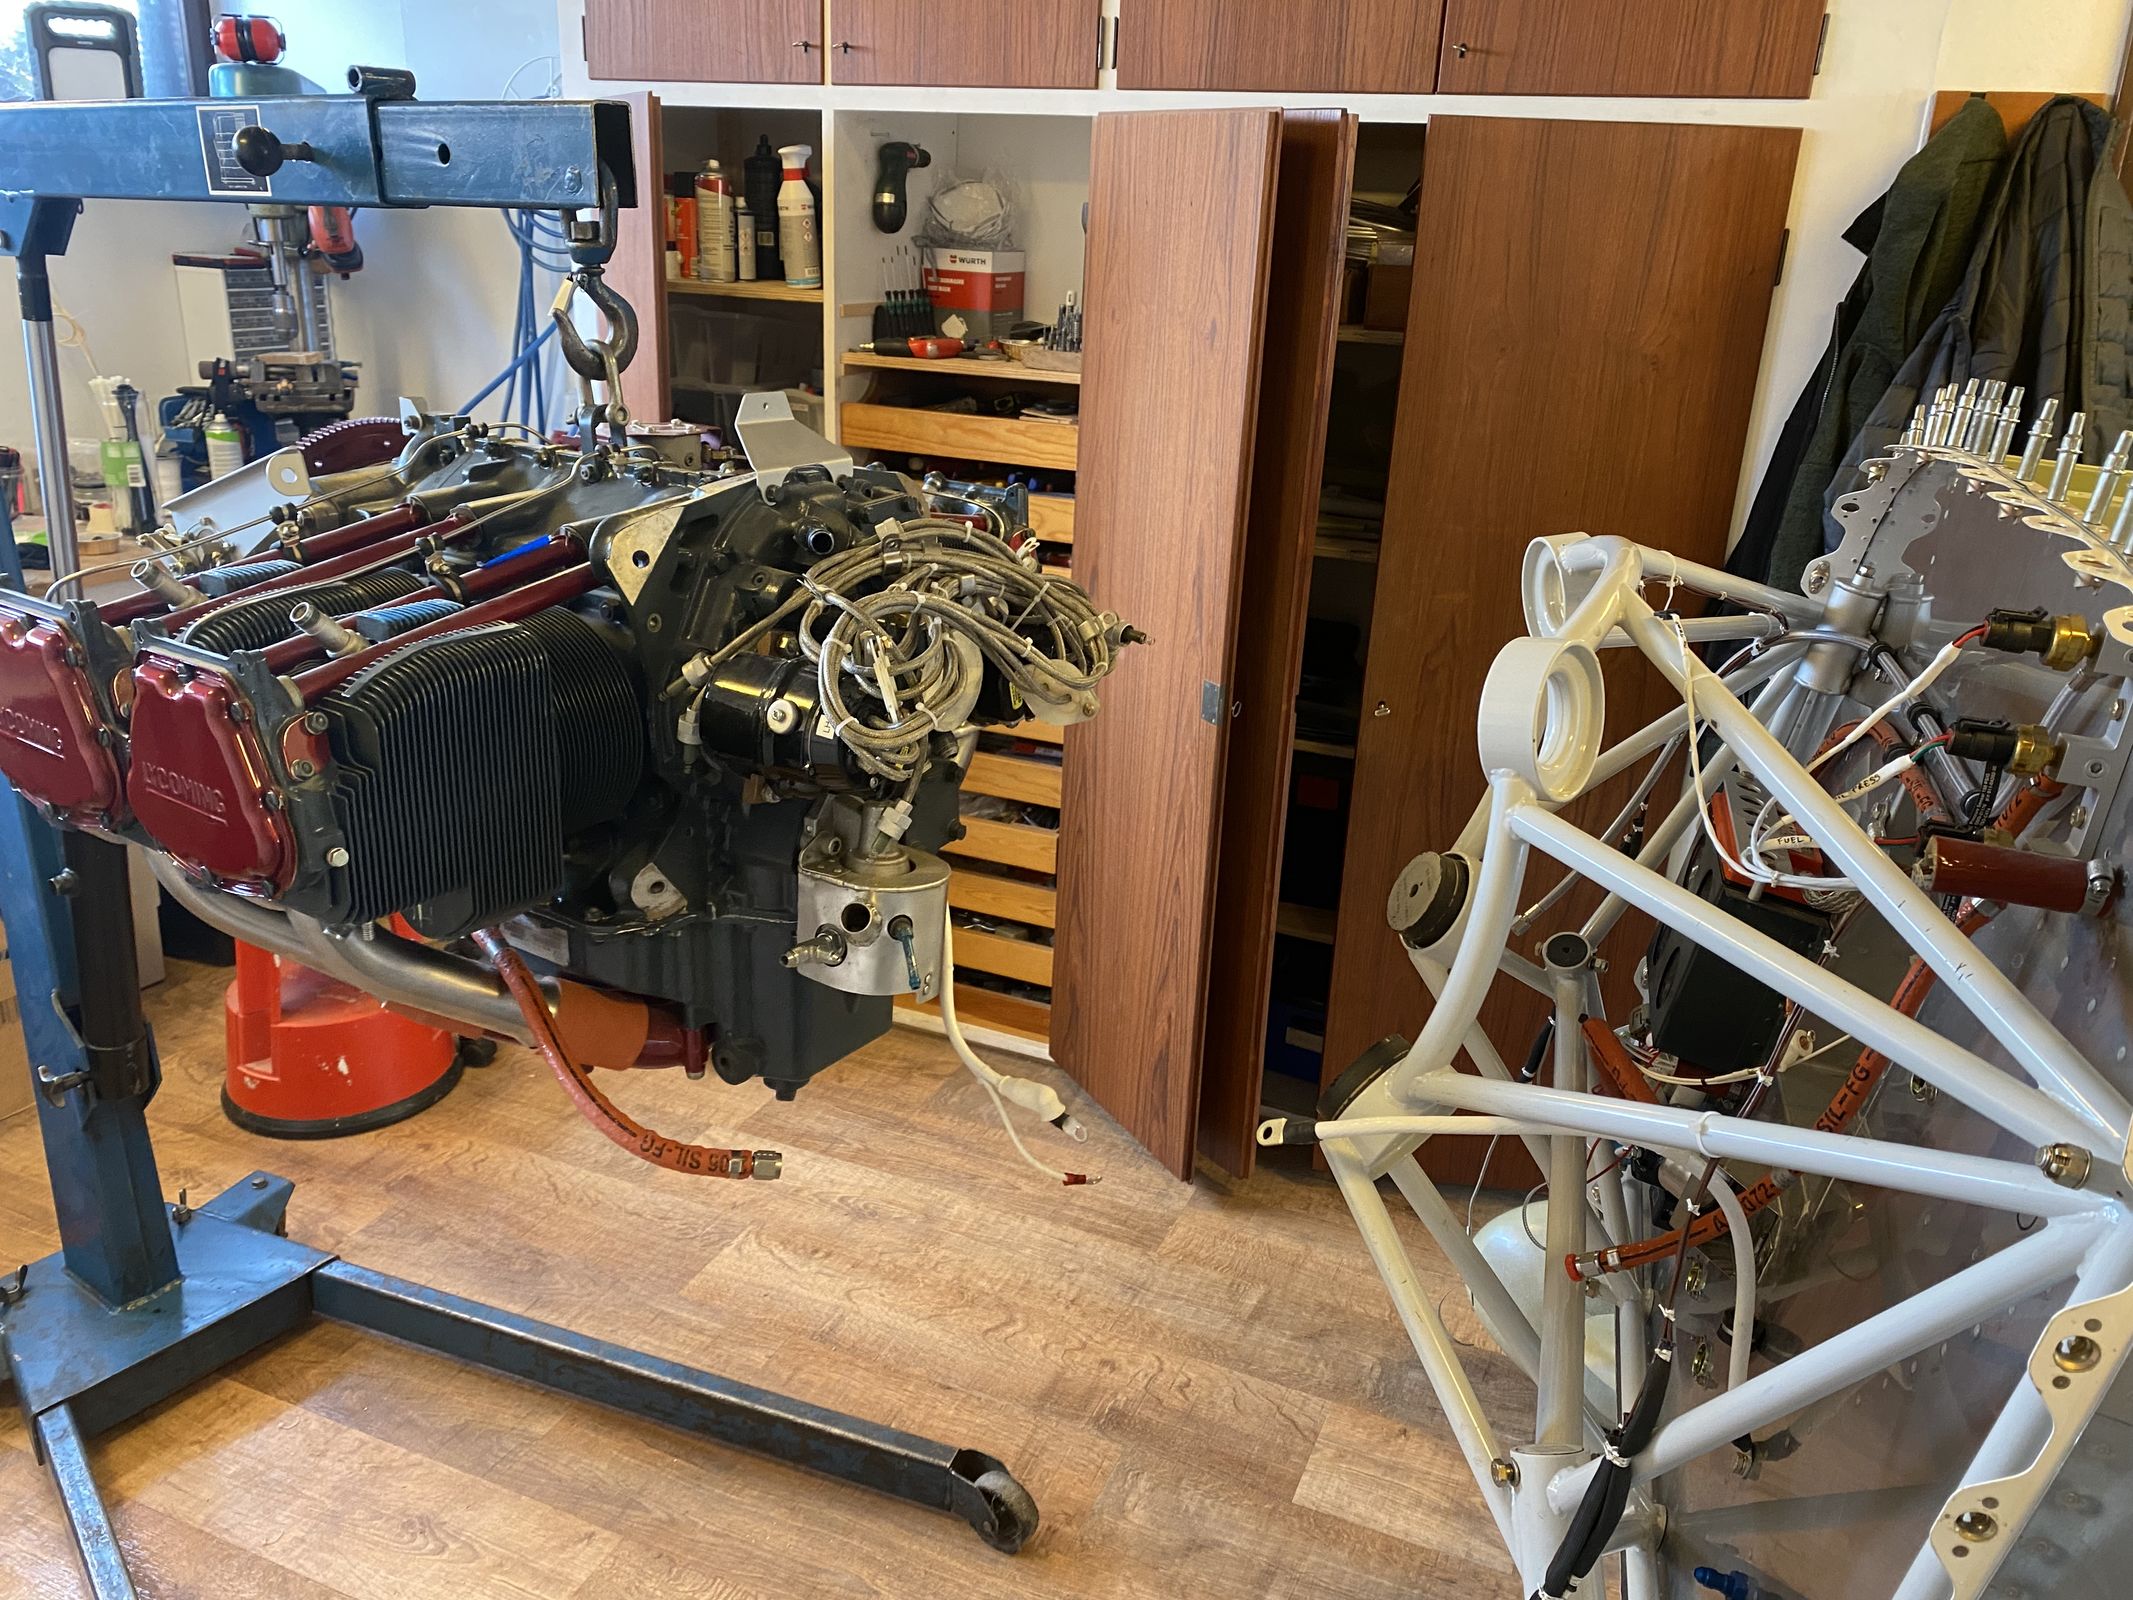
With the cowling and engine installation complete, I removed the engine again, hopefully for the very last time.
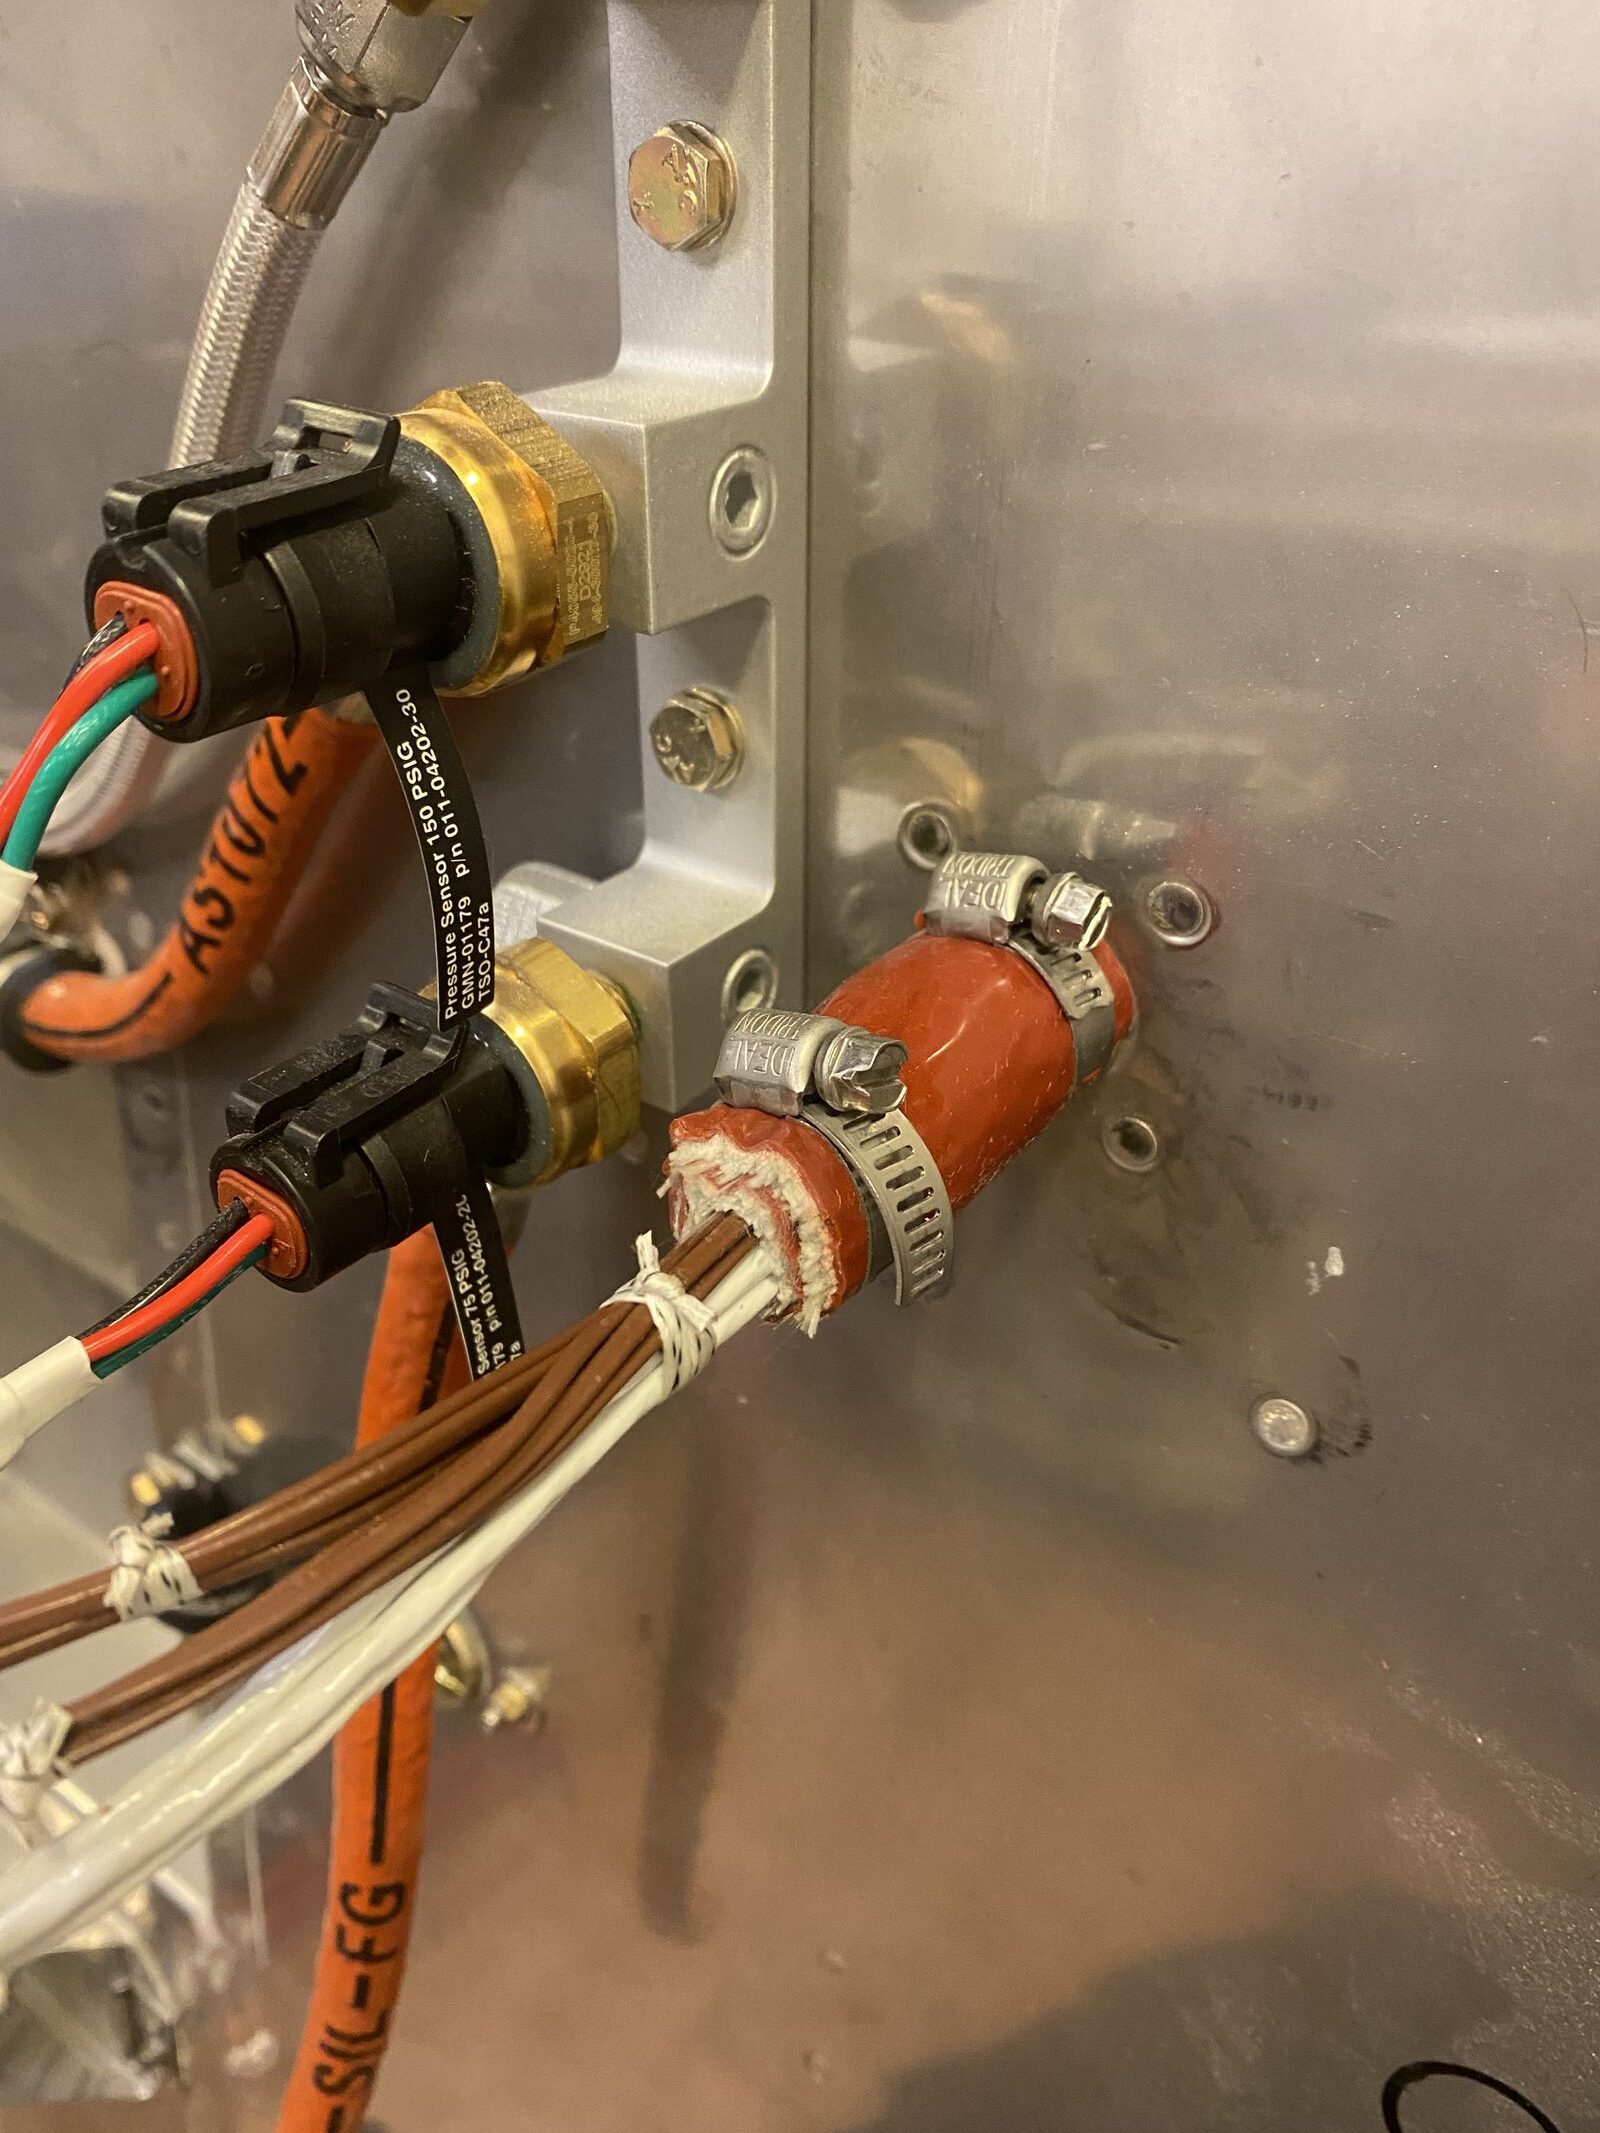
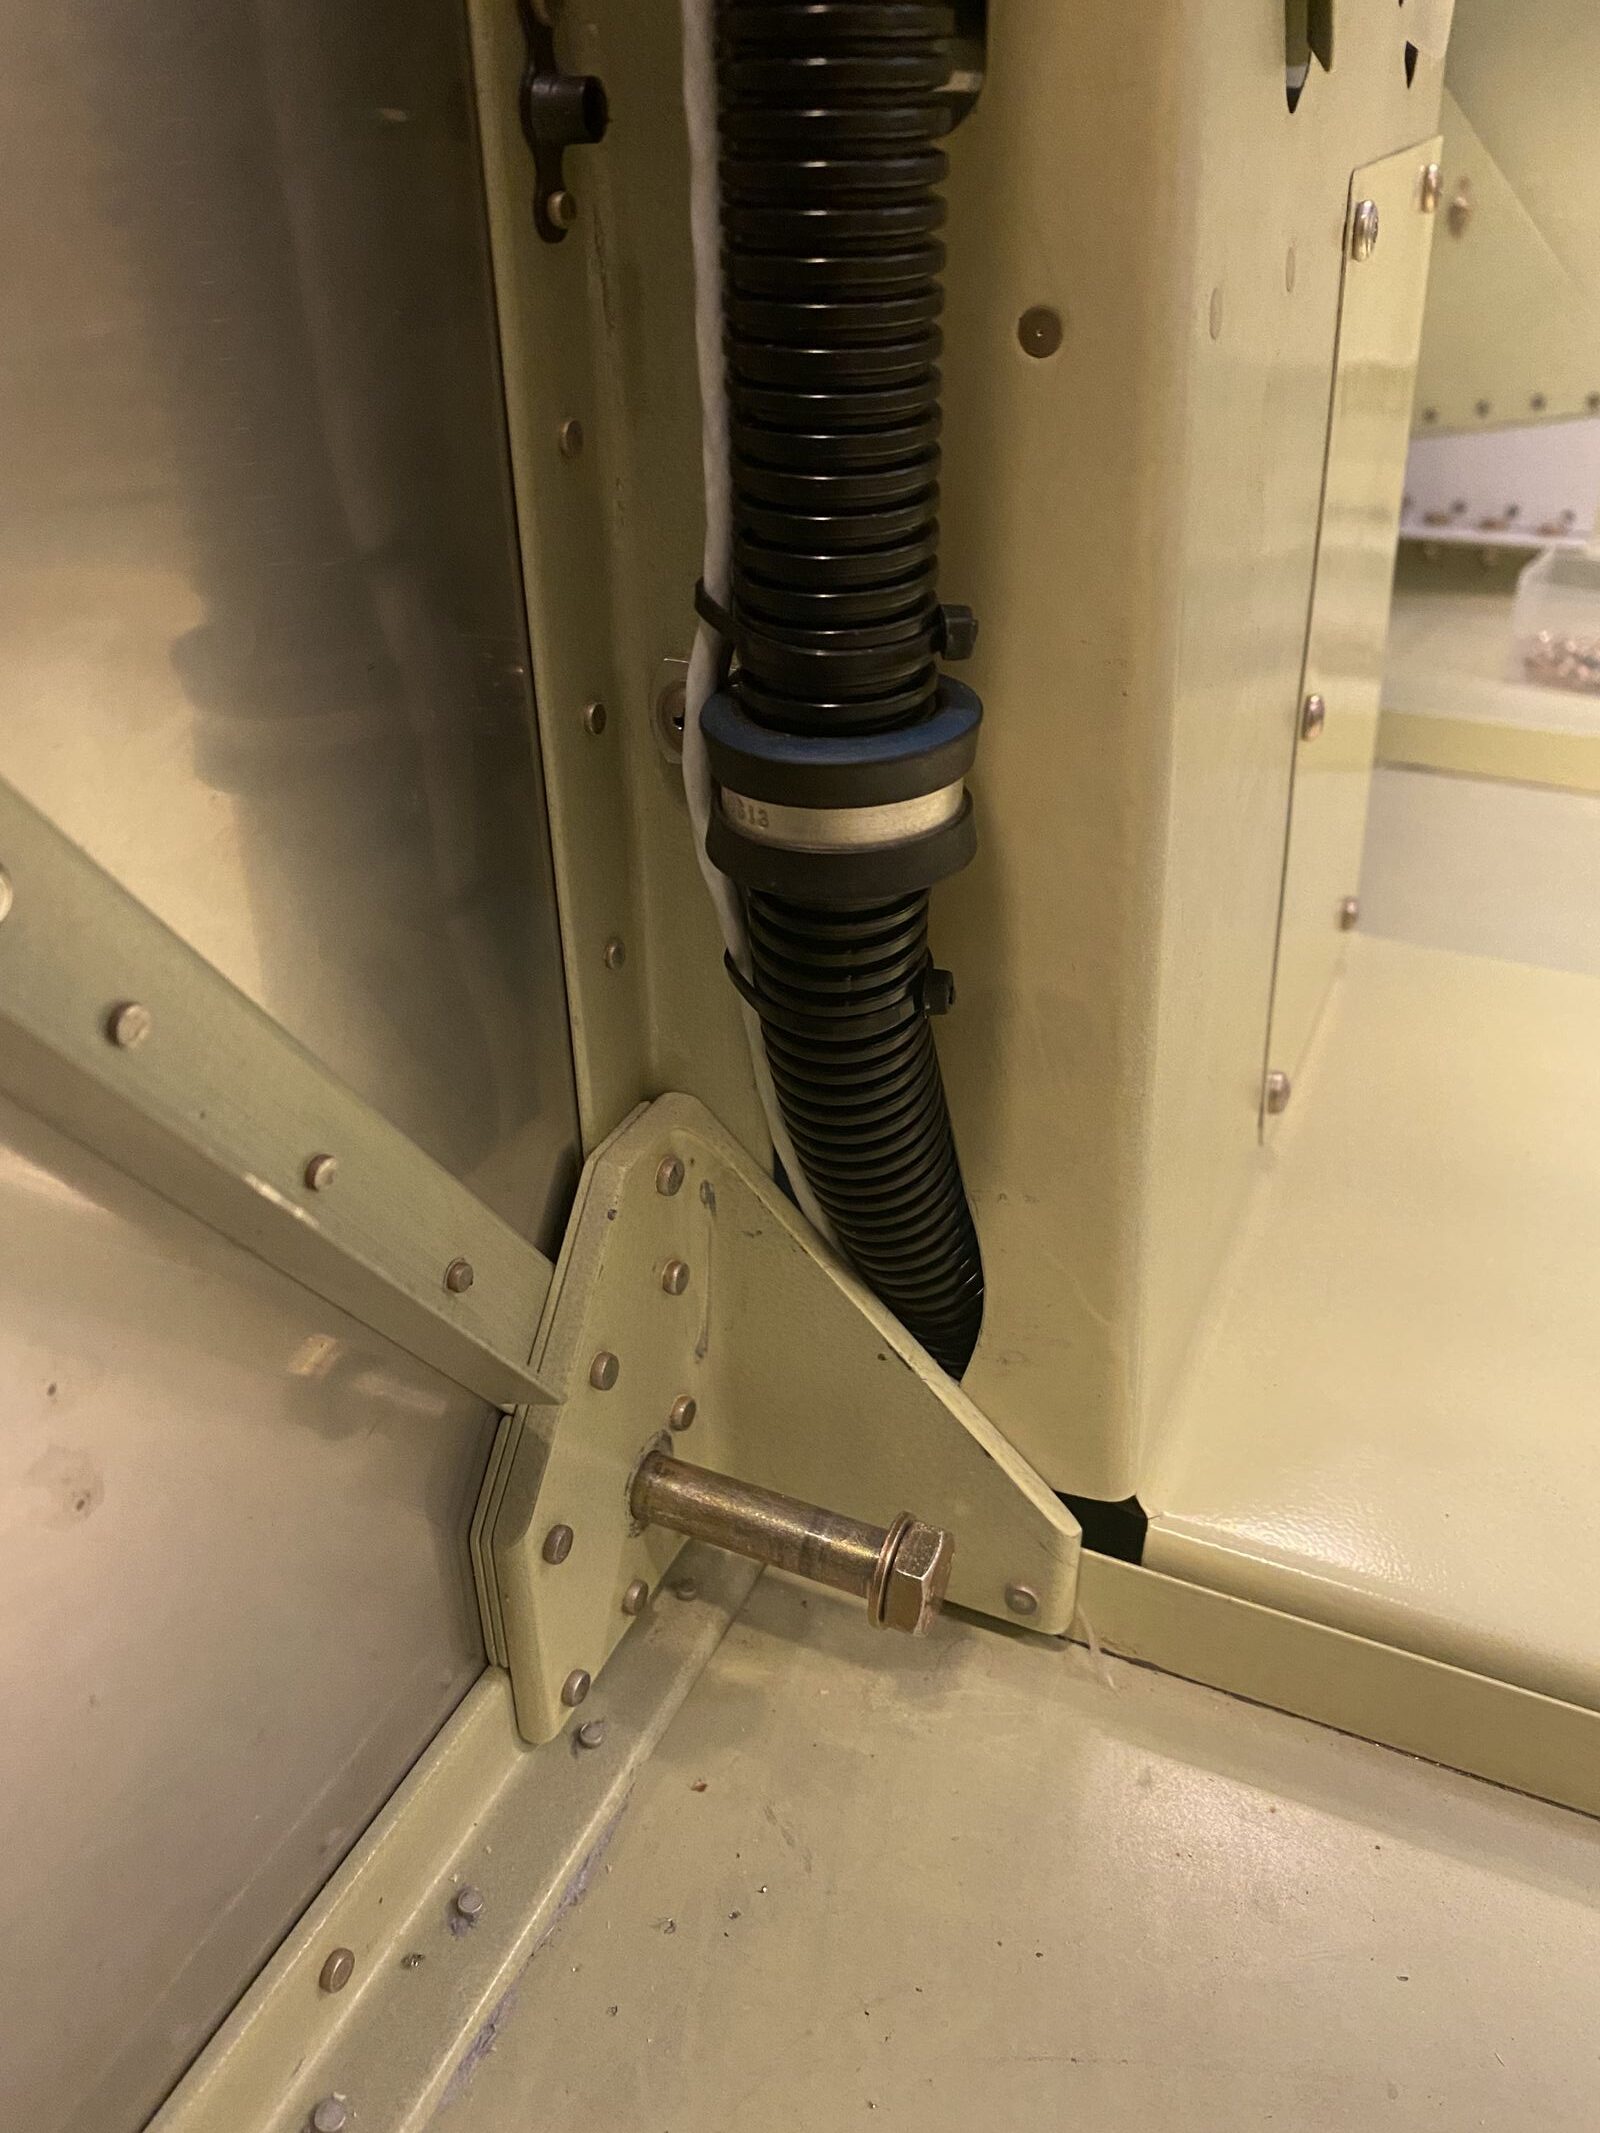
With the engine, landing gear and engine mount removed, I finished the firewall passthroughs, by adding another piece of firesleeve around the cables inside the existing firesleeves, then installed another clamp to tighten them.
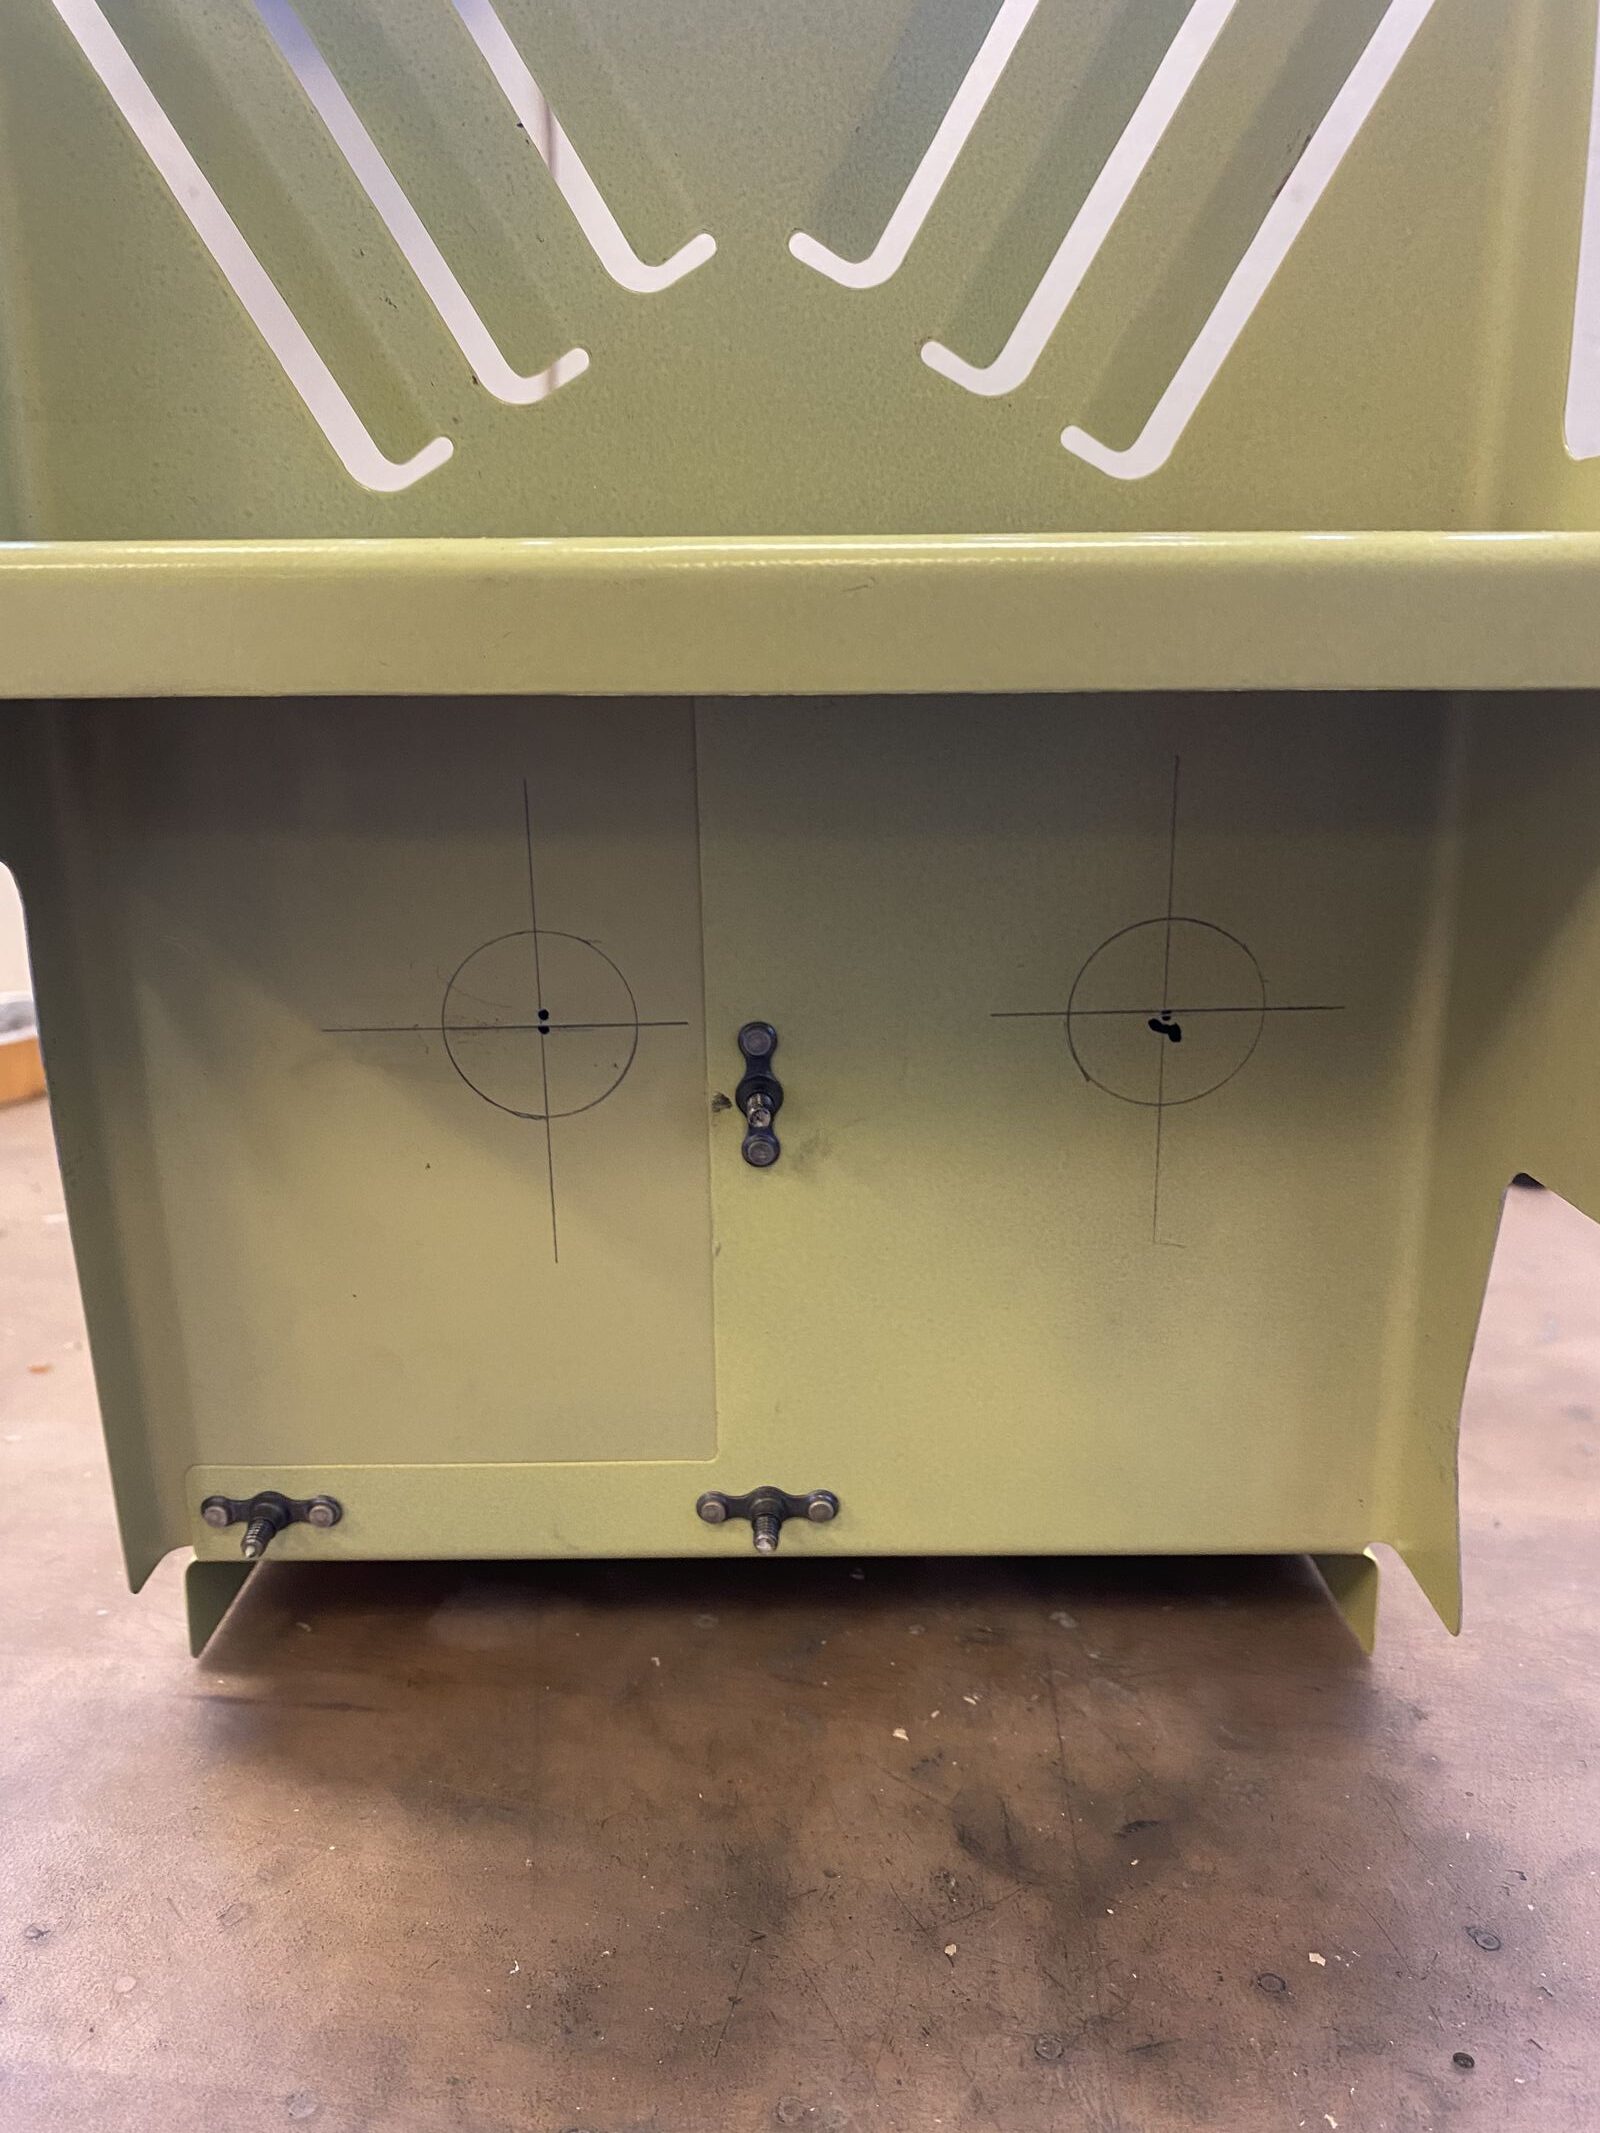
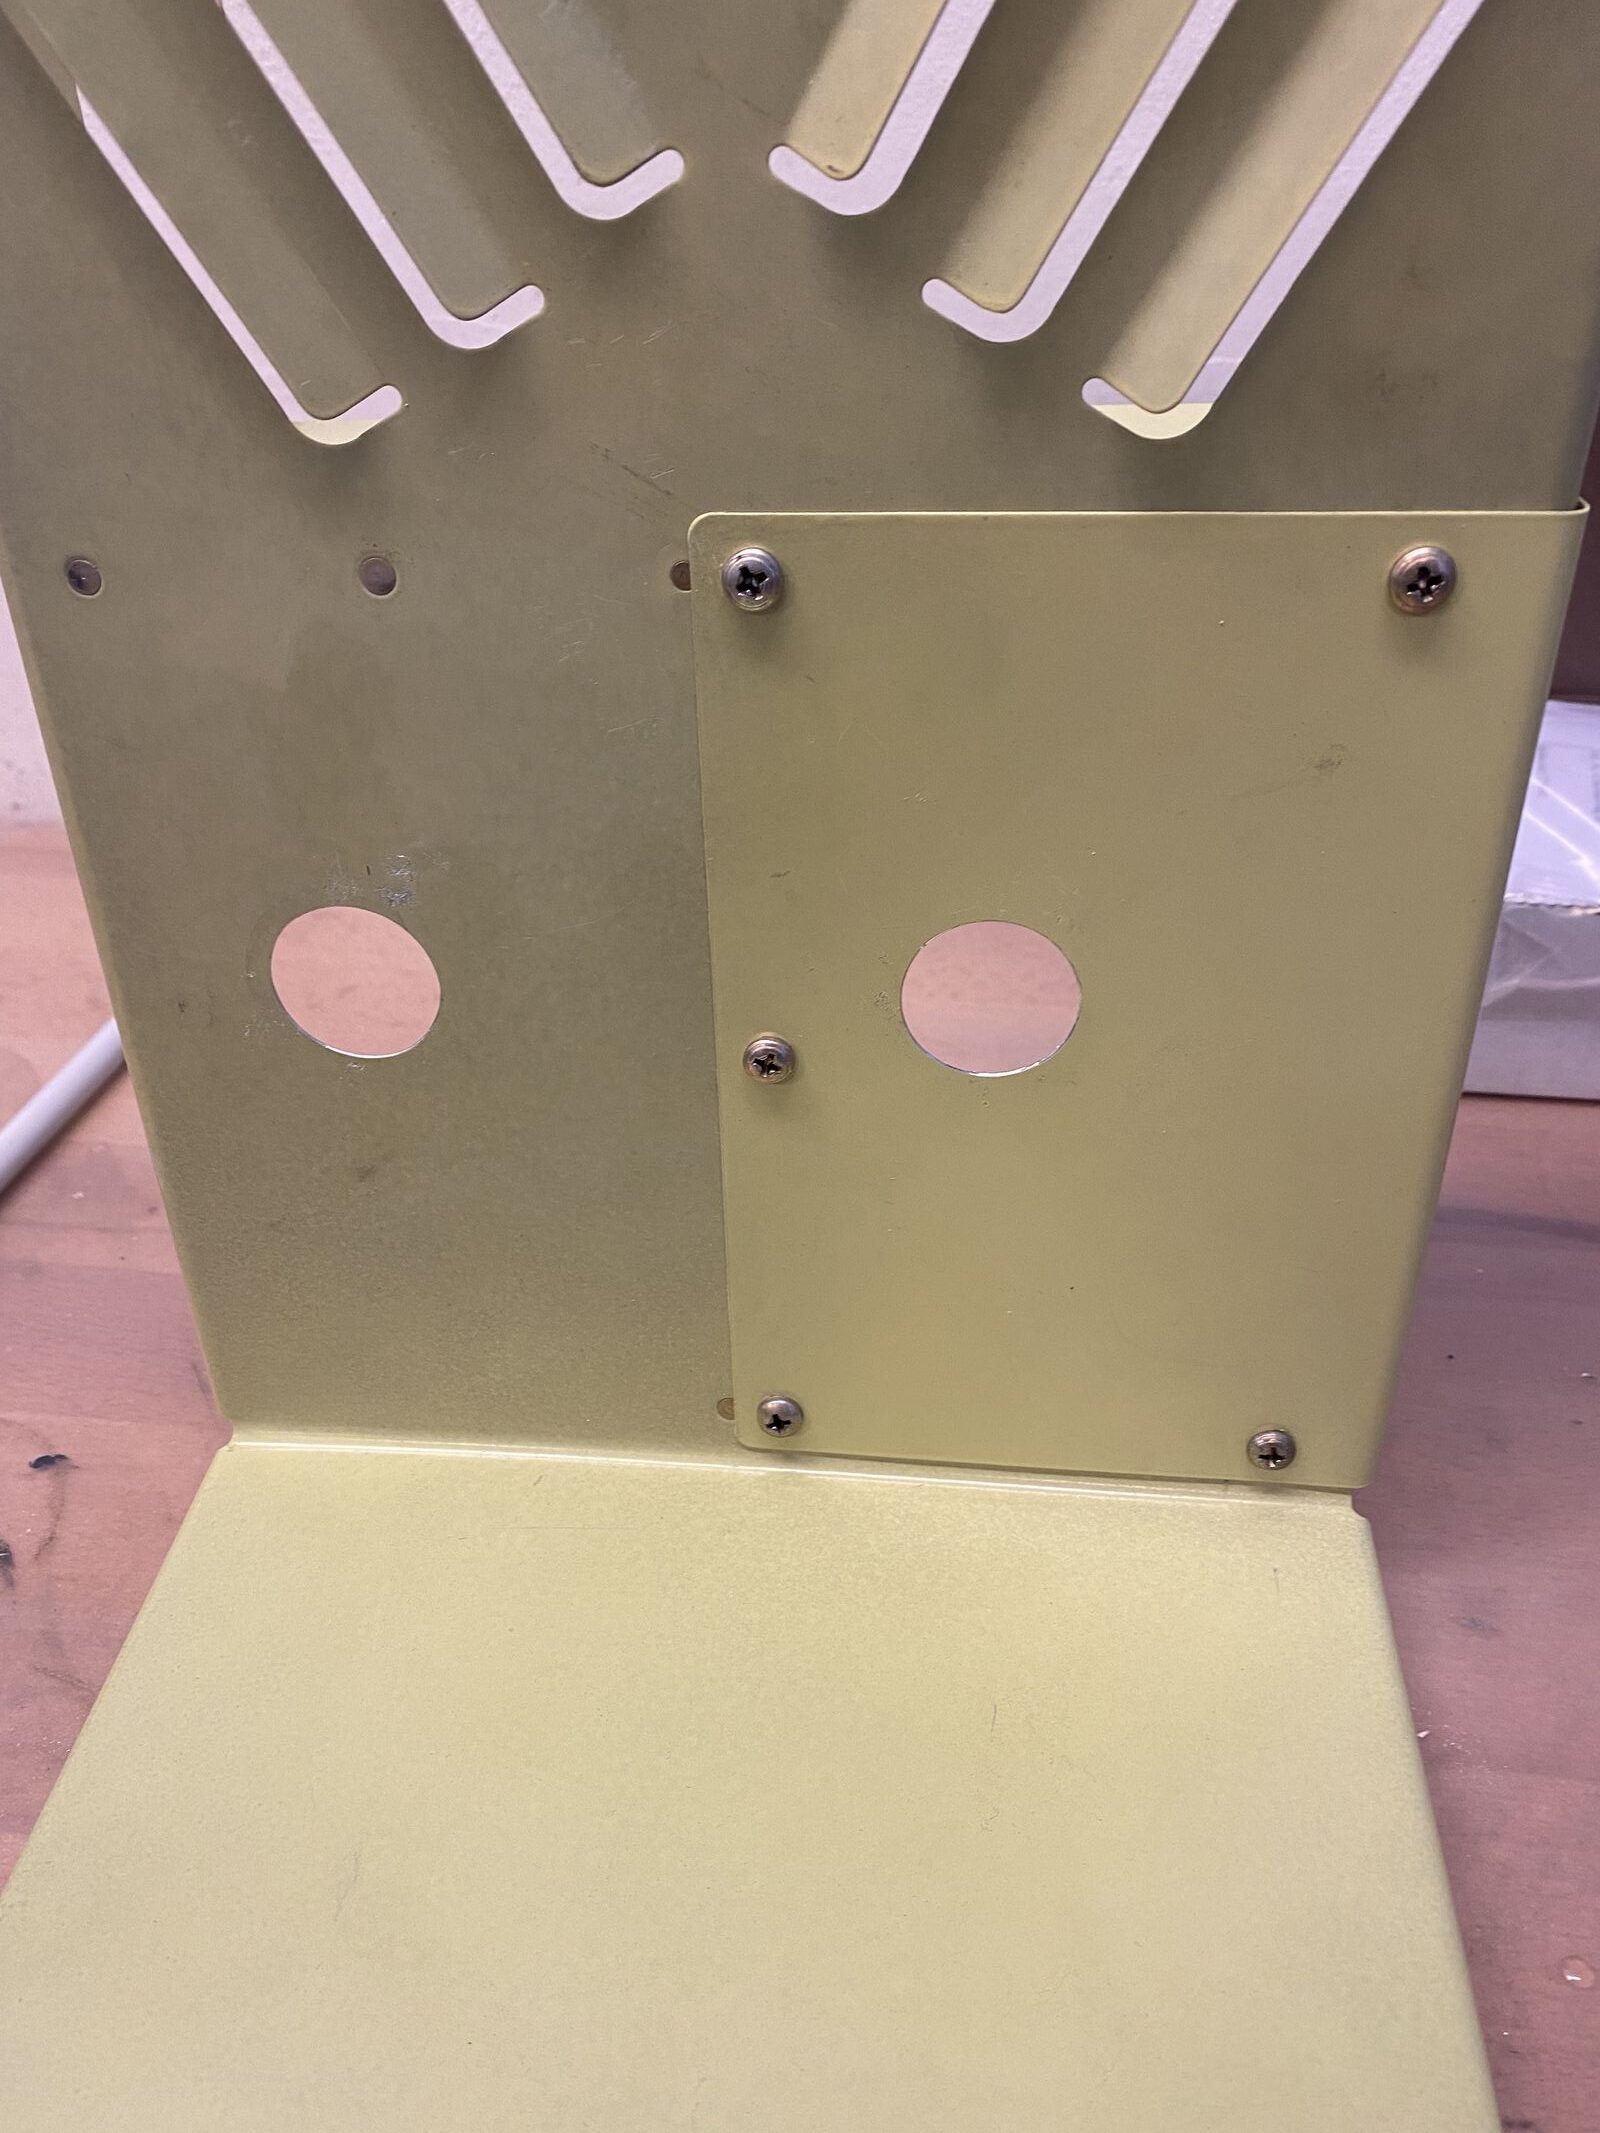
The cockpit center cover need holes for the throttle and mixture cables, so I installed it temporary.
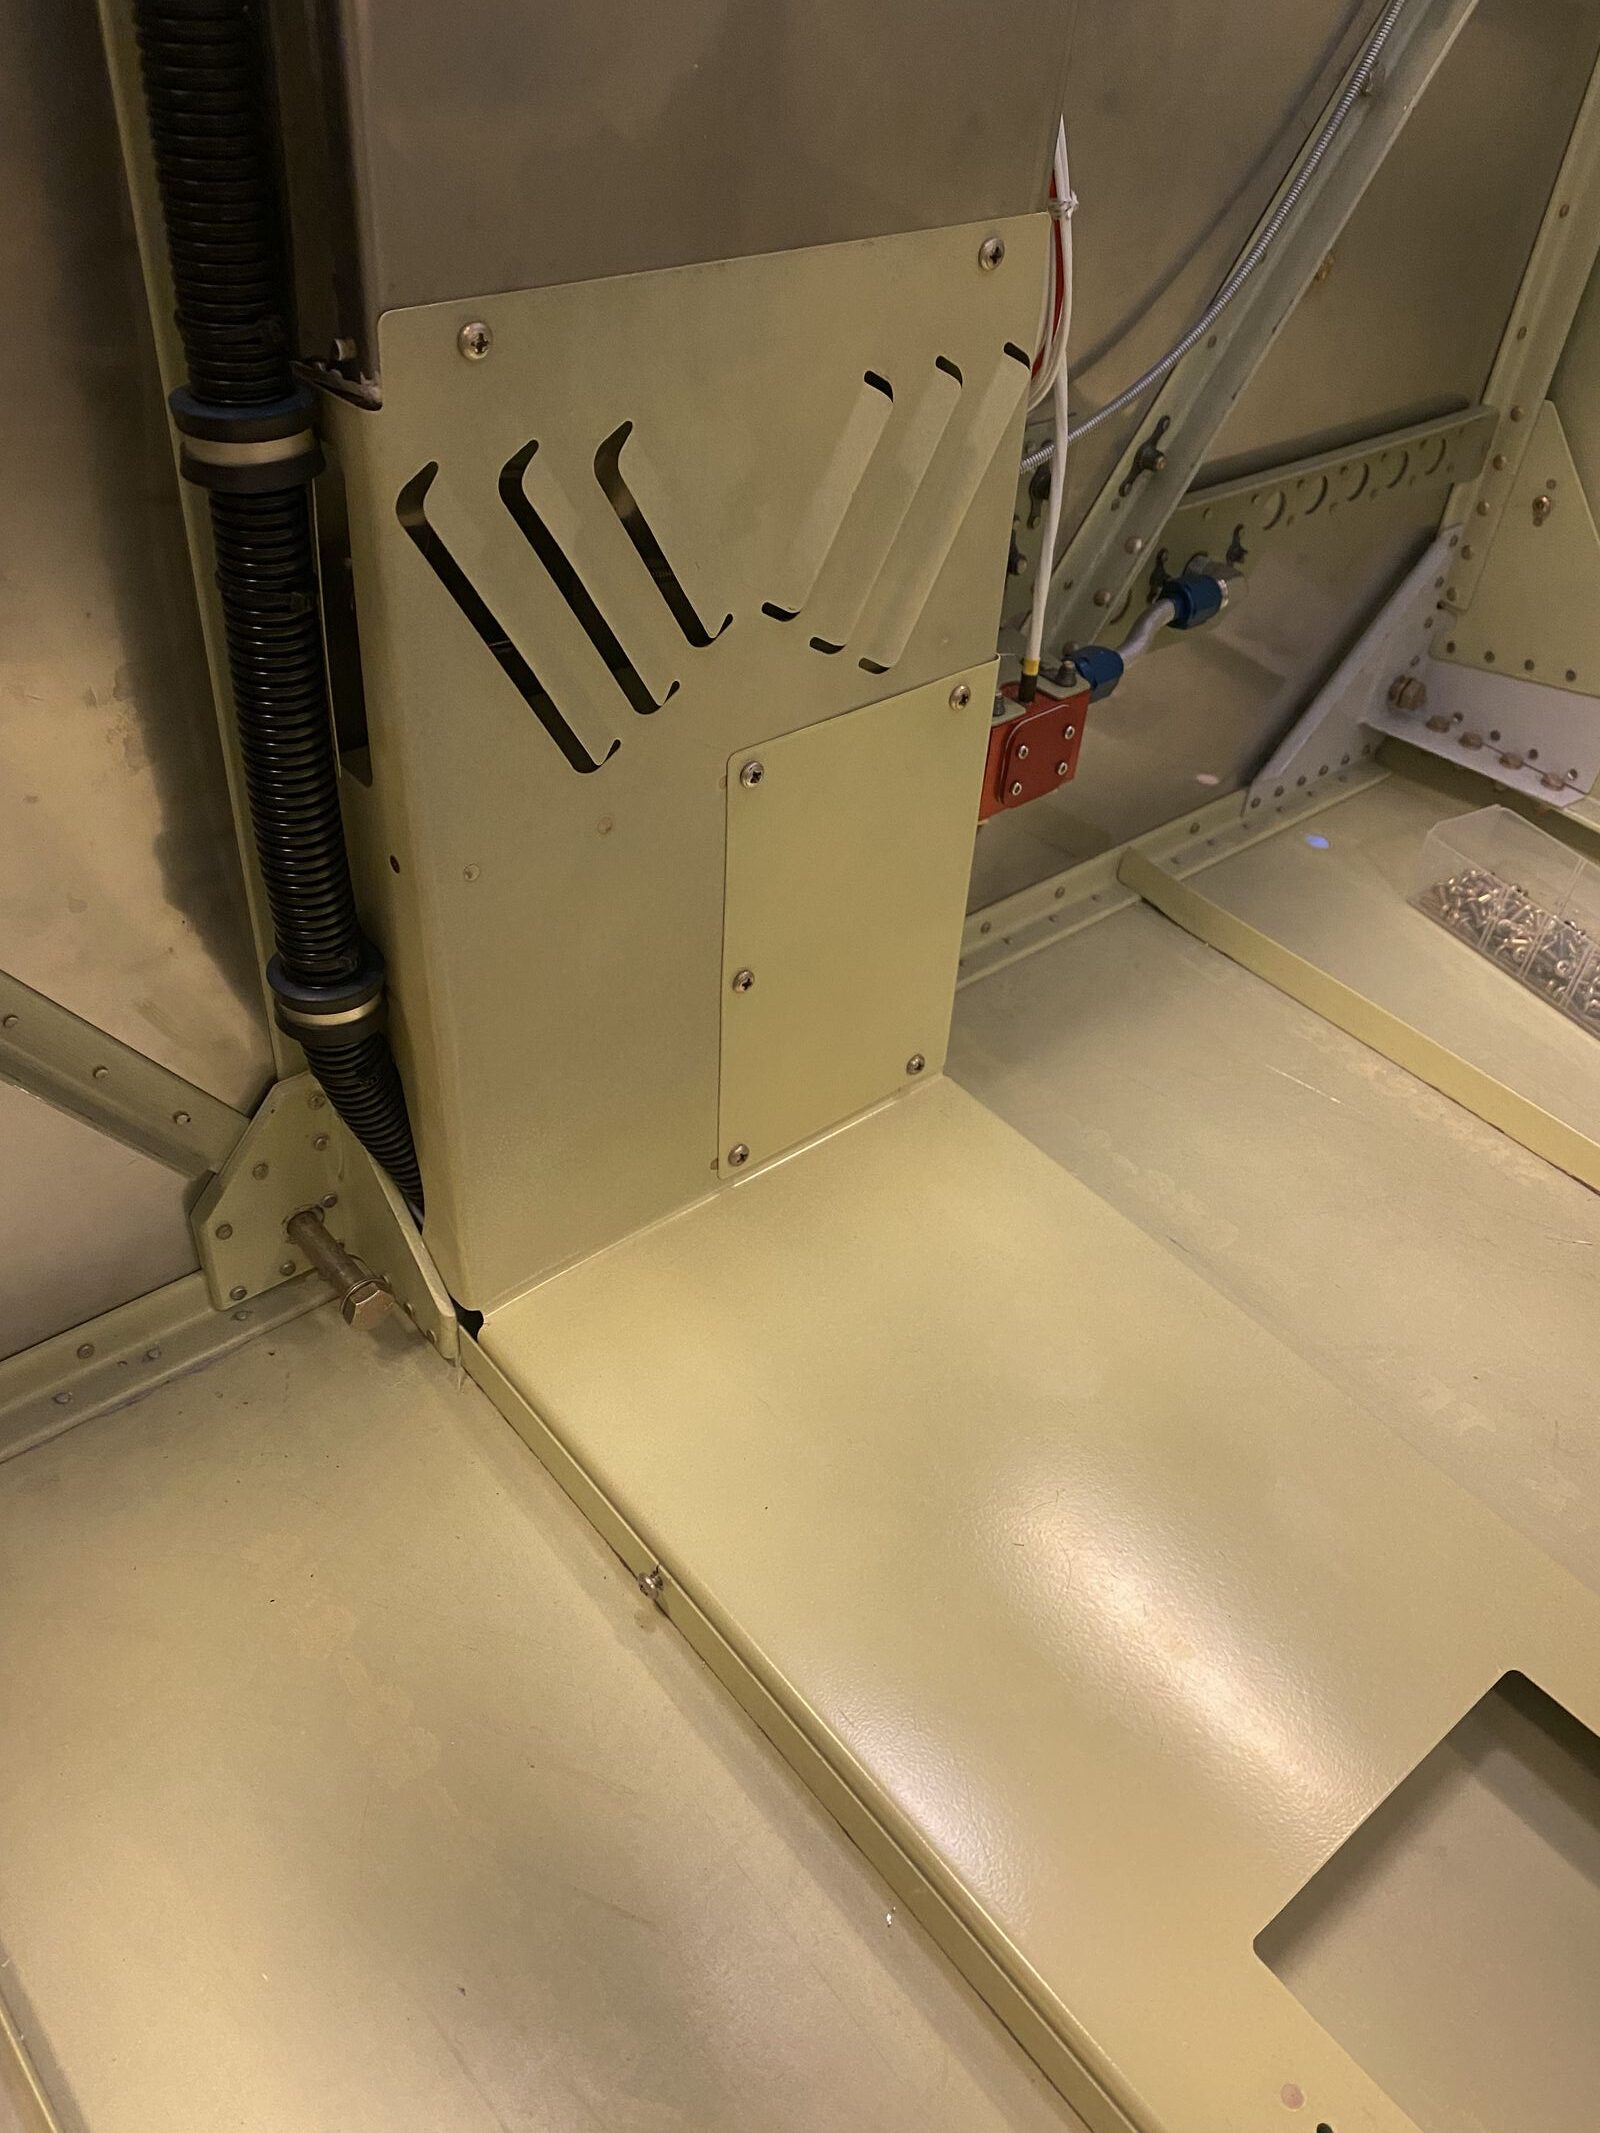
I had to trim it a little where the cable conduit enters the center cover.
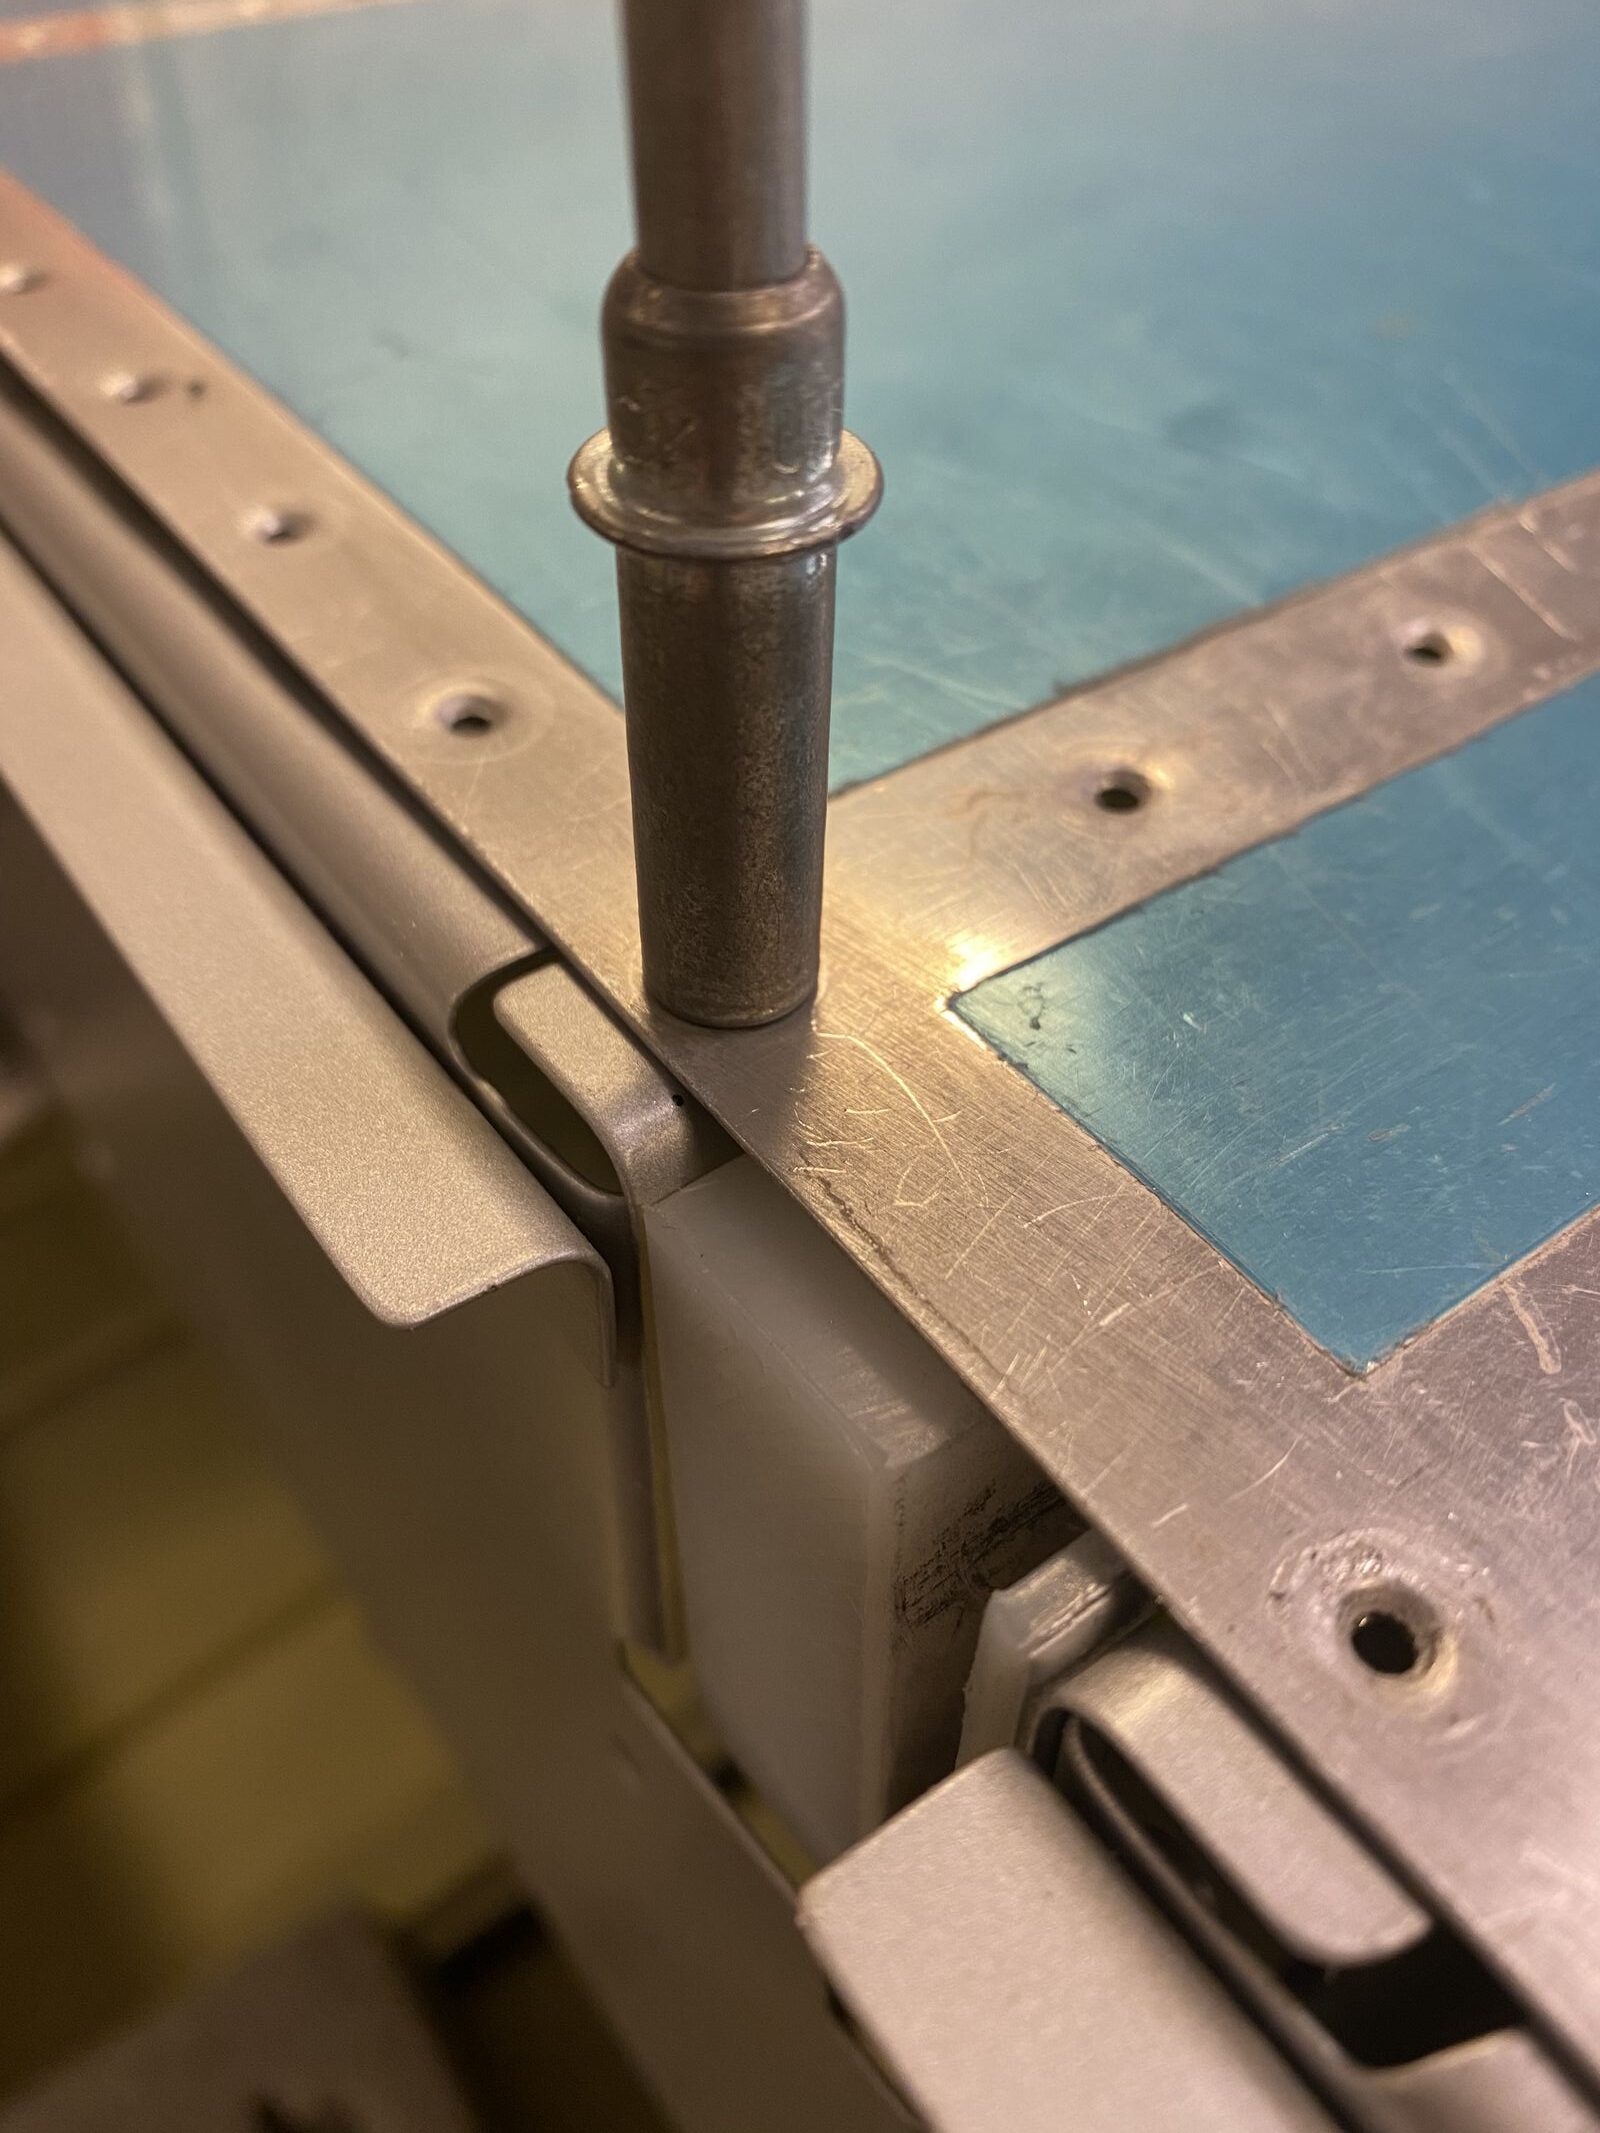
With the cover installed, I could mark through the firewall where the cables should go through.
I enlarged the holes to 1 inch, and installed grommets.
Next I removed the instrument panel again.
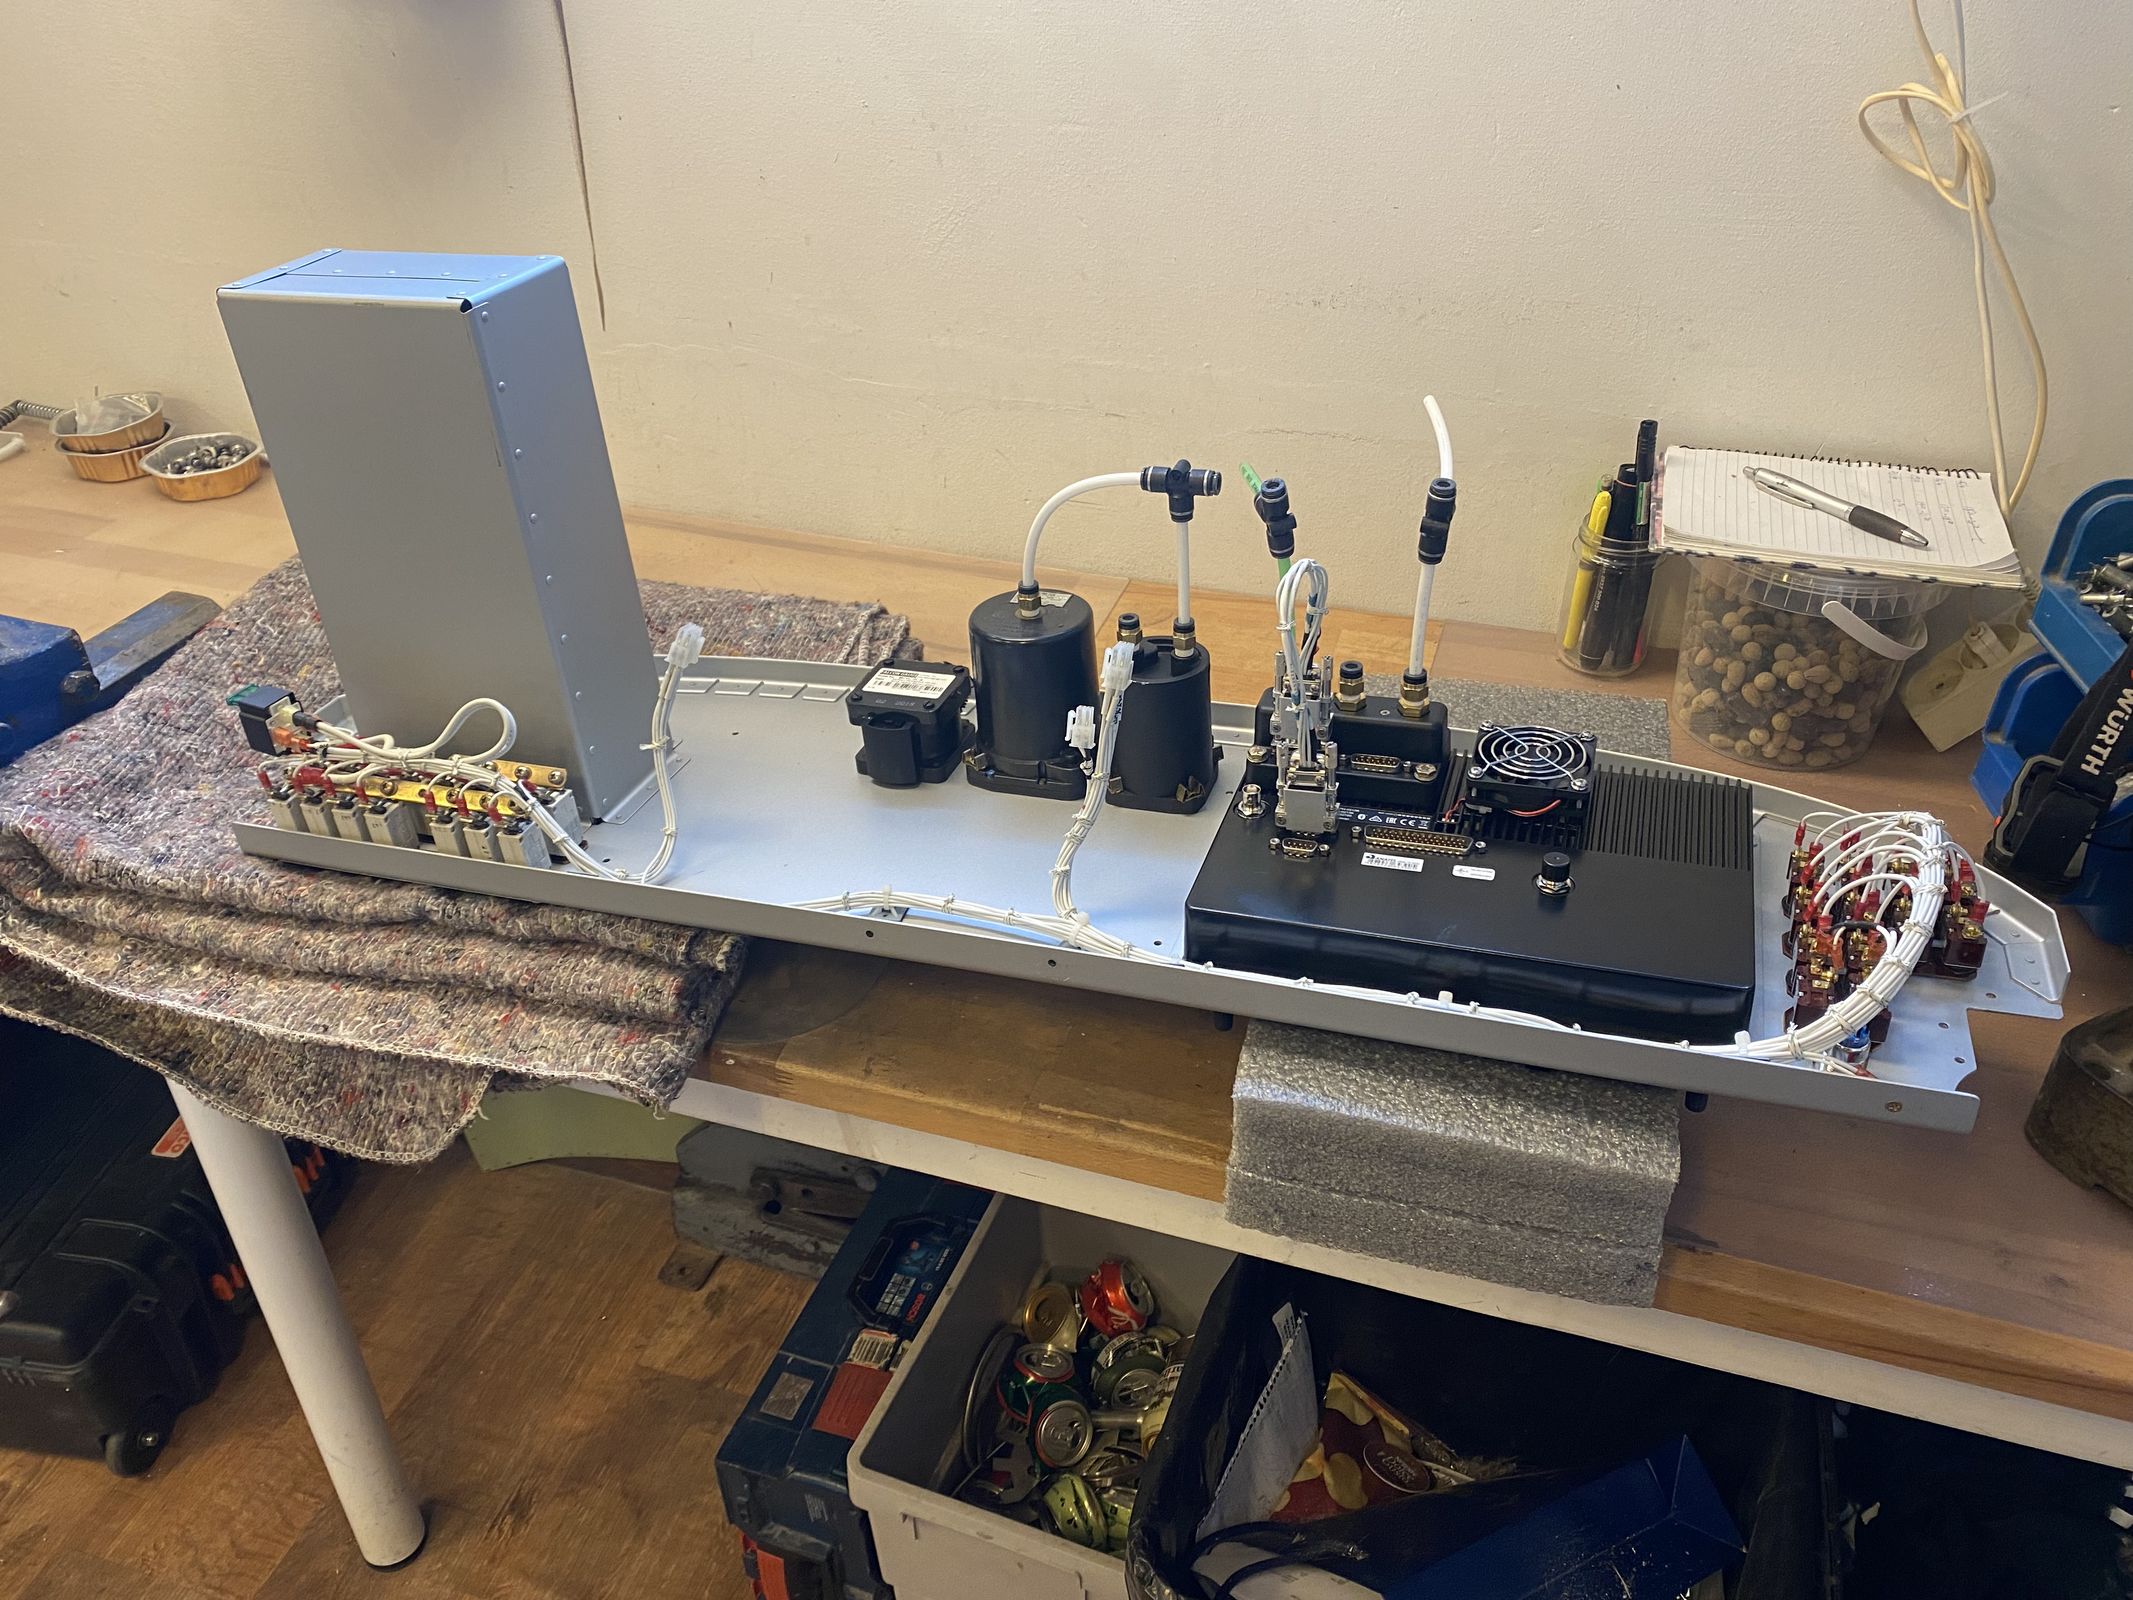
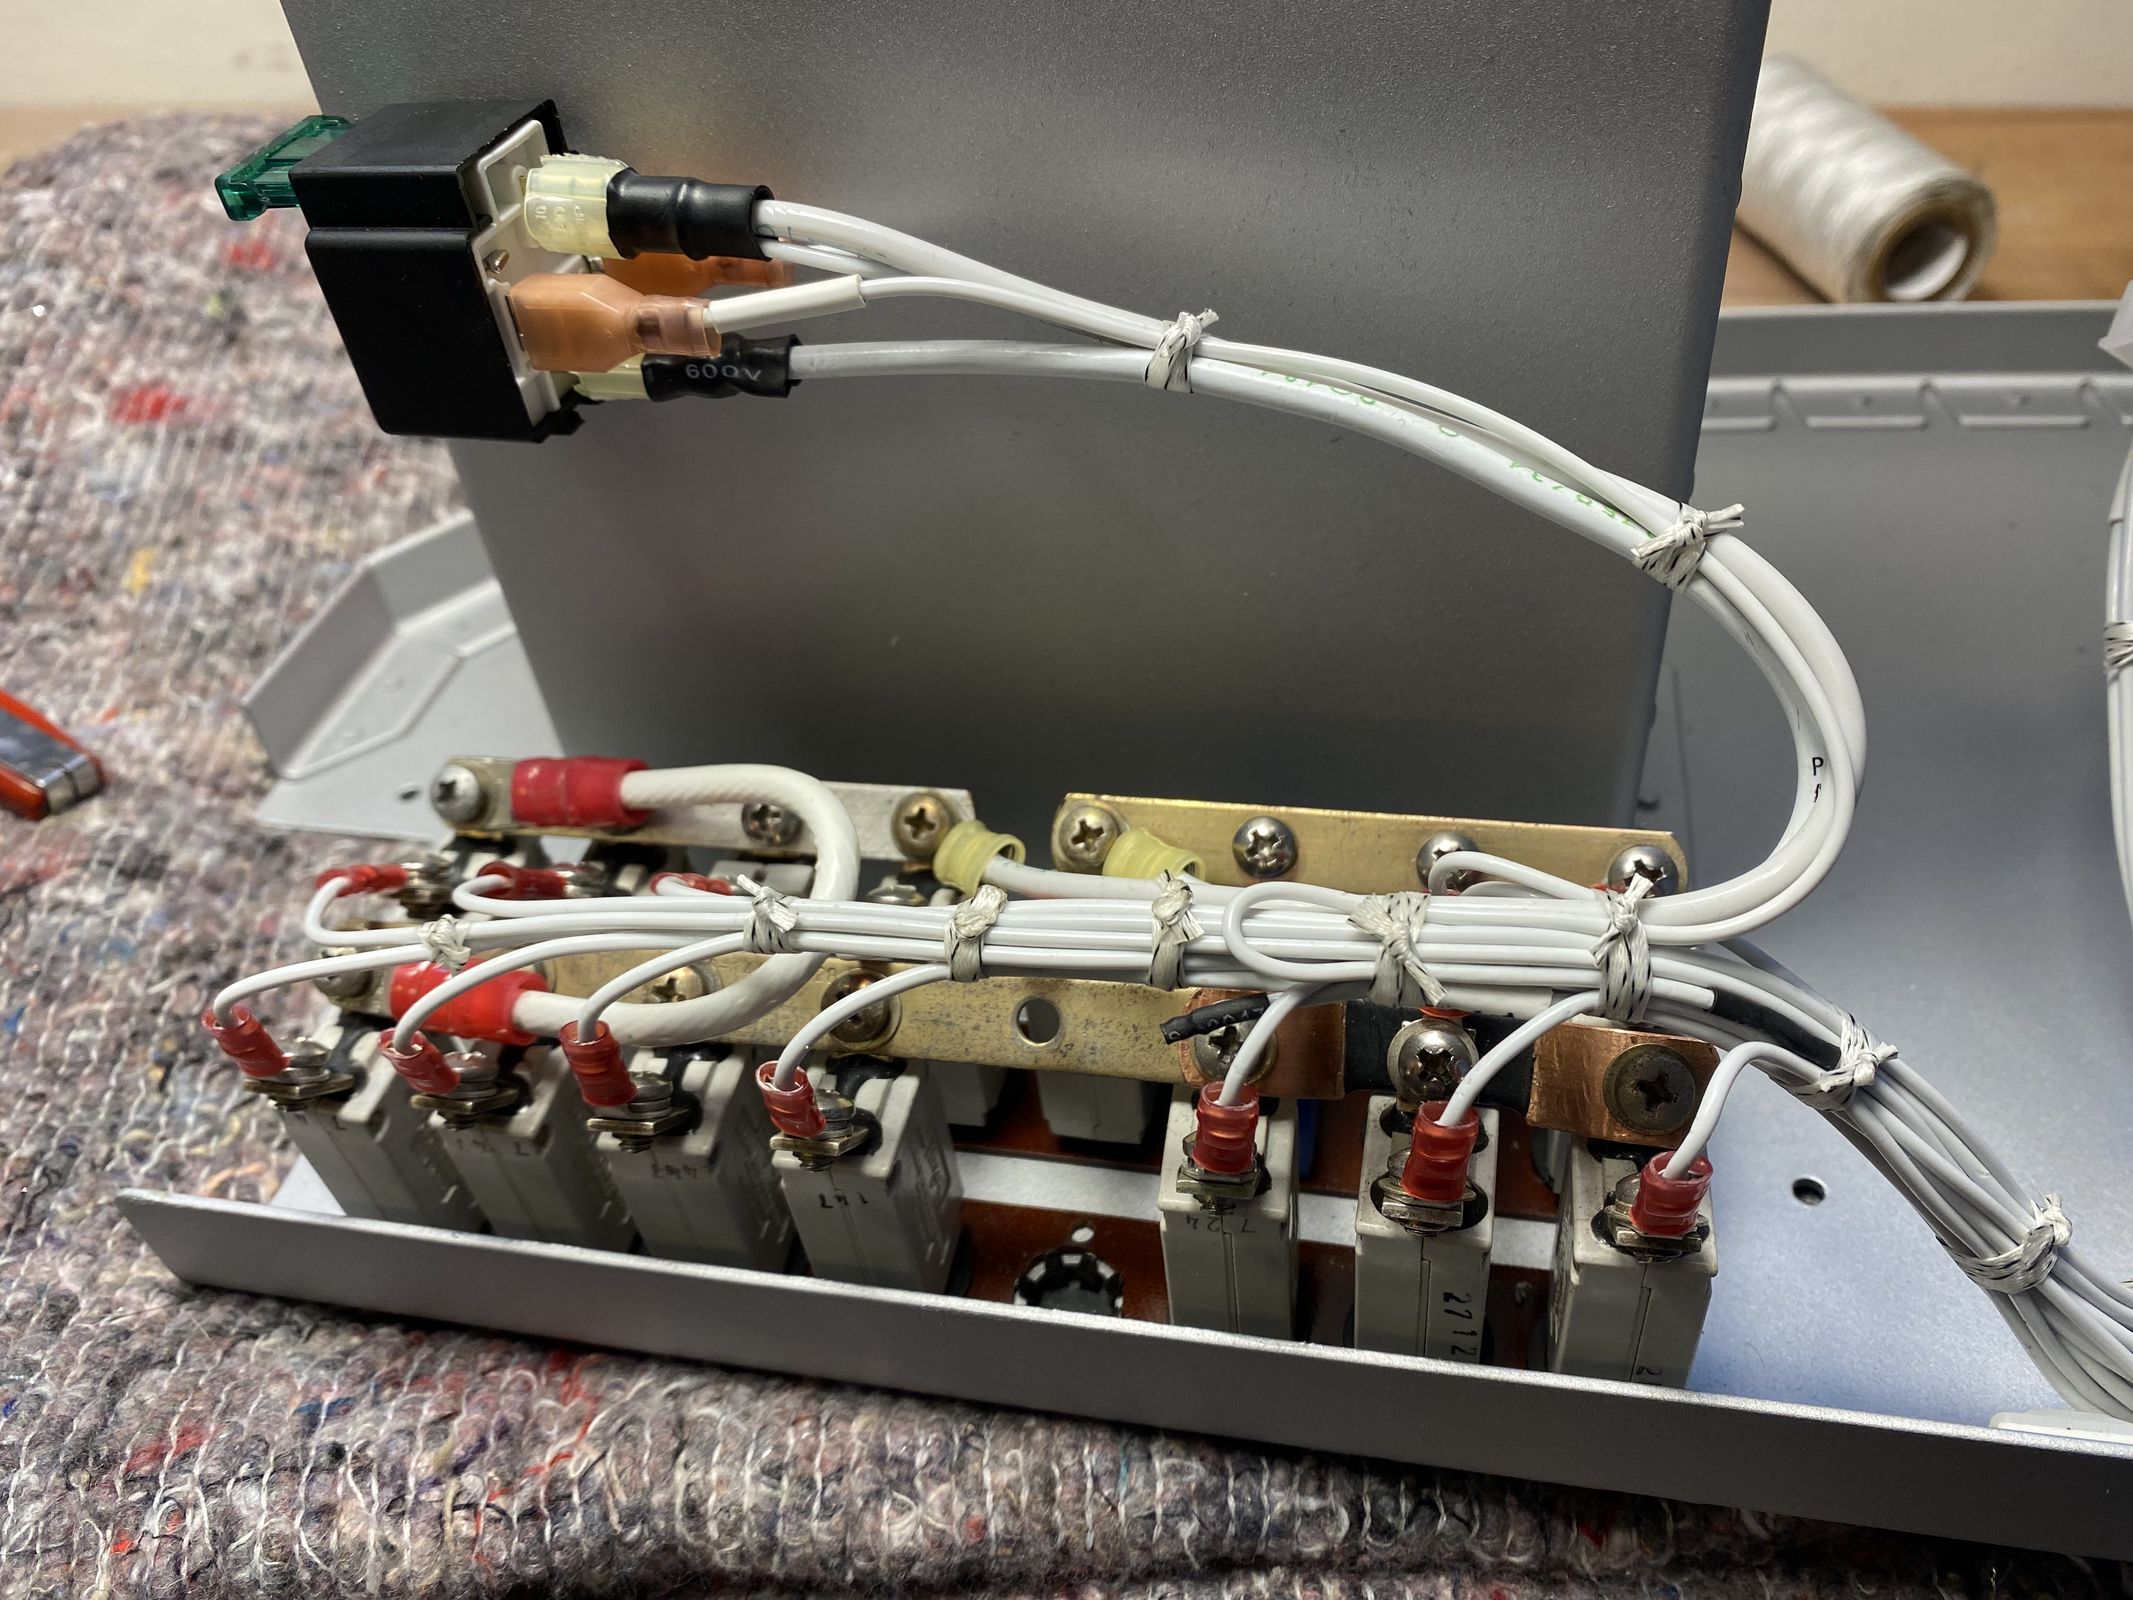
I had to make a little mod to the main busbar, as the backup power battery had to be charged from the avionics bus.
Otherwise the avionics would not be powered by the backup battery, with only the master on.
As you can see in the lower right corner, I made a special bus bar that cleared the circuit breaker, then connected the circuit breaker to the avionics bus bar.
I tested it again, and now it worked as it should.
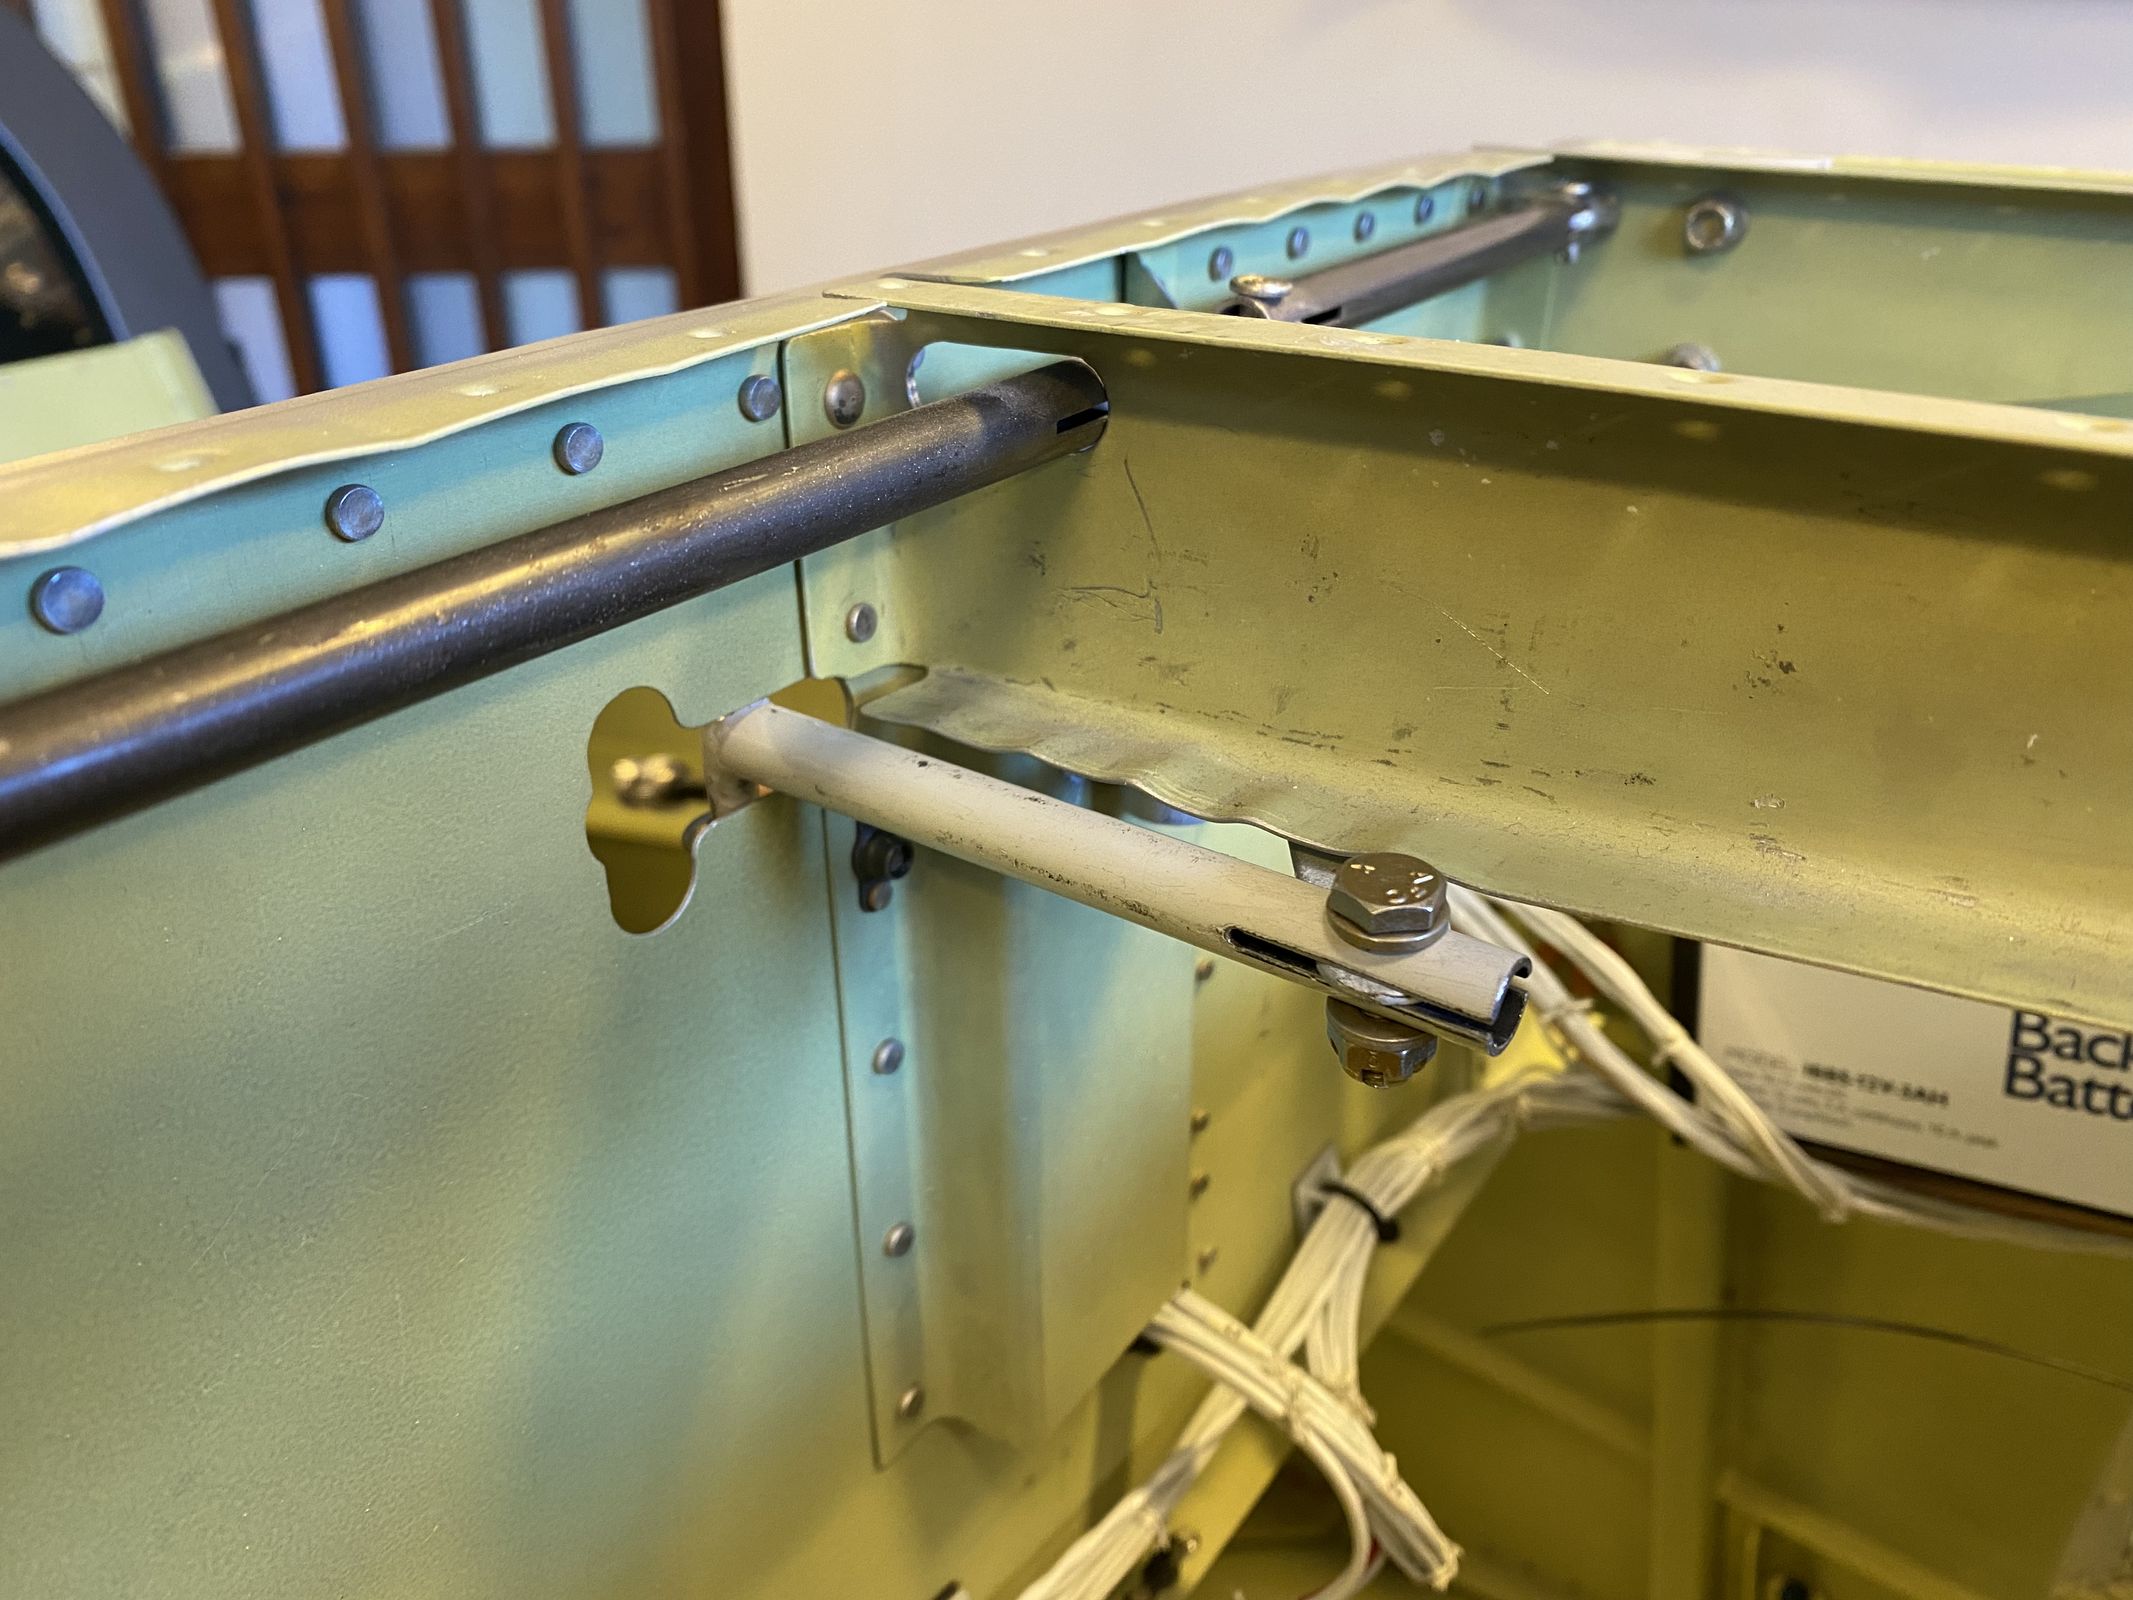
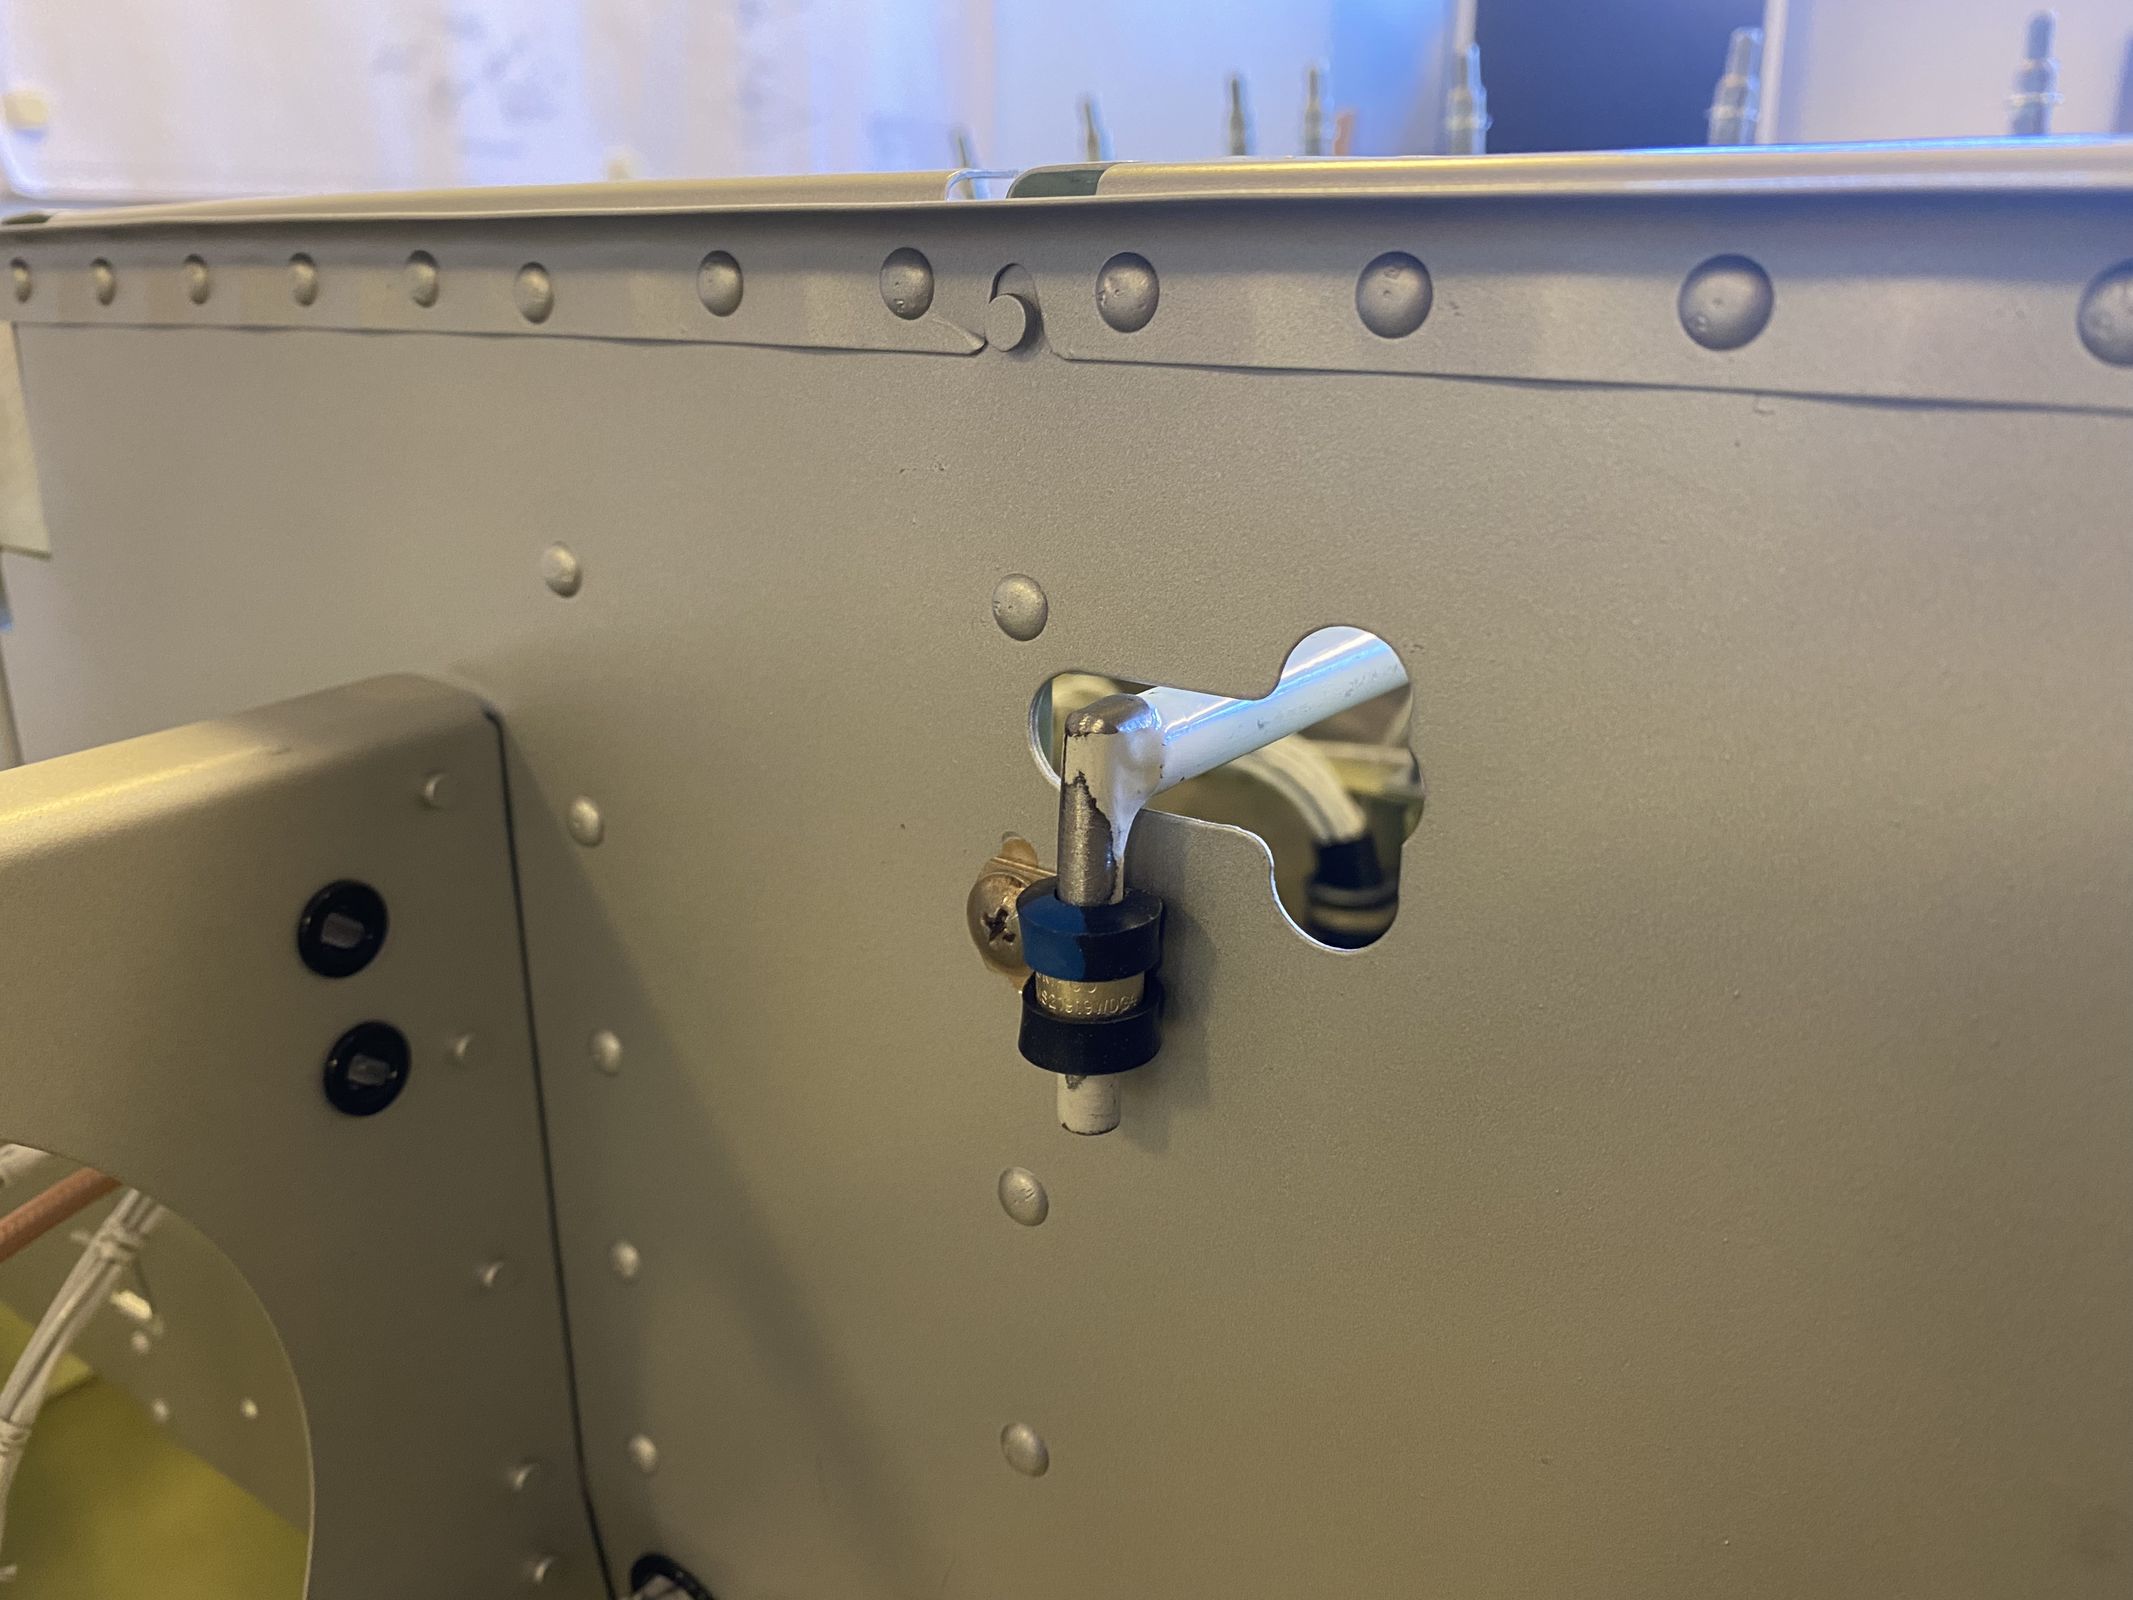
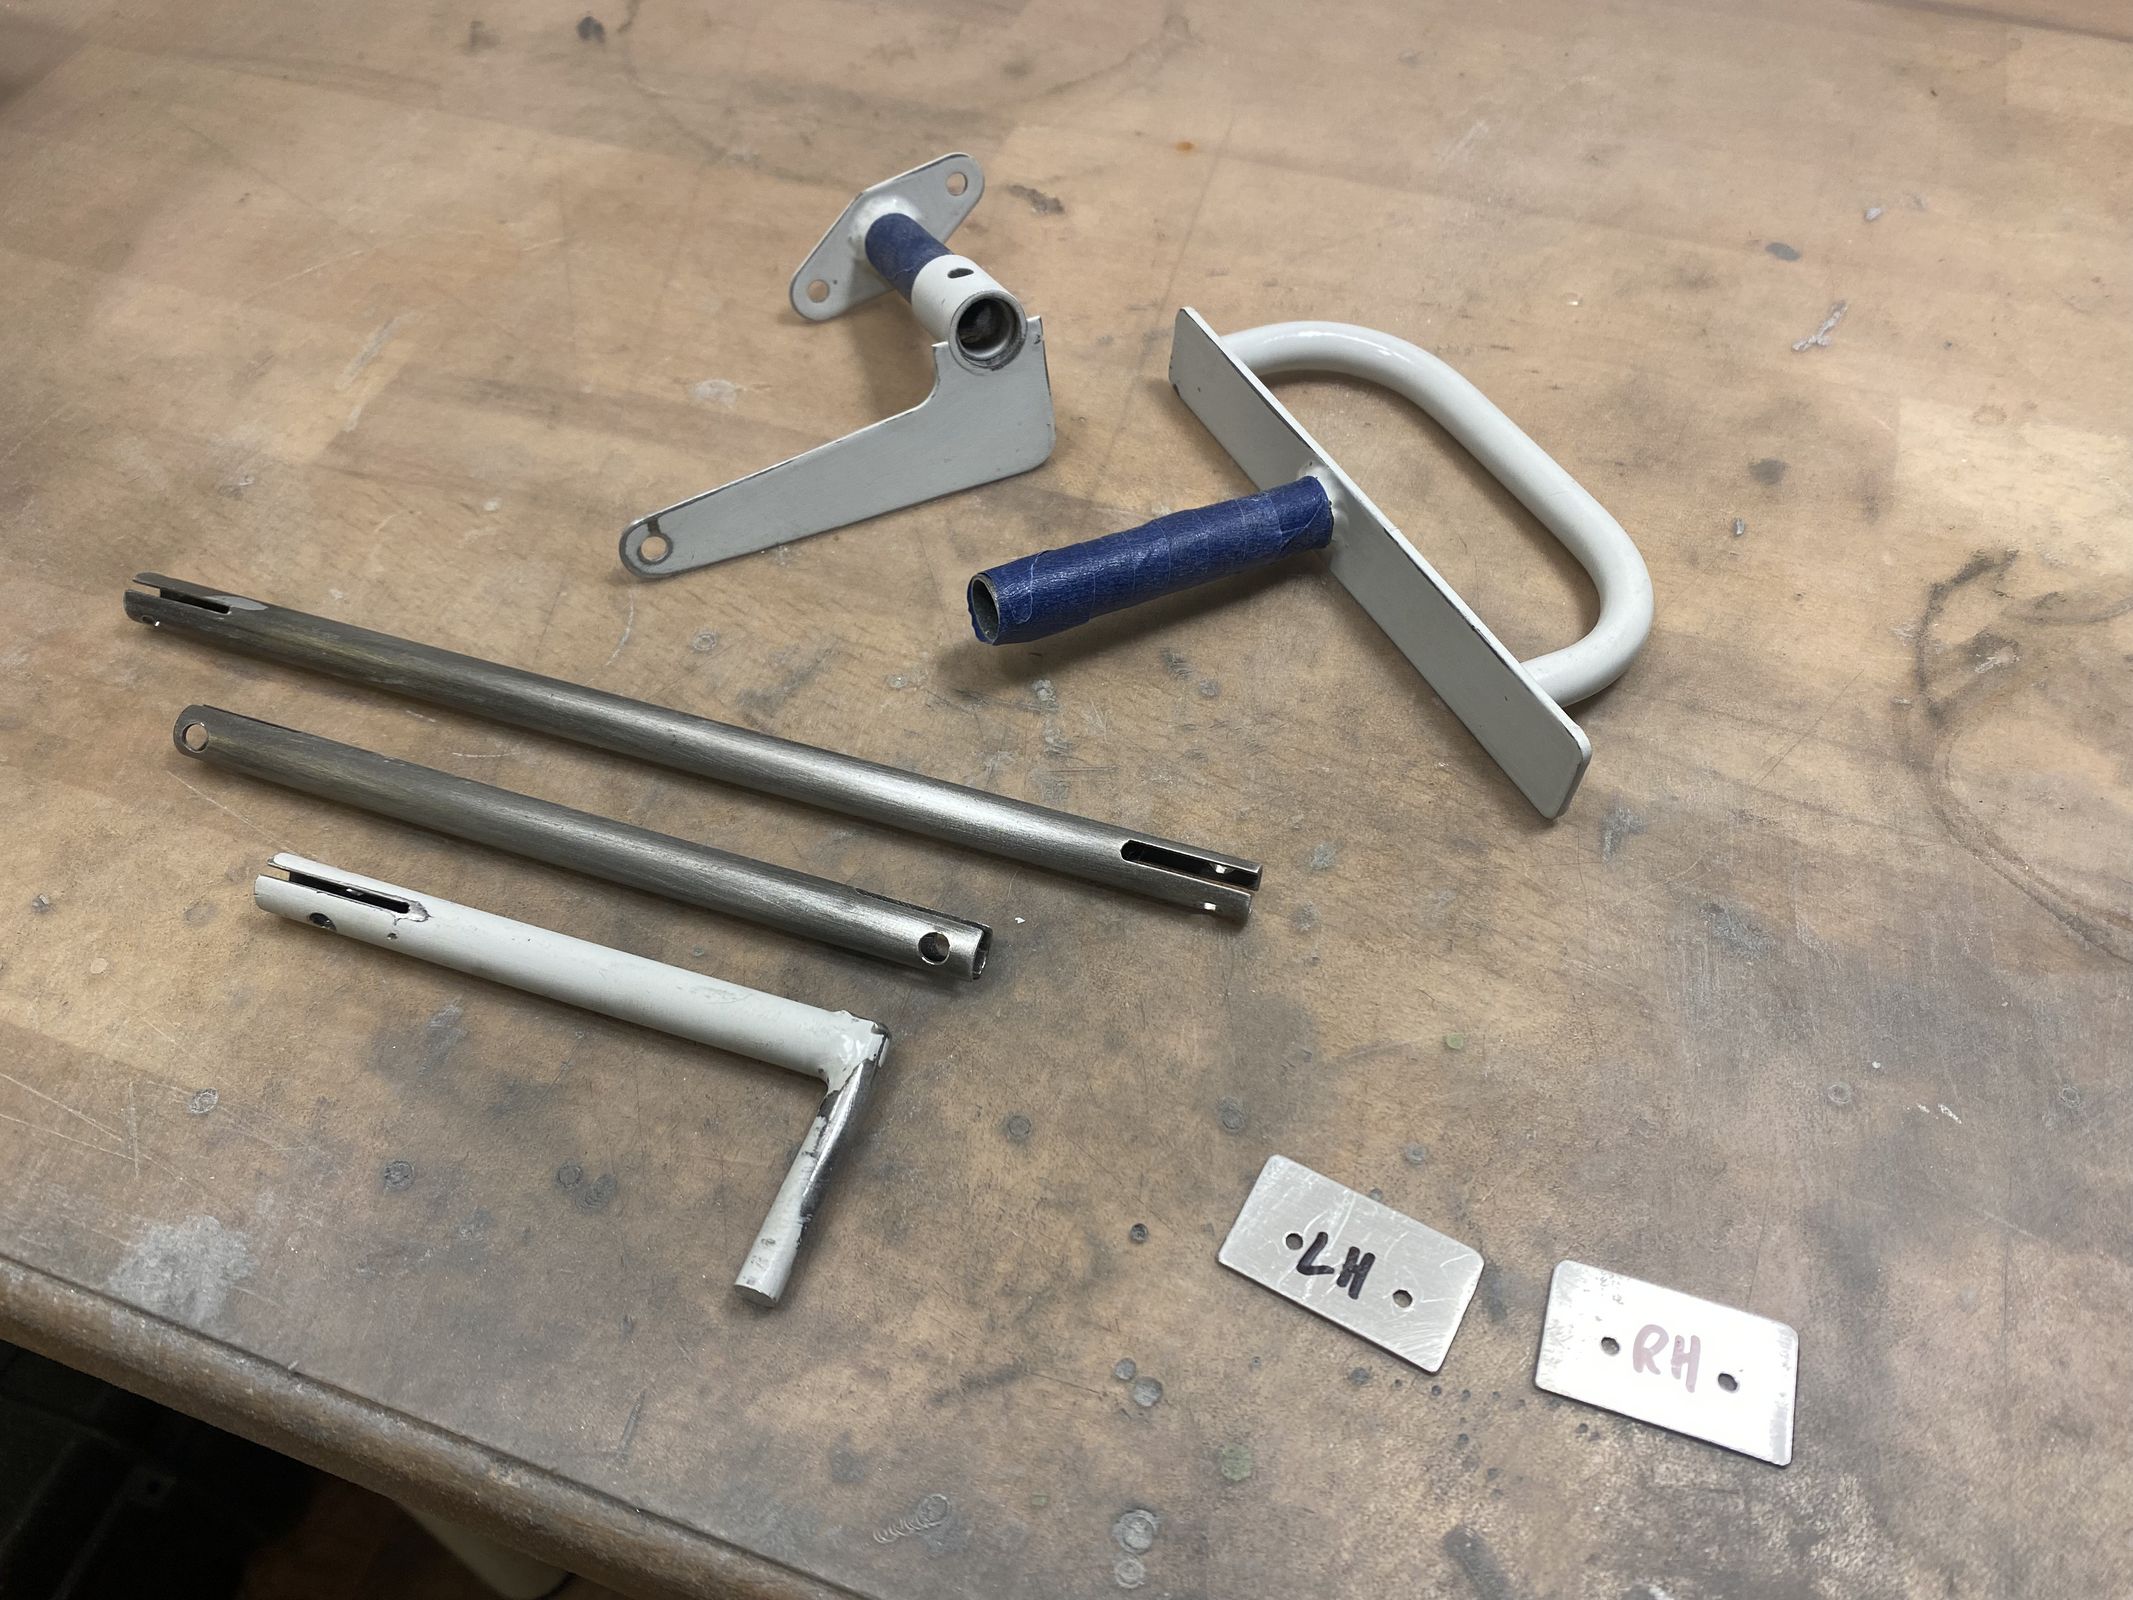
The canopy has a linkage that would allow you to pull a handle in the instrument panel, to release the canopy.
I am not using this system, so I had to find a way to lock this handle to the subpanel.
I drilled out a rivet just below the handle slot, then made holes for a nutplate.
With the nutplate installed, a fixed the handle with a clamp and screw, in order to mark the new length and bolt hole on the handle.
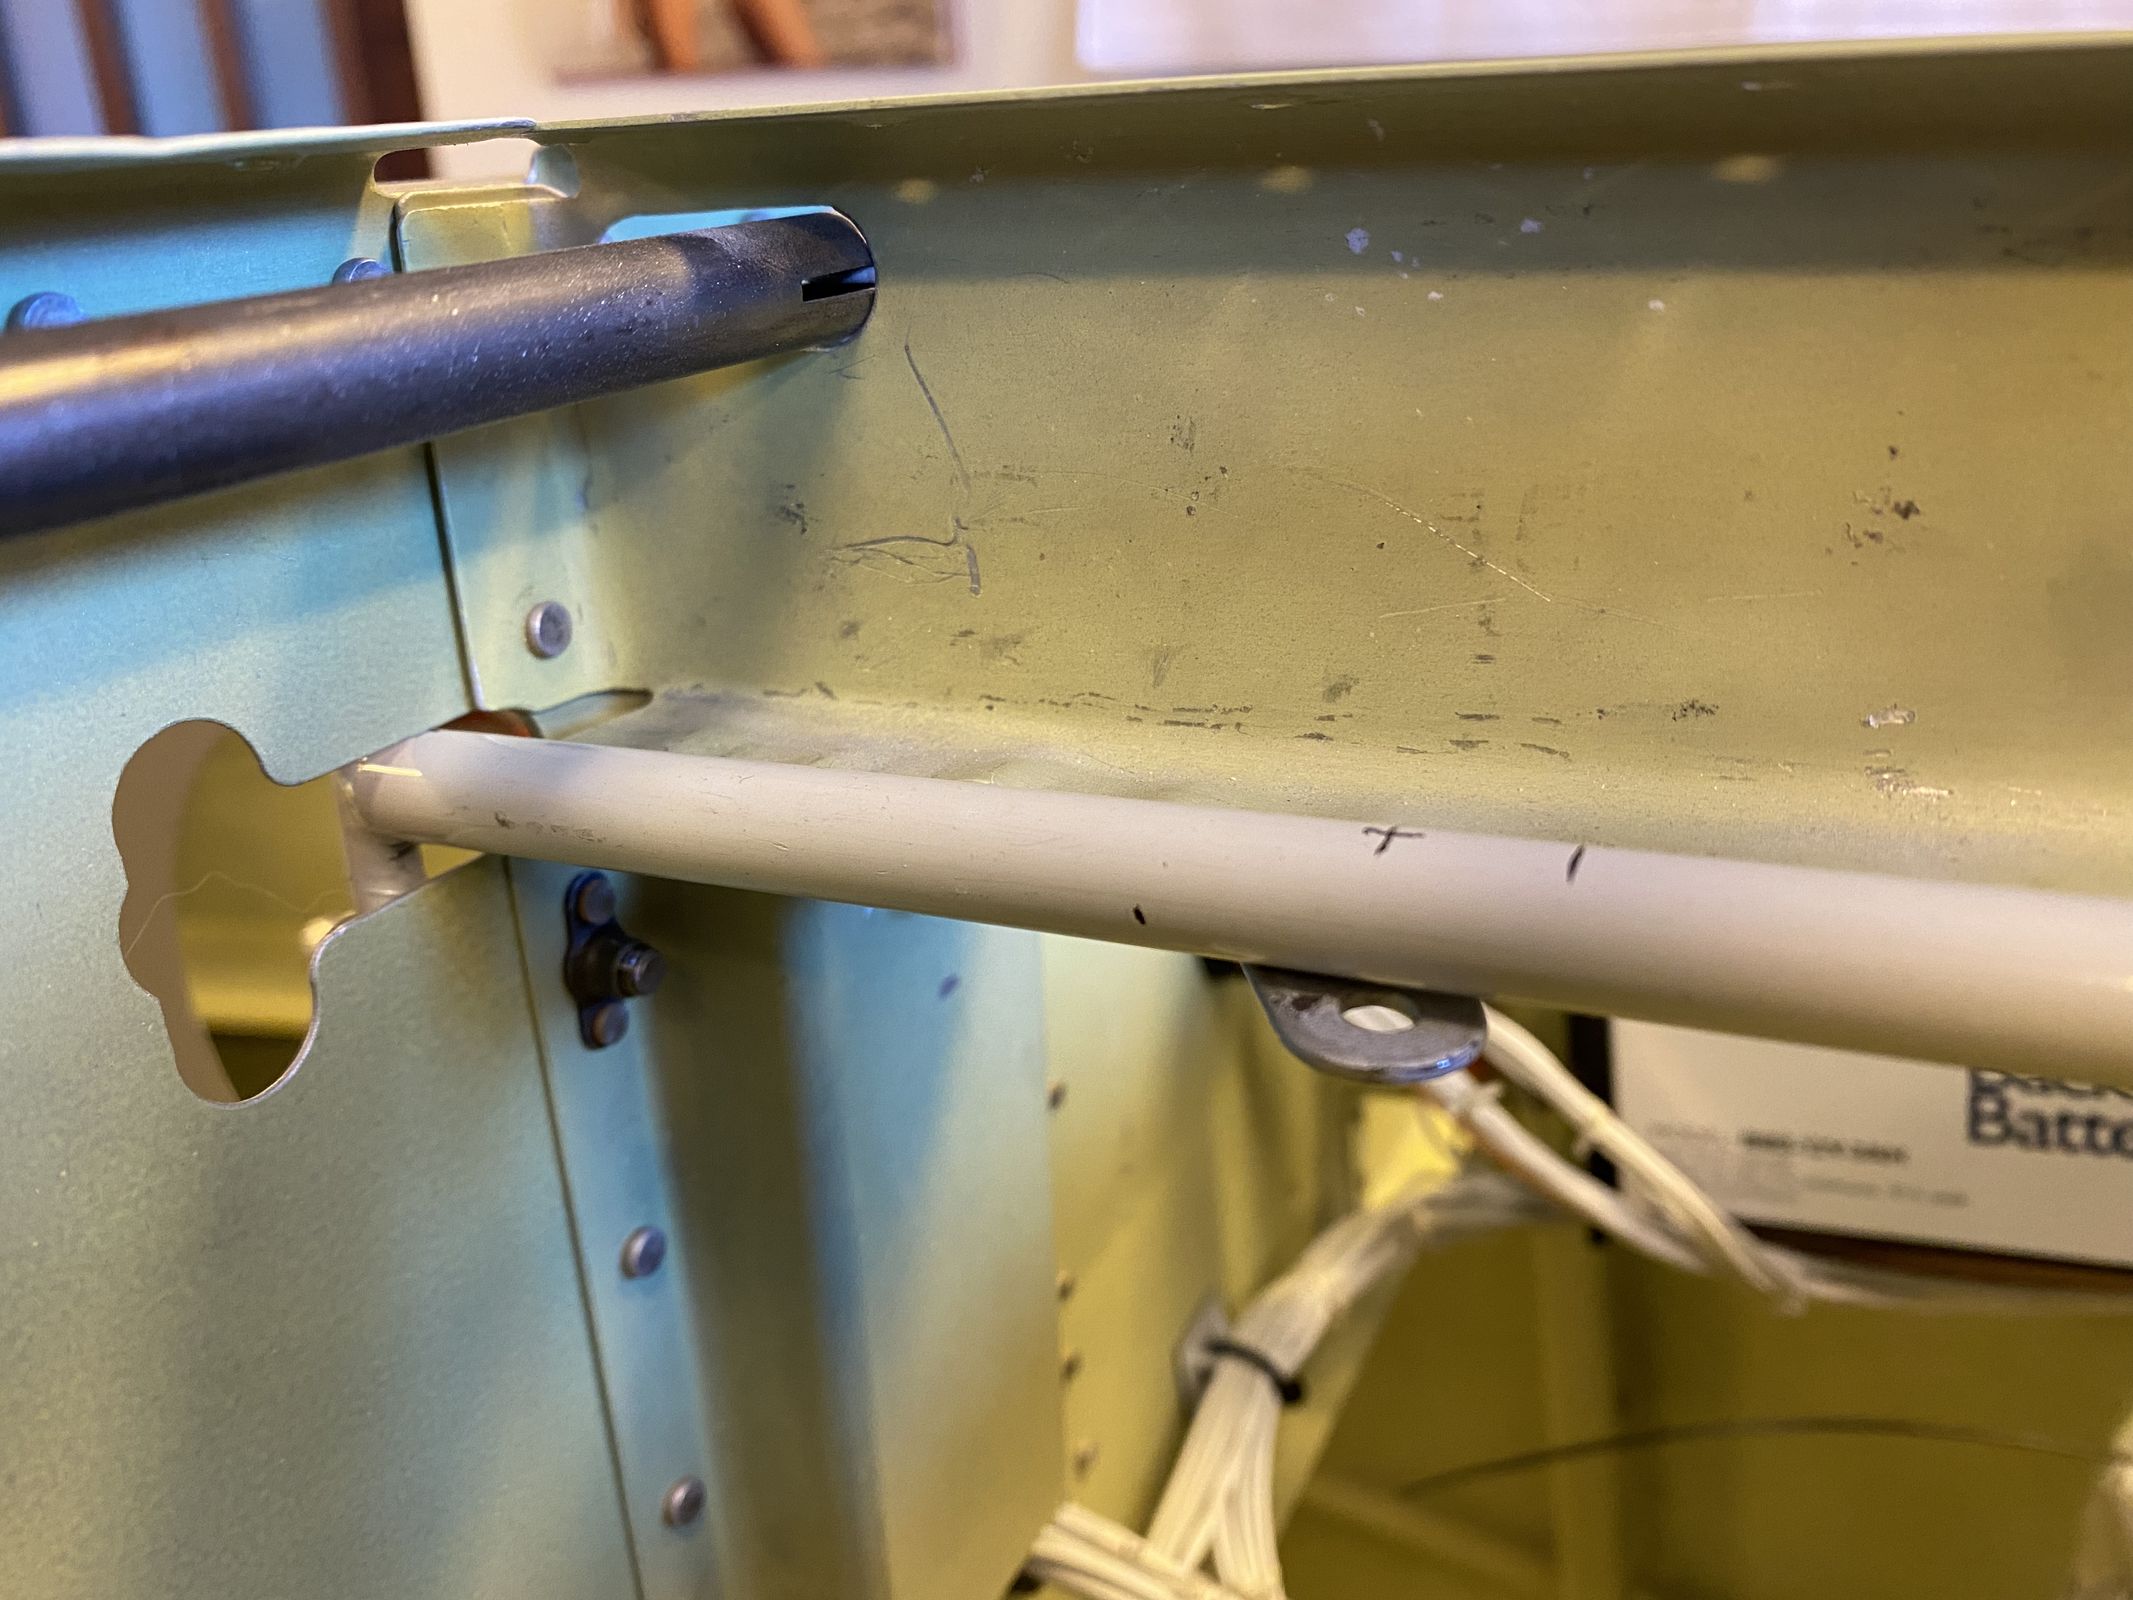
Handle trimmed and installed.
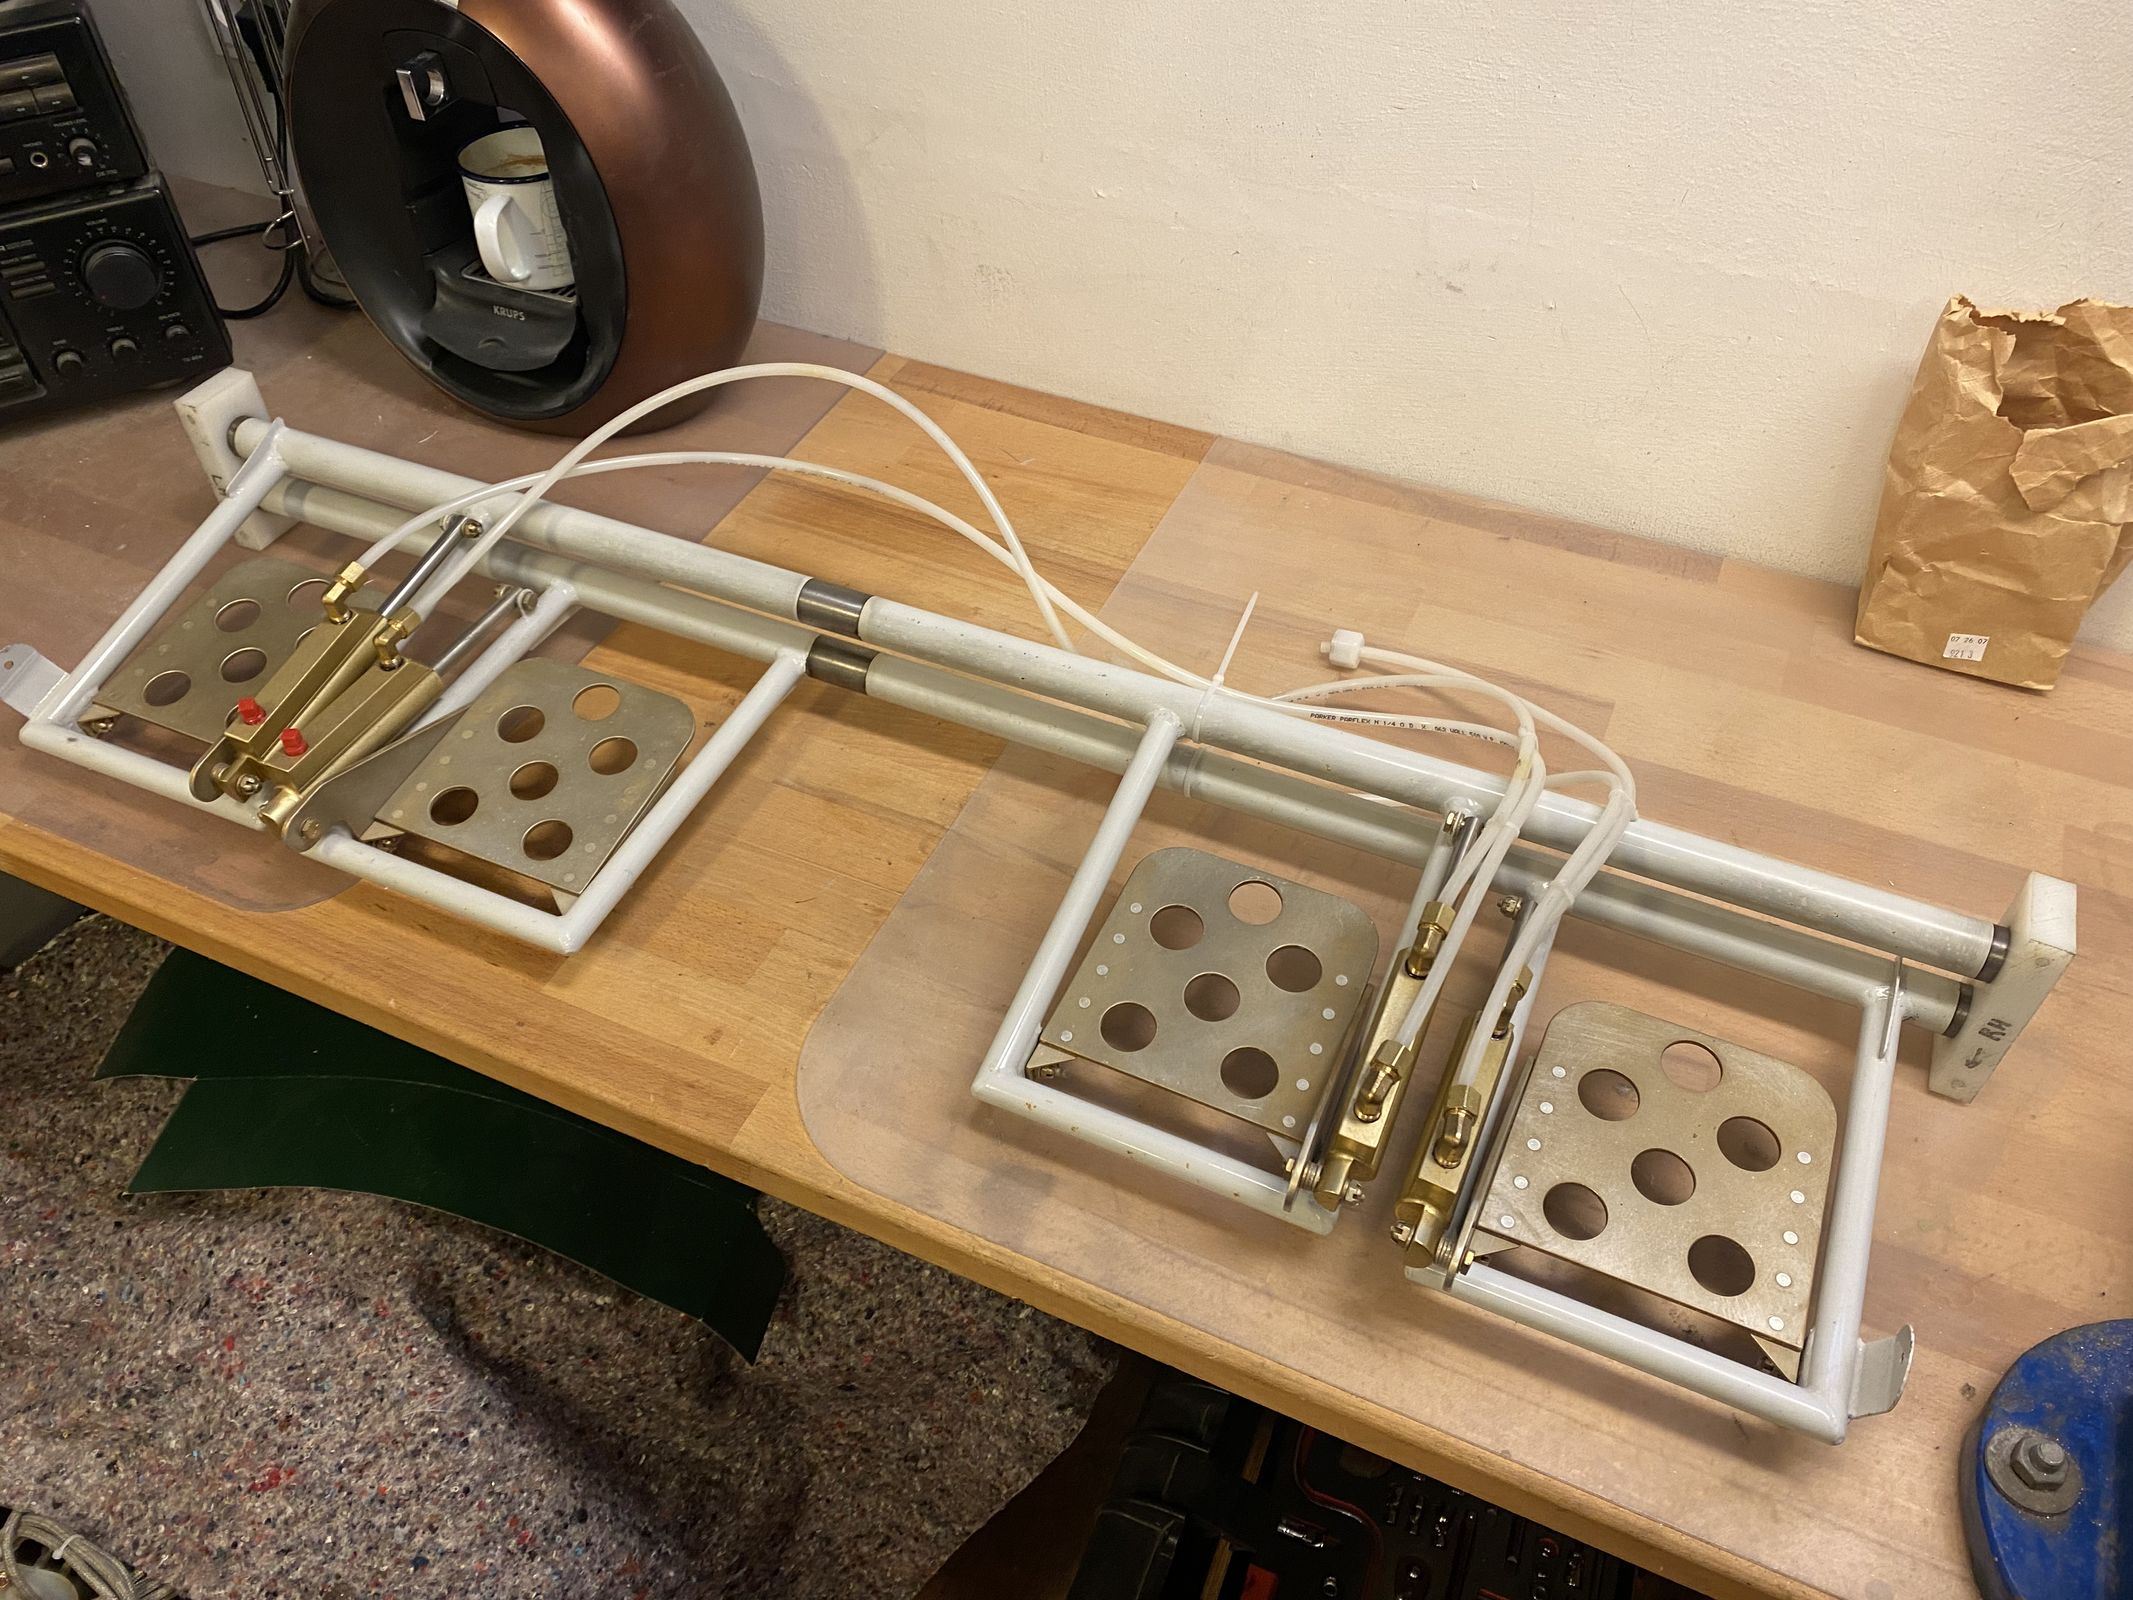
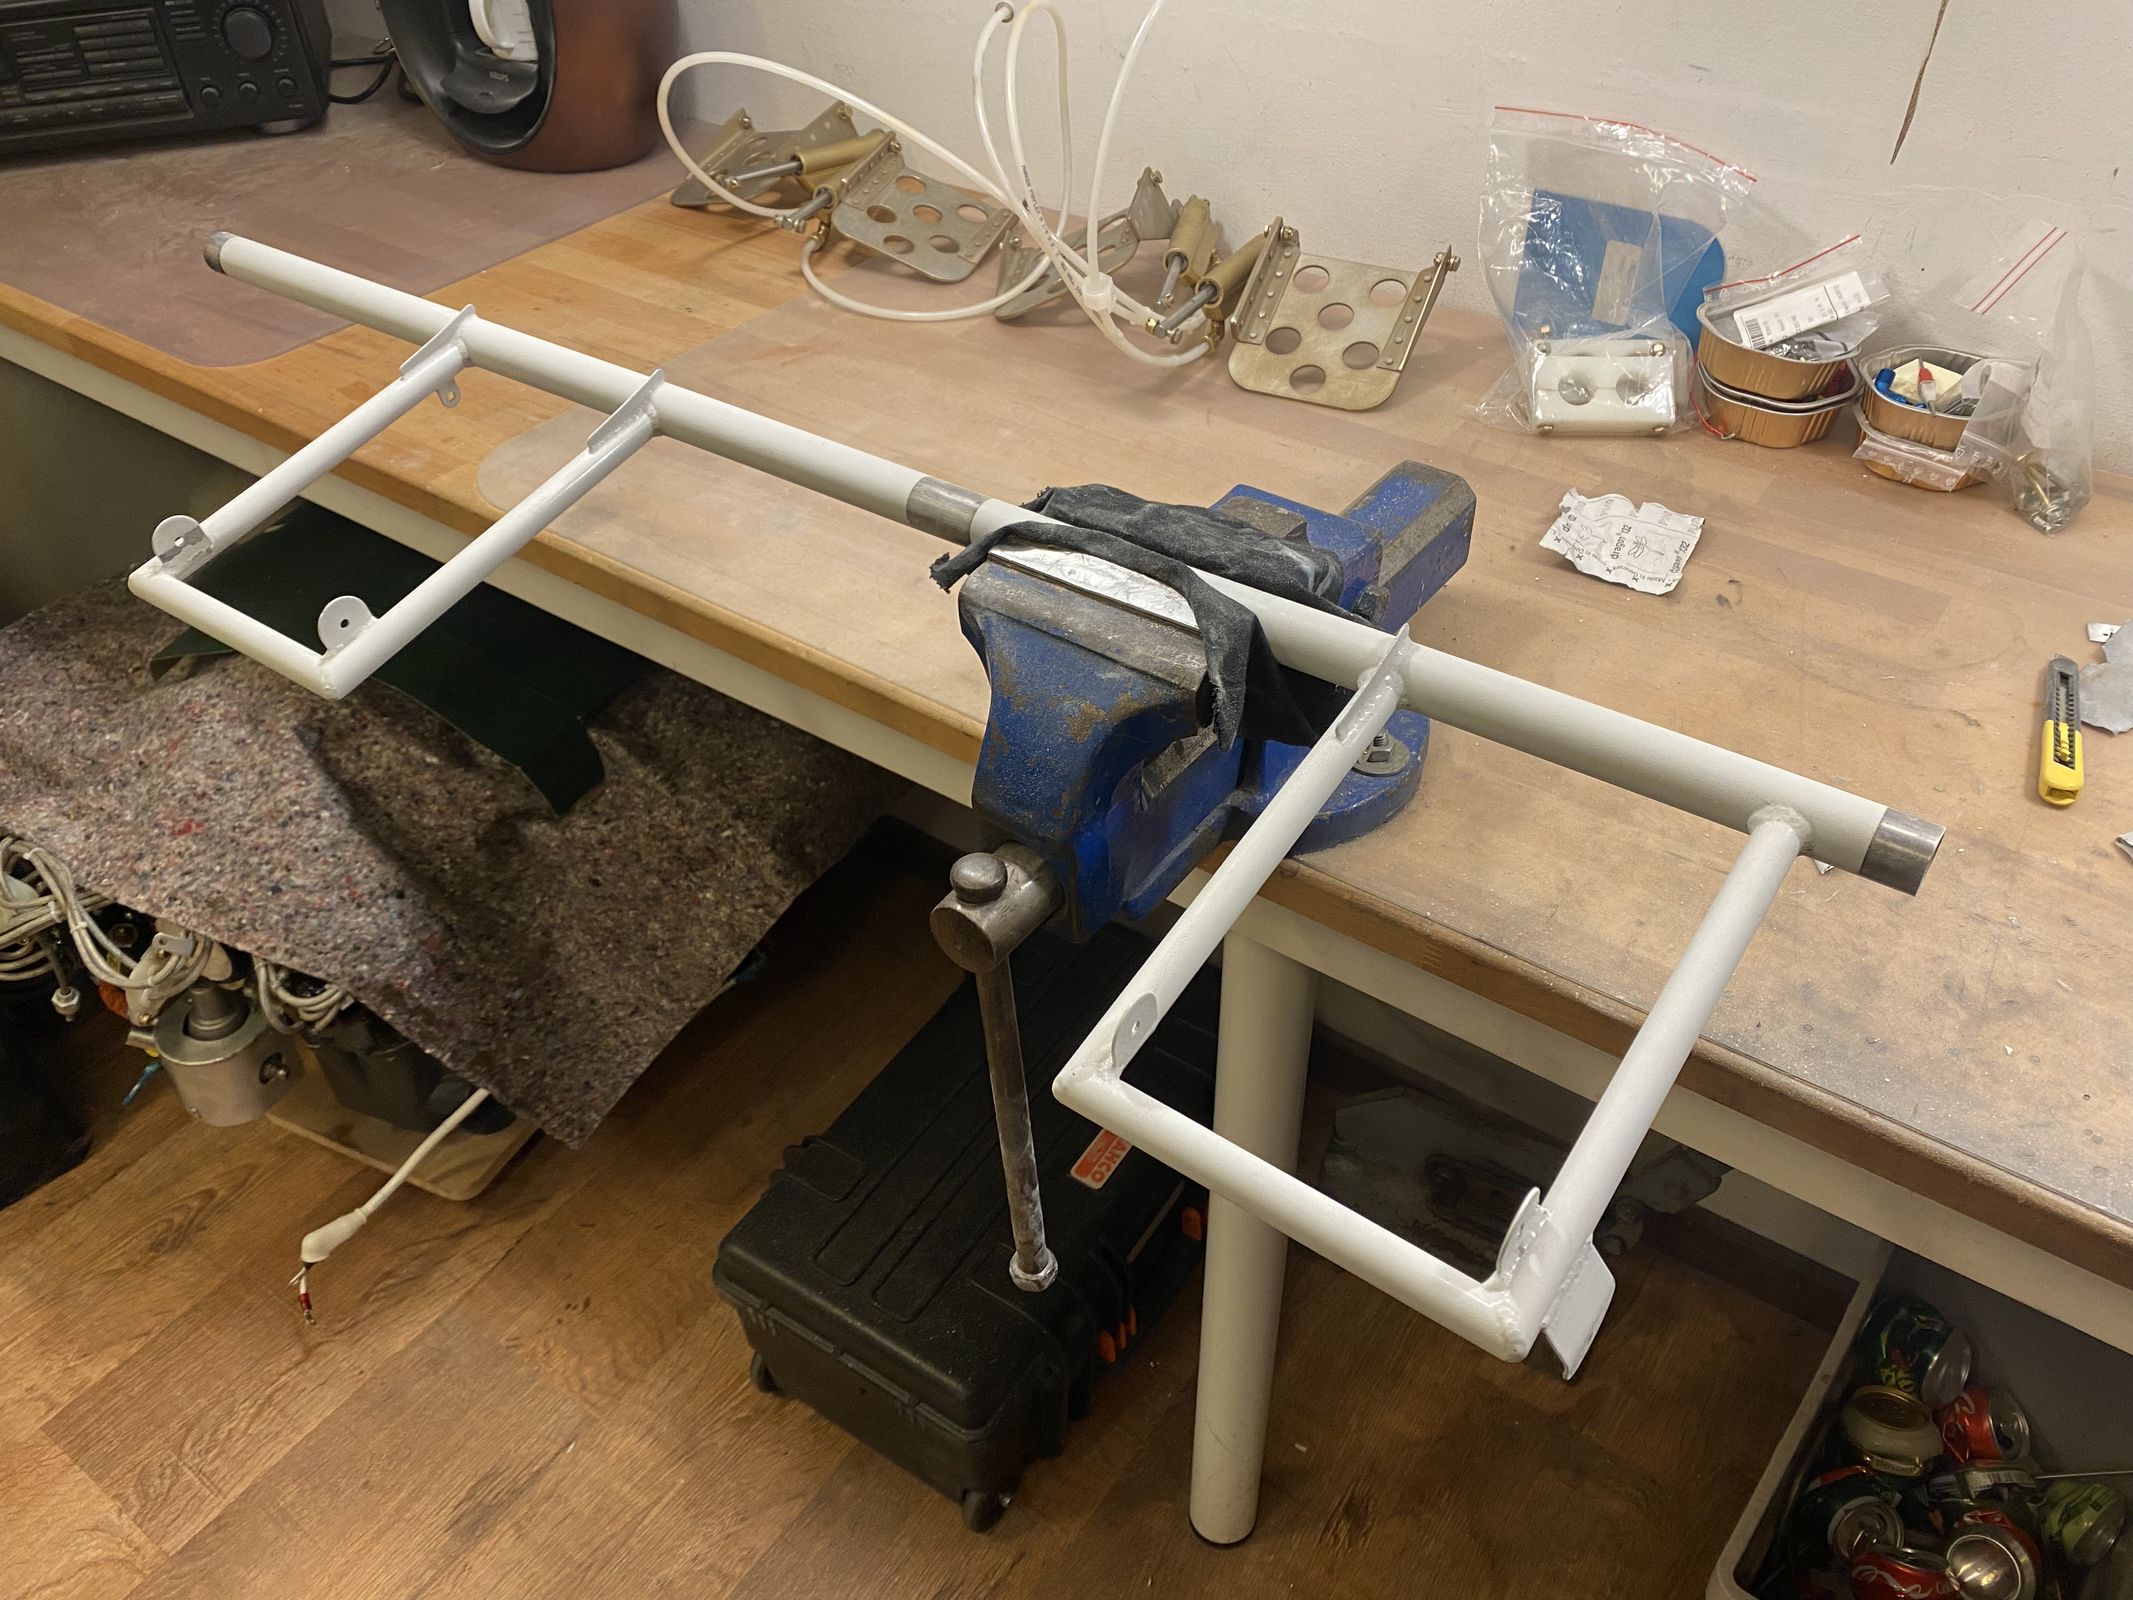
I installed the rudder pedals again, to make the brake lines. It is much easier to do now, before I rivet on the last skin.
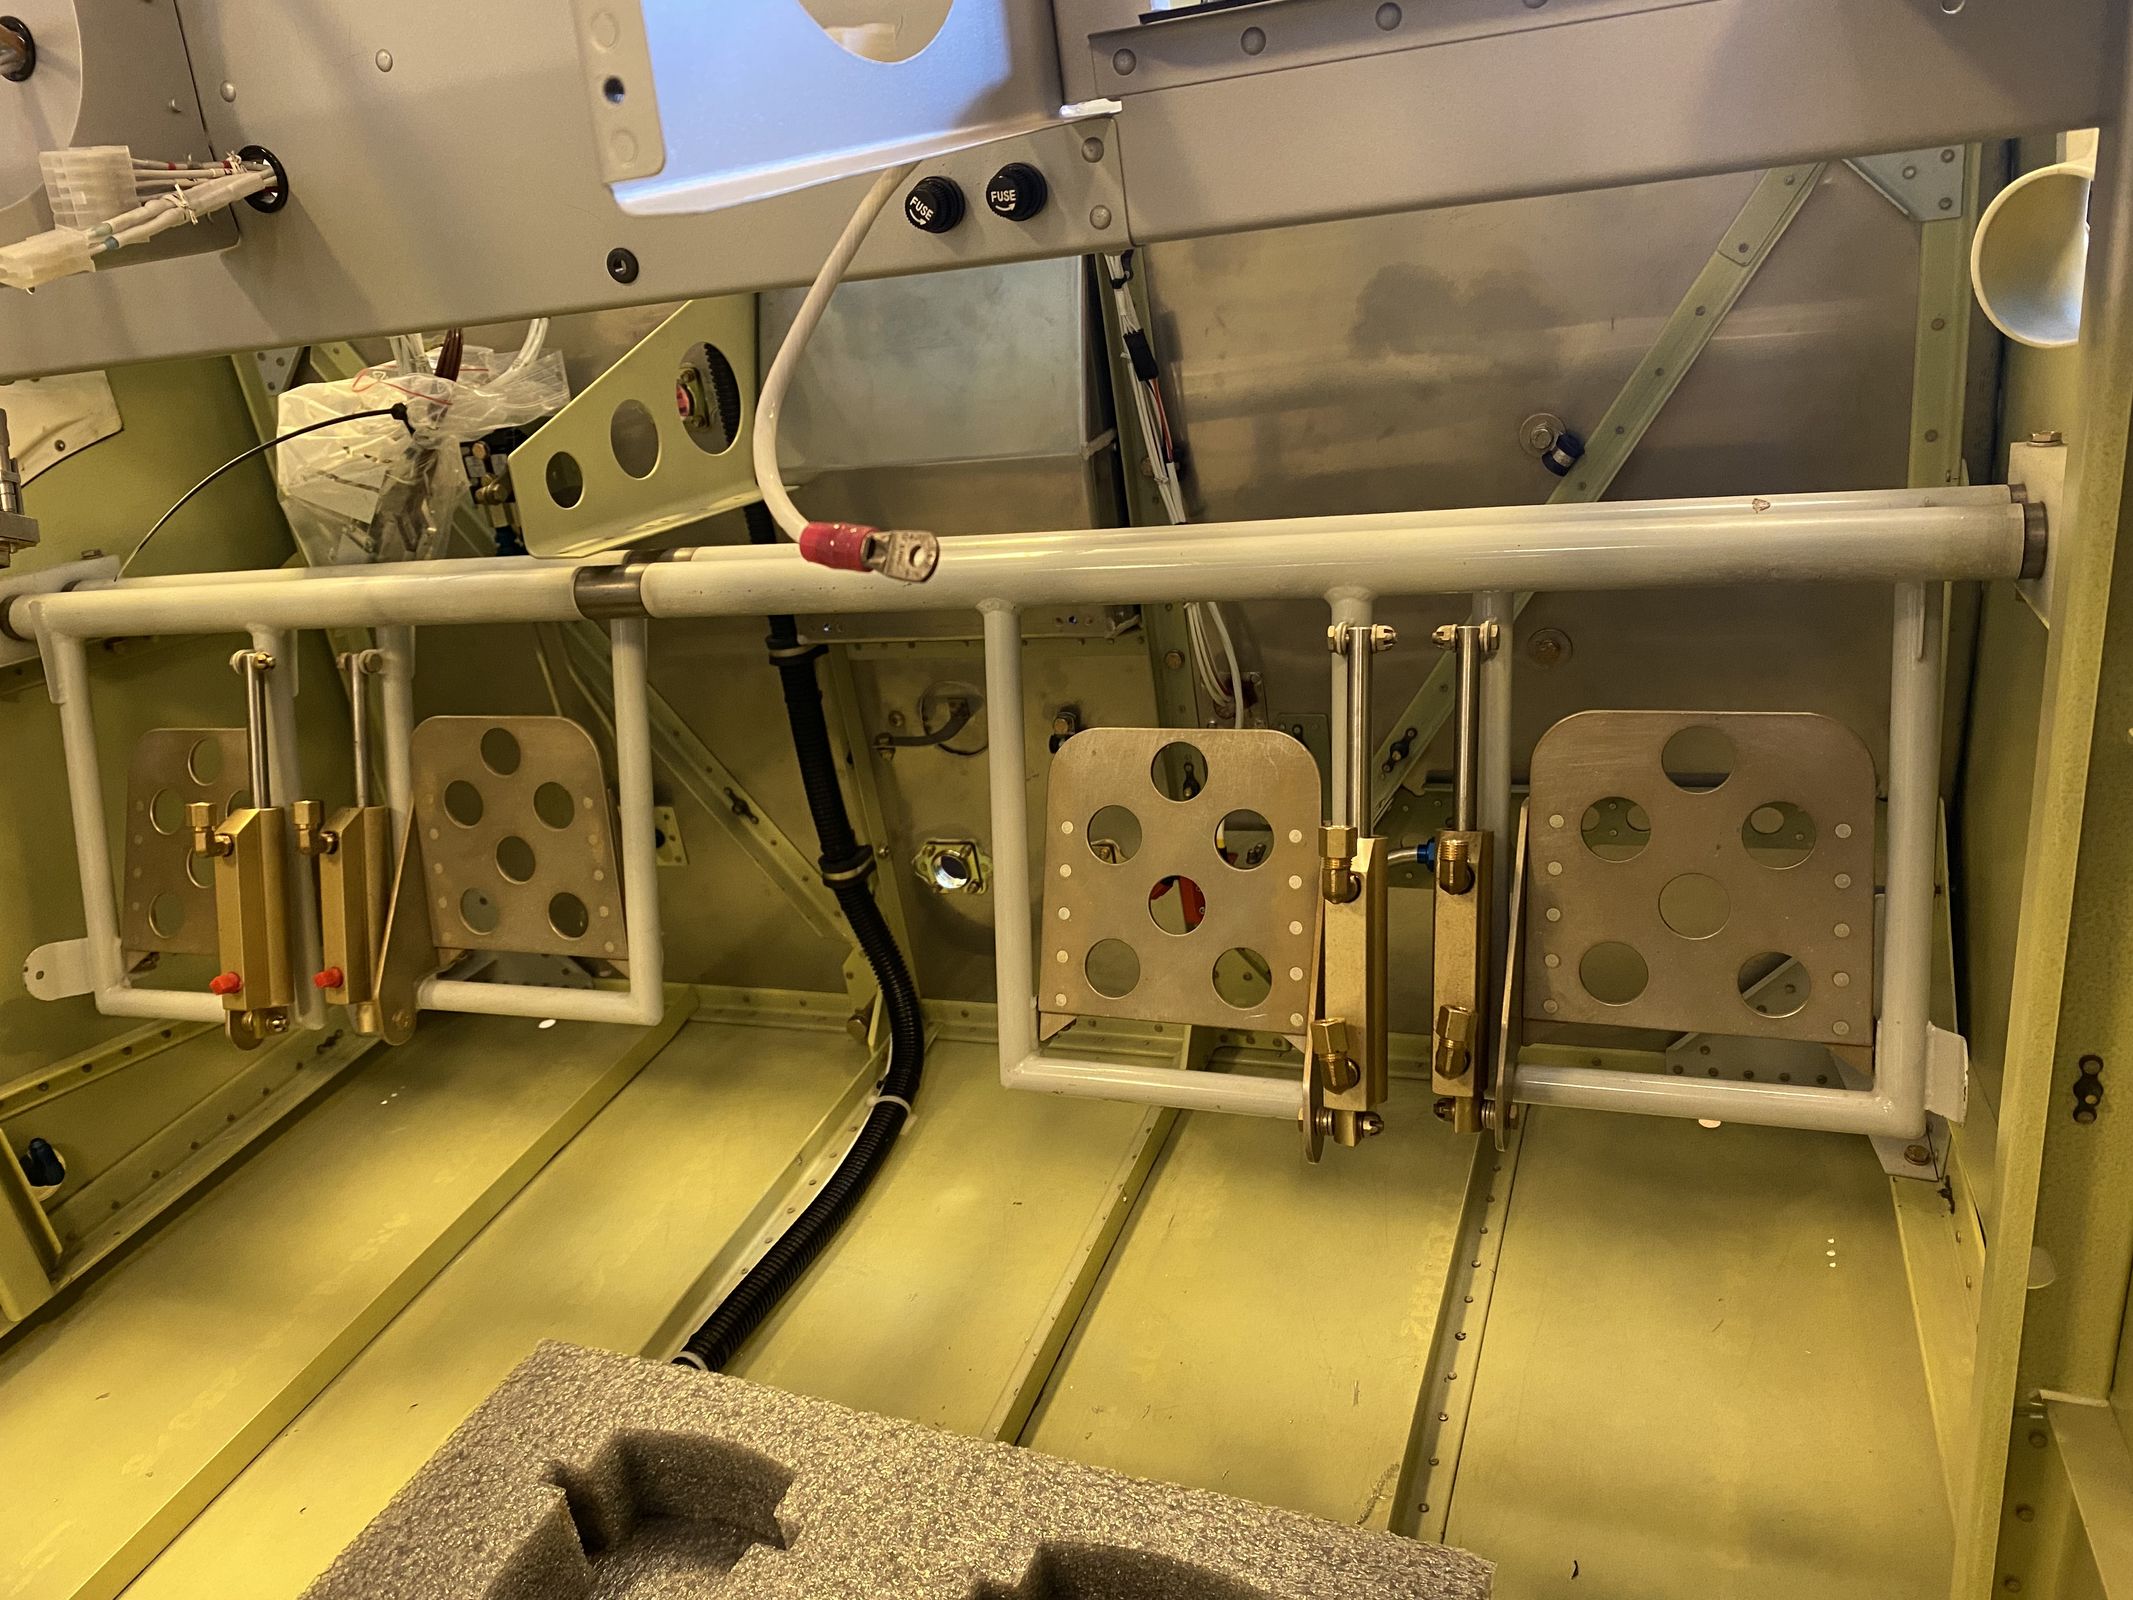
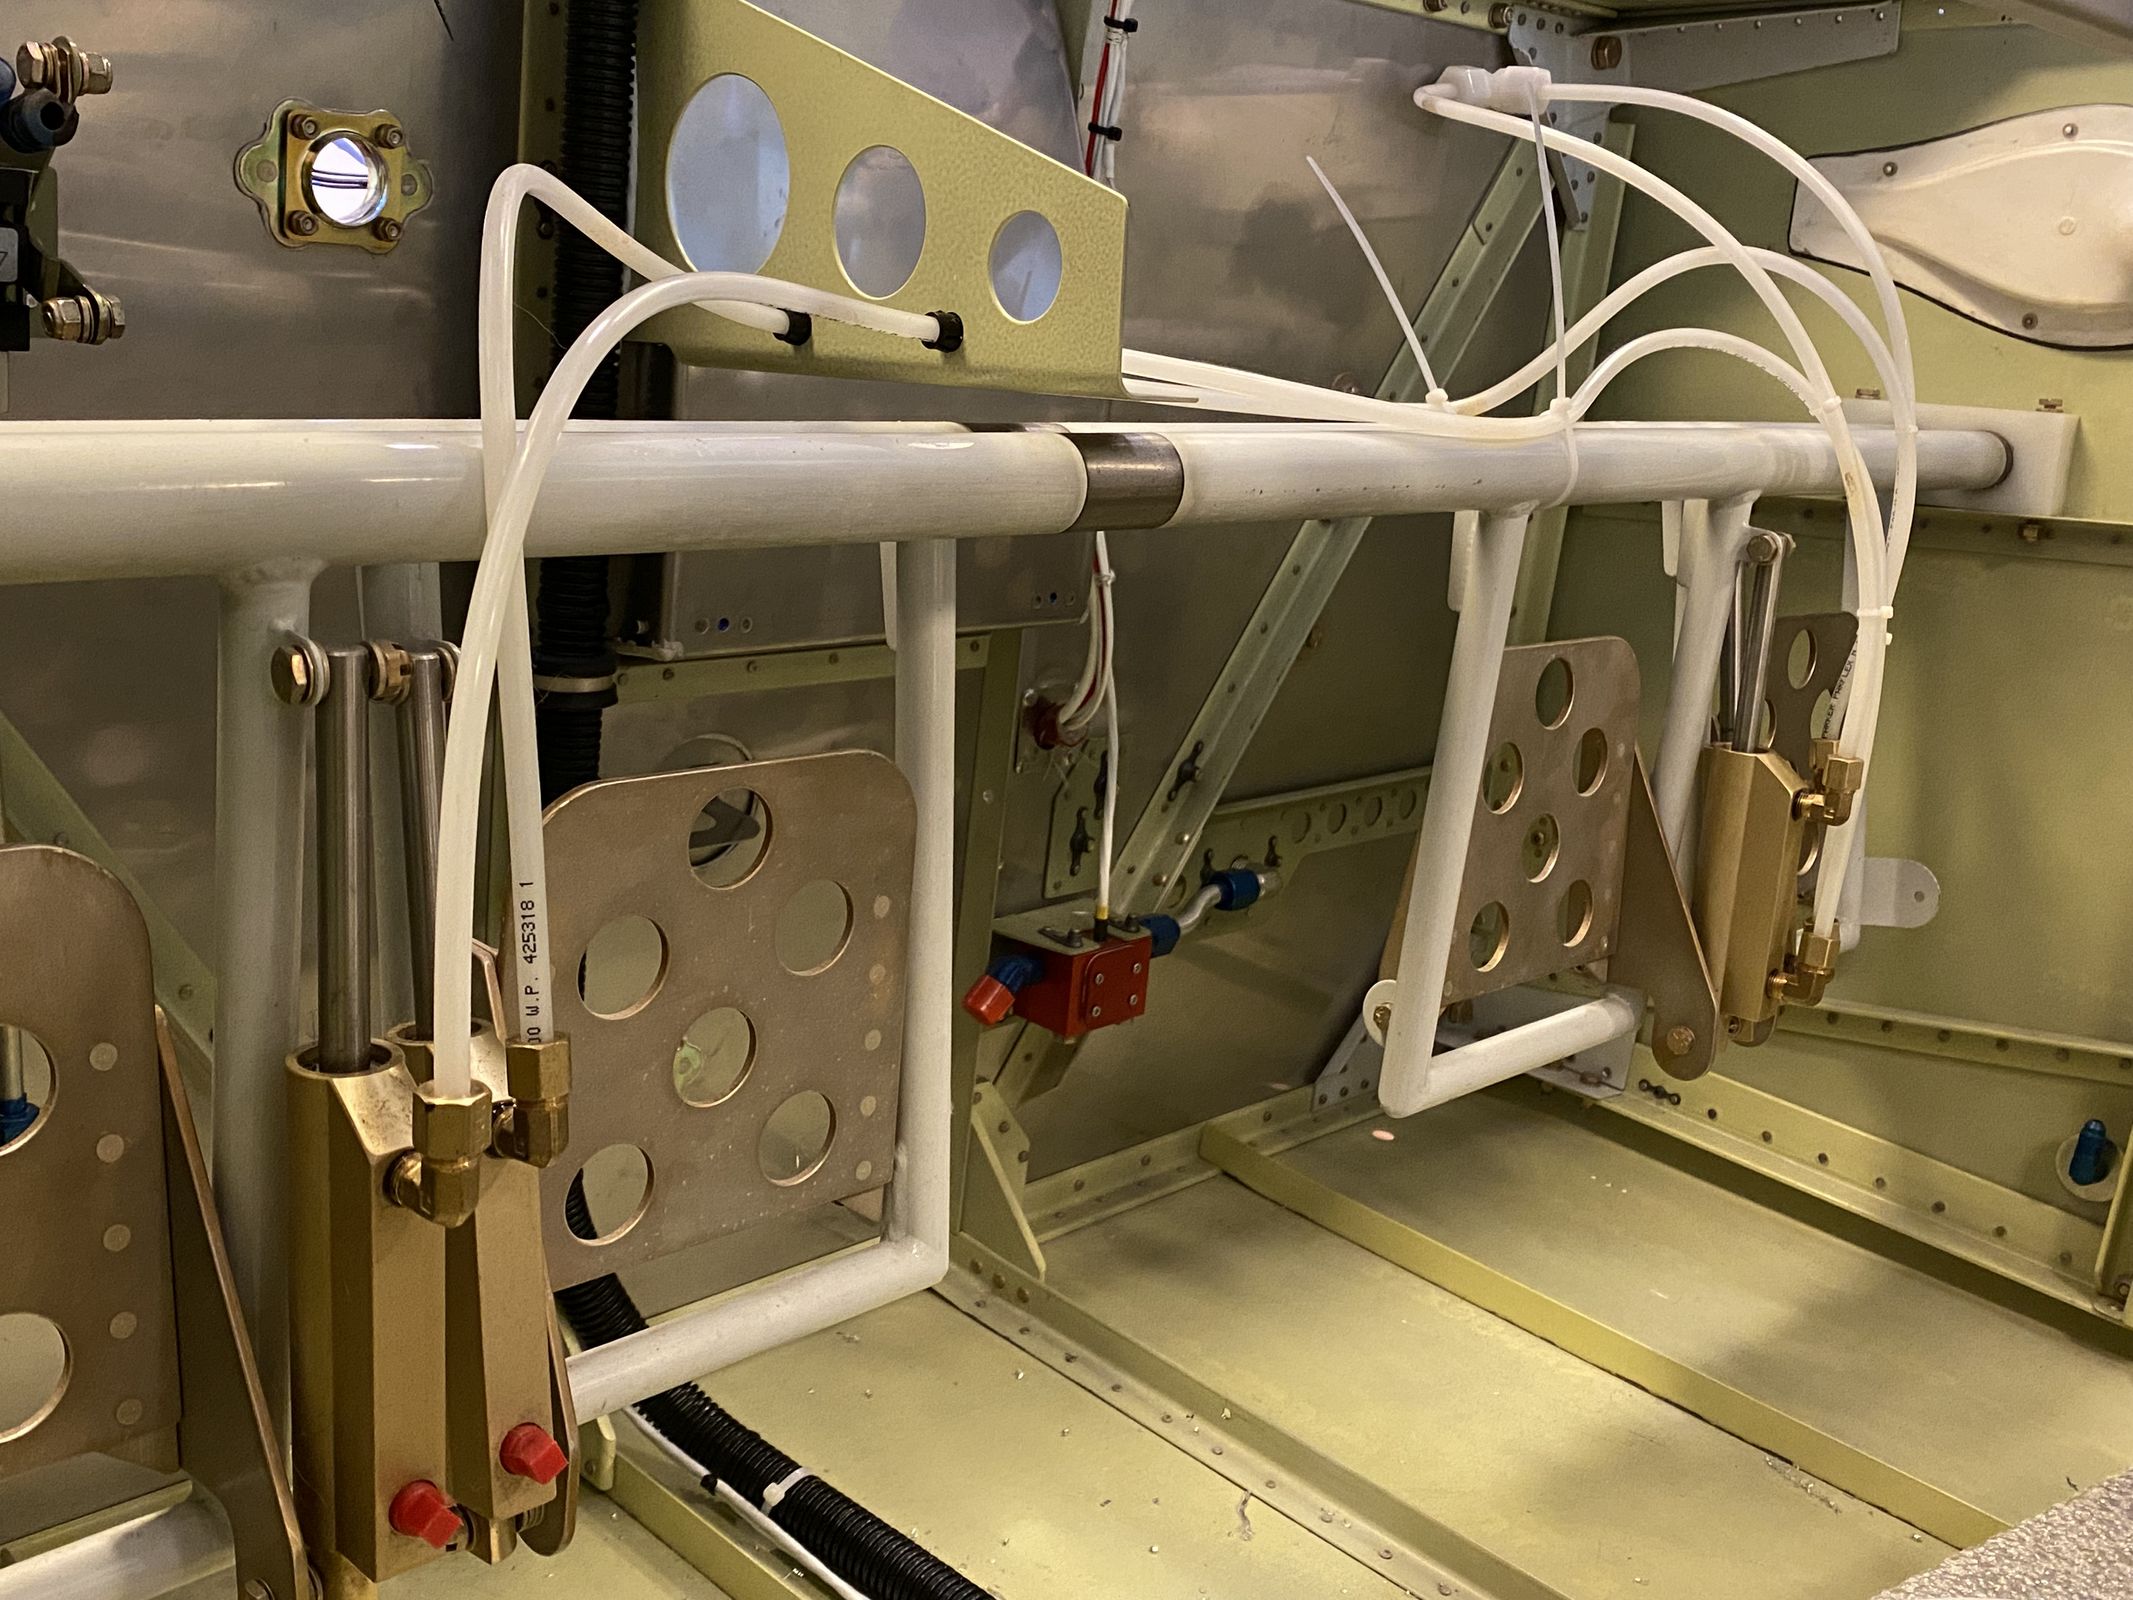
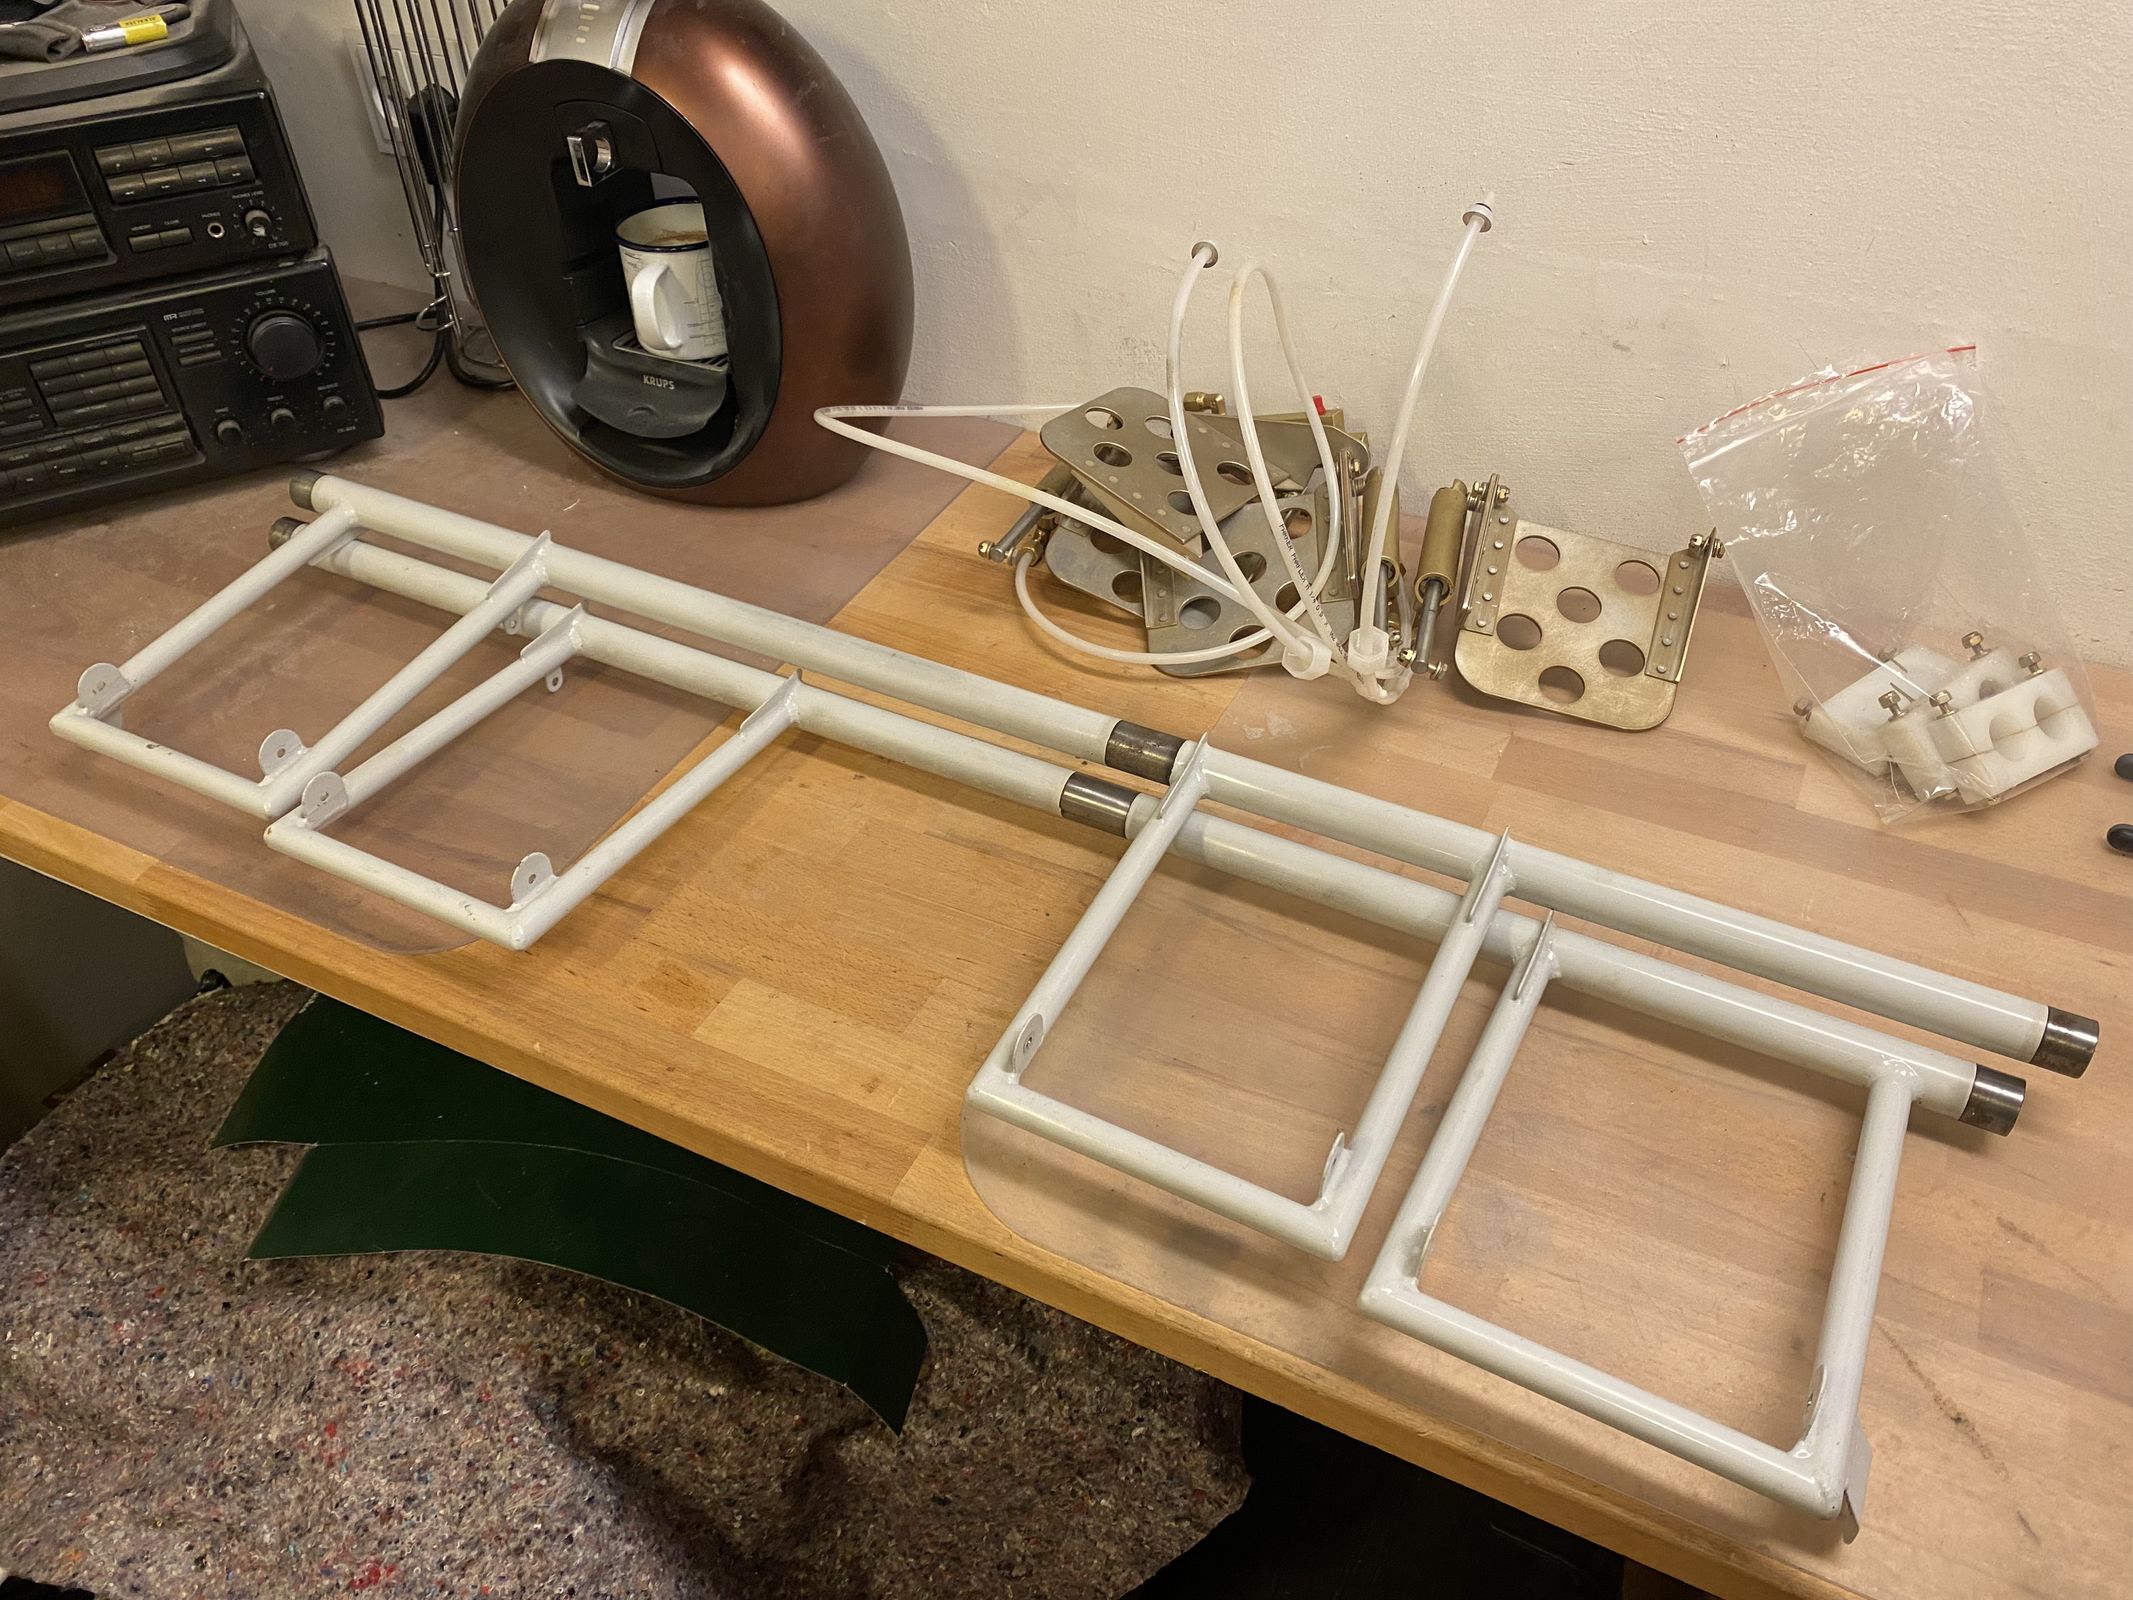
Removed the pedals again, and disassembled for paint.
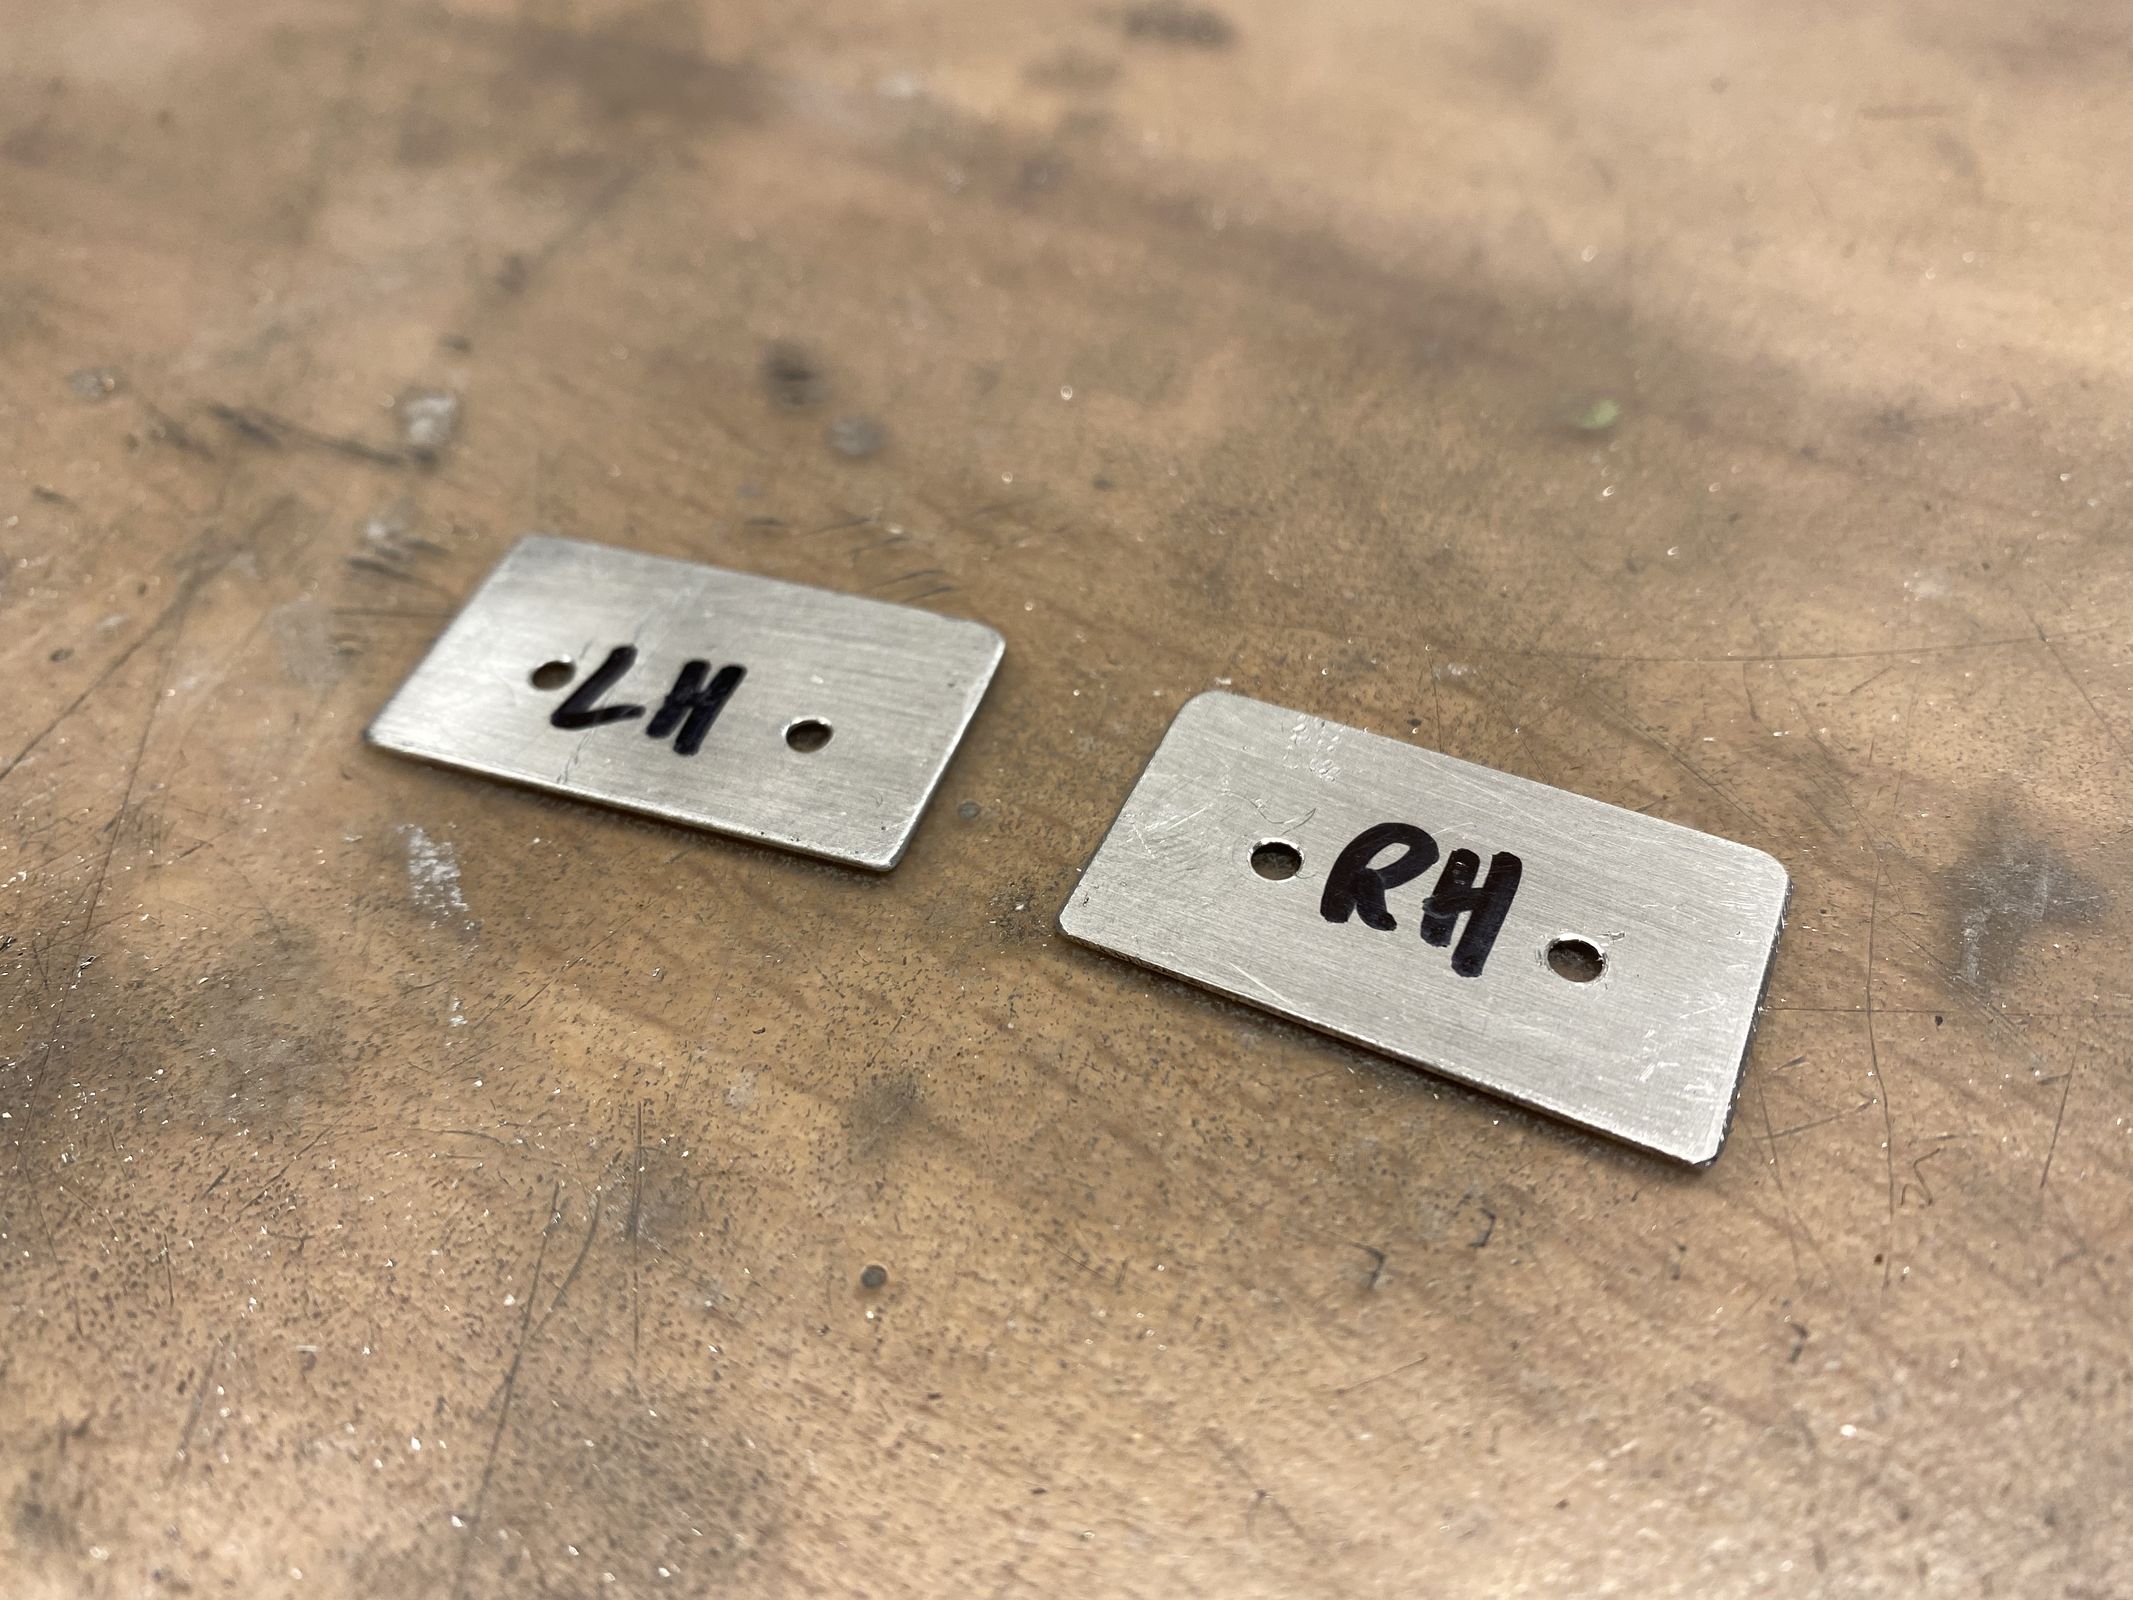
Before riveting the last skin, I wanted to add 2 small tabs over the gaps between the canopy hinge brackets.
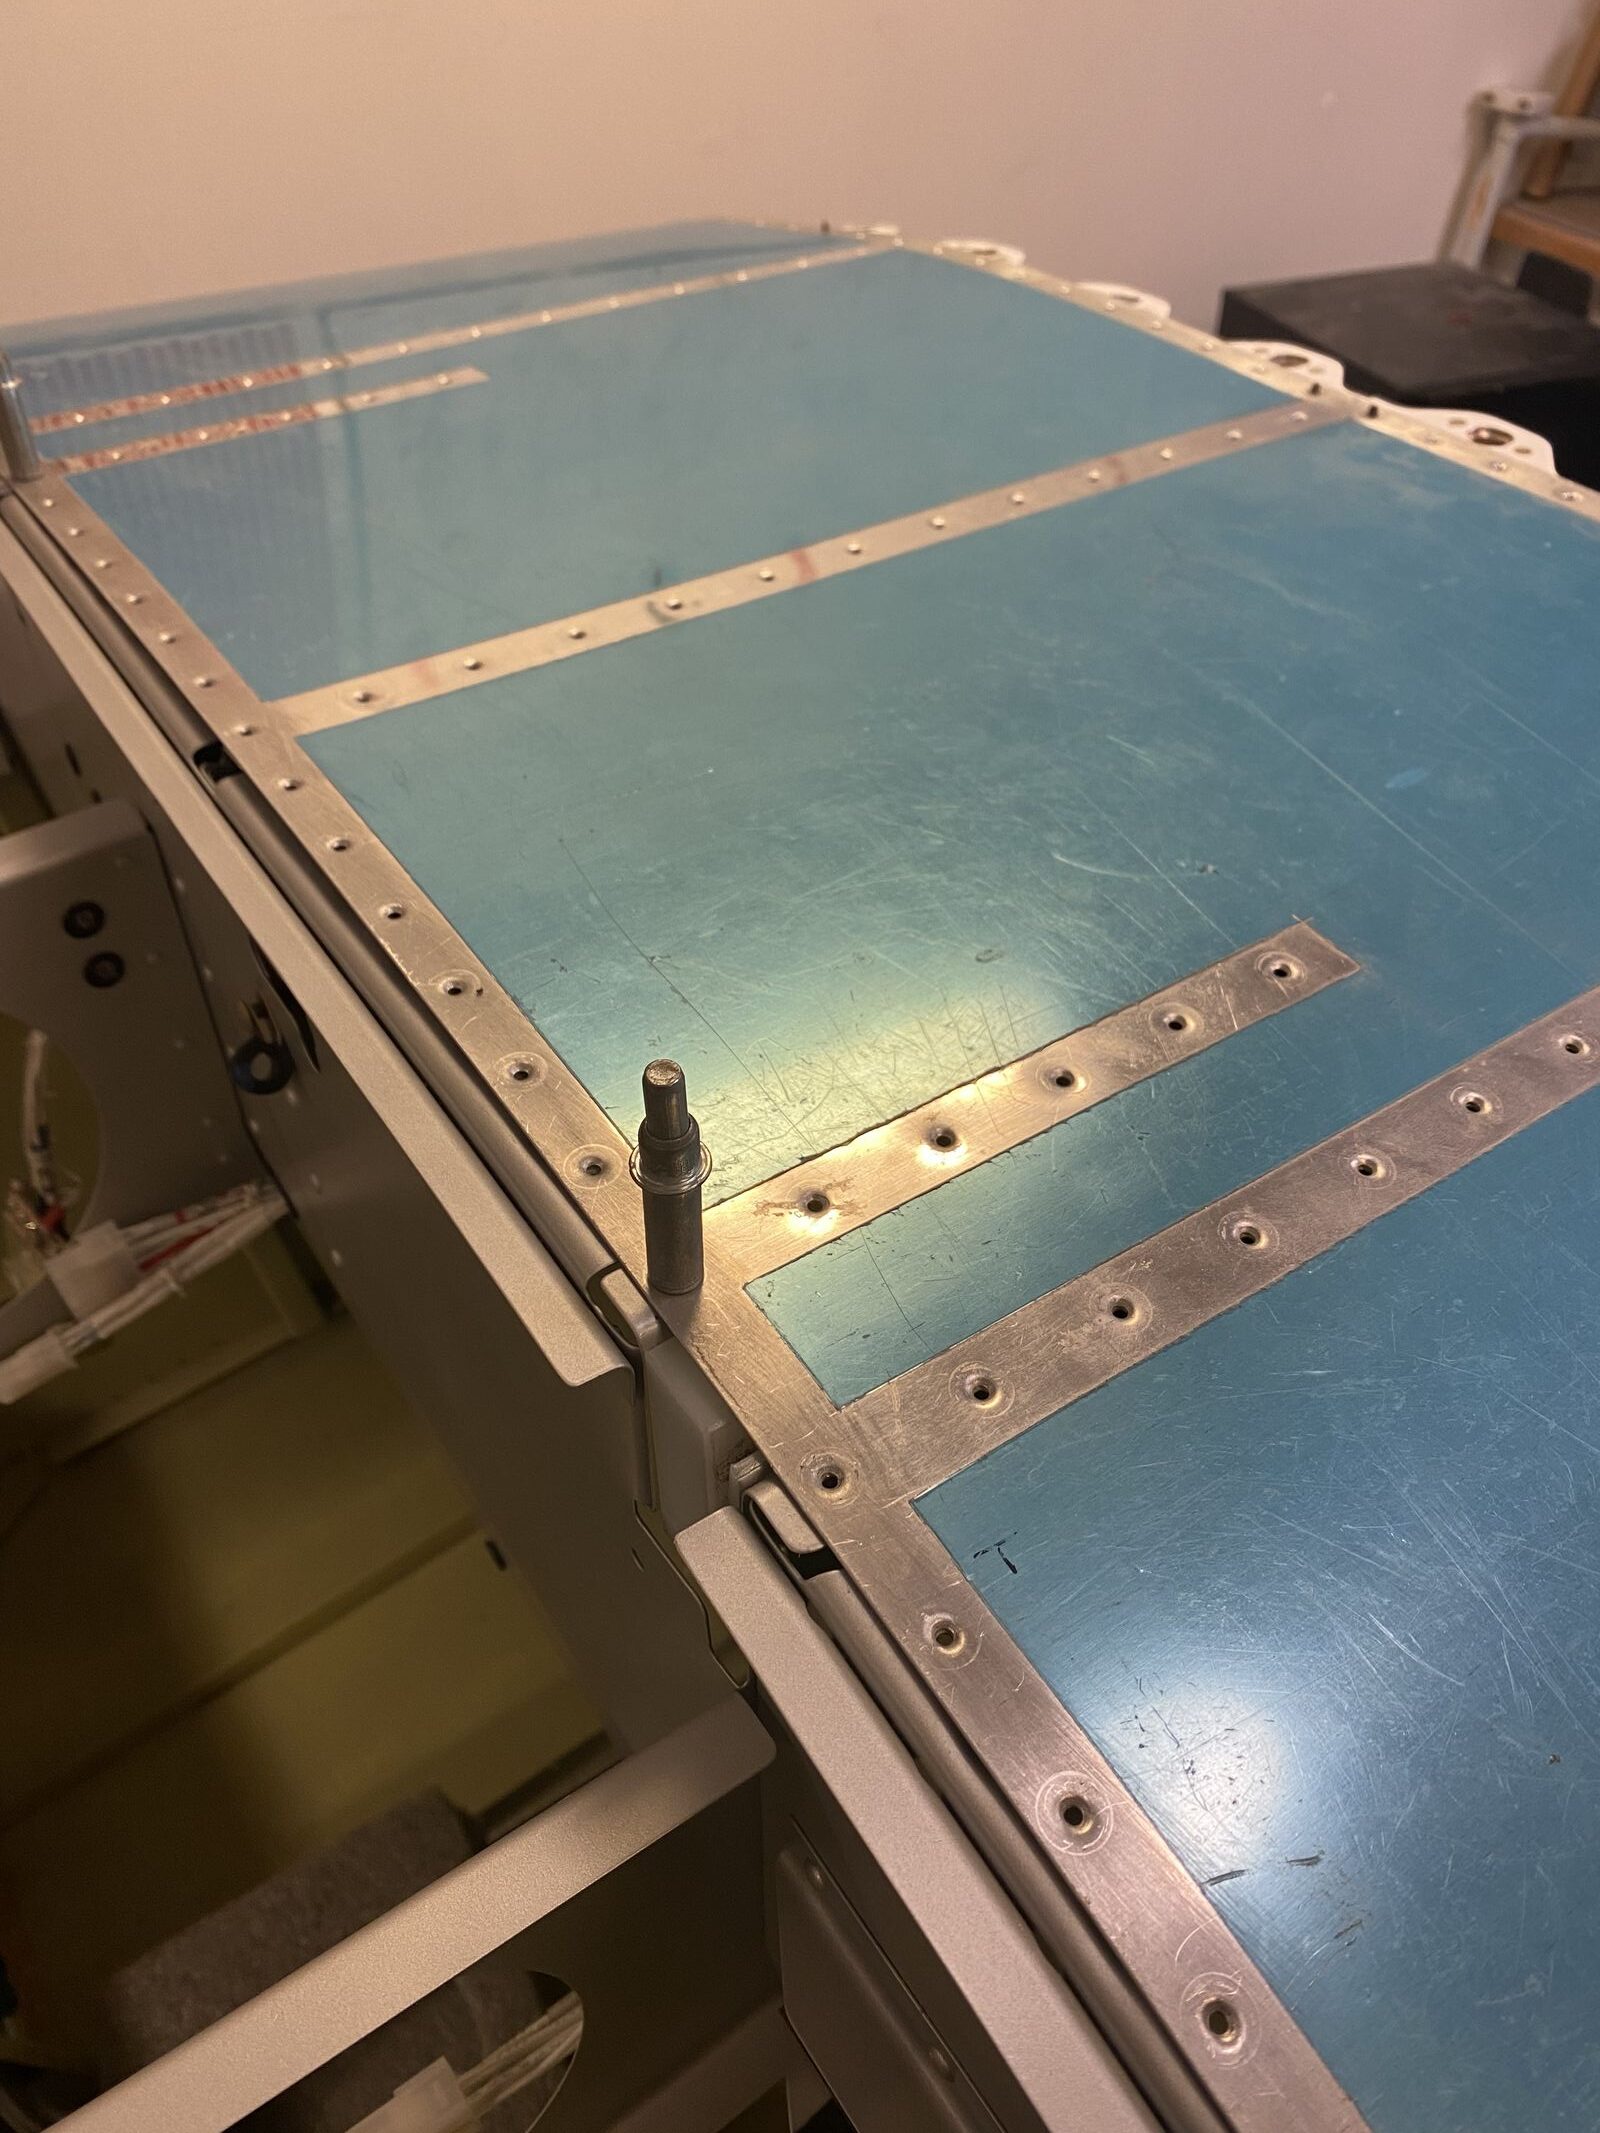

Spacer tabs drilled and ready for primer.
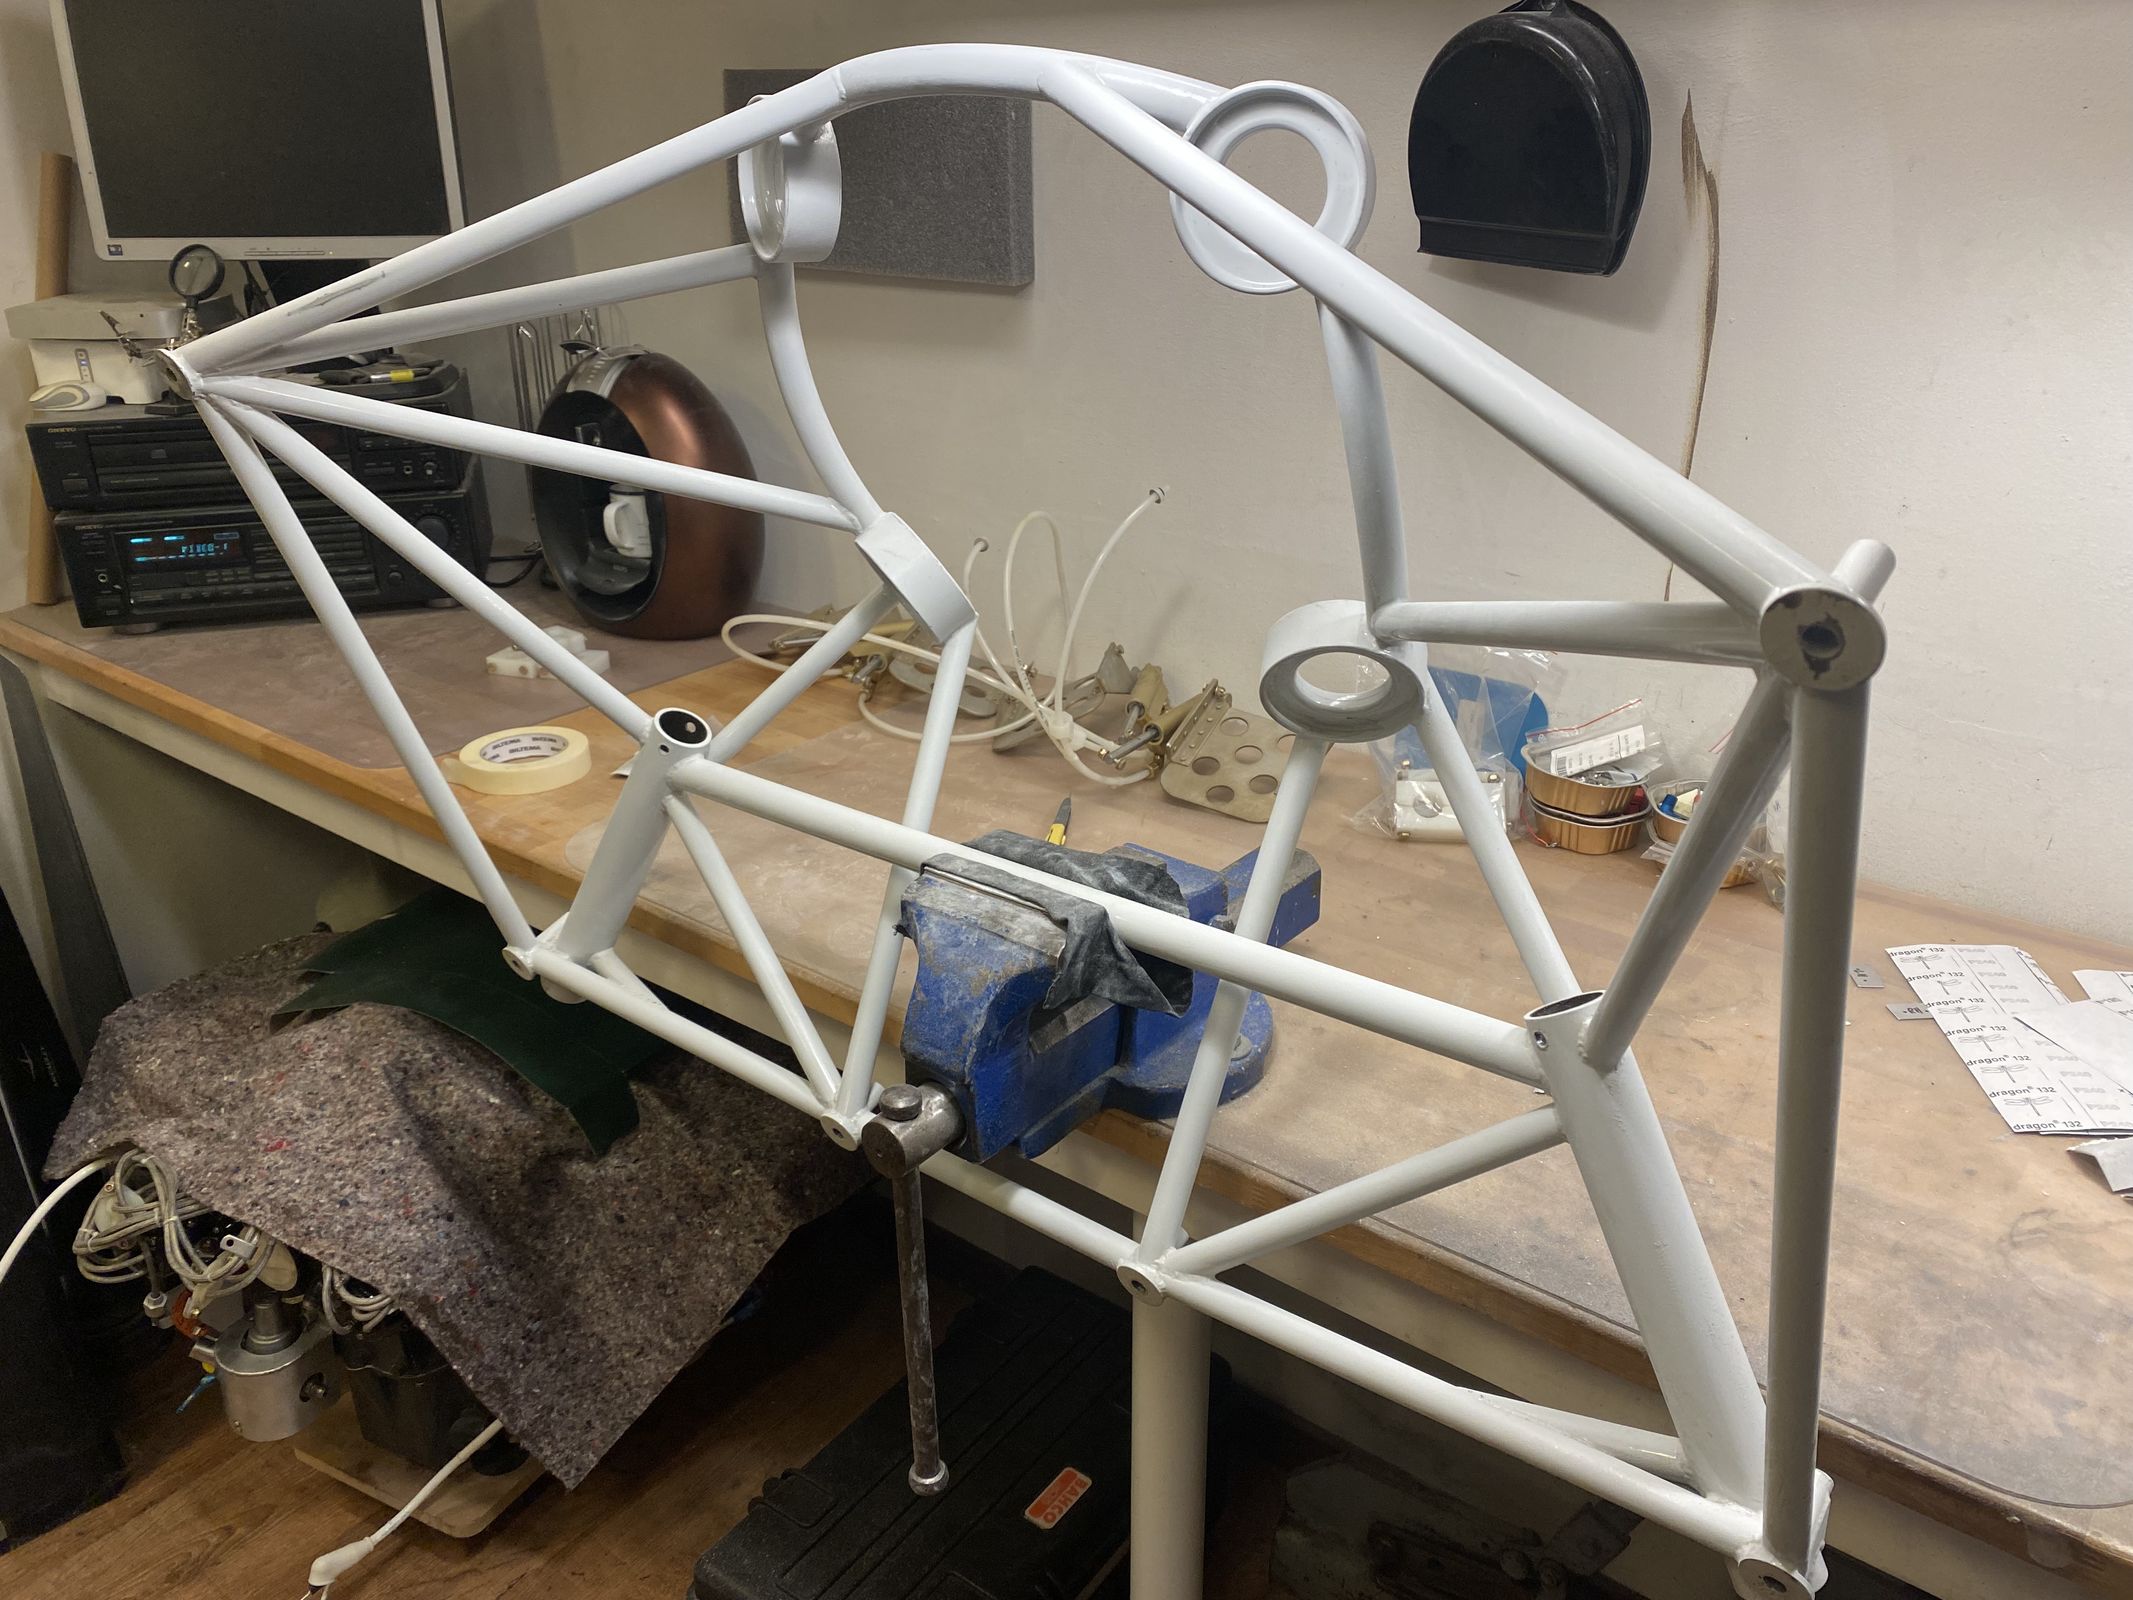
Finally I prepared all my steel parts for primer and paint.

Leave a Reply